Guy Builds His Wife A Pizza Oven For Their Anniversary
You may think, an oven as a present? But this has more sense once you know the details.
Published 8 years ago in Ftw
8
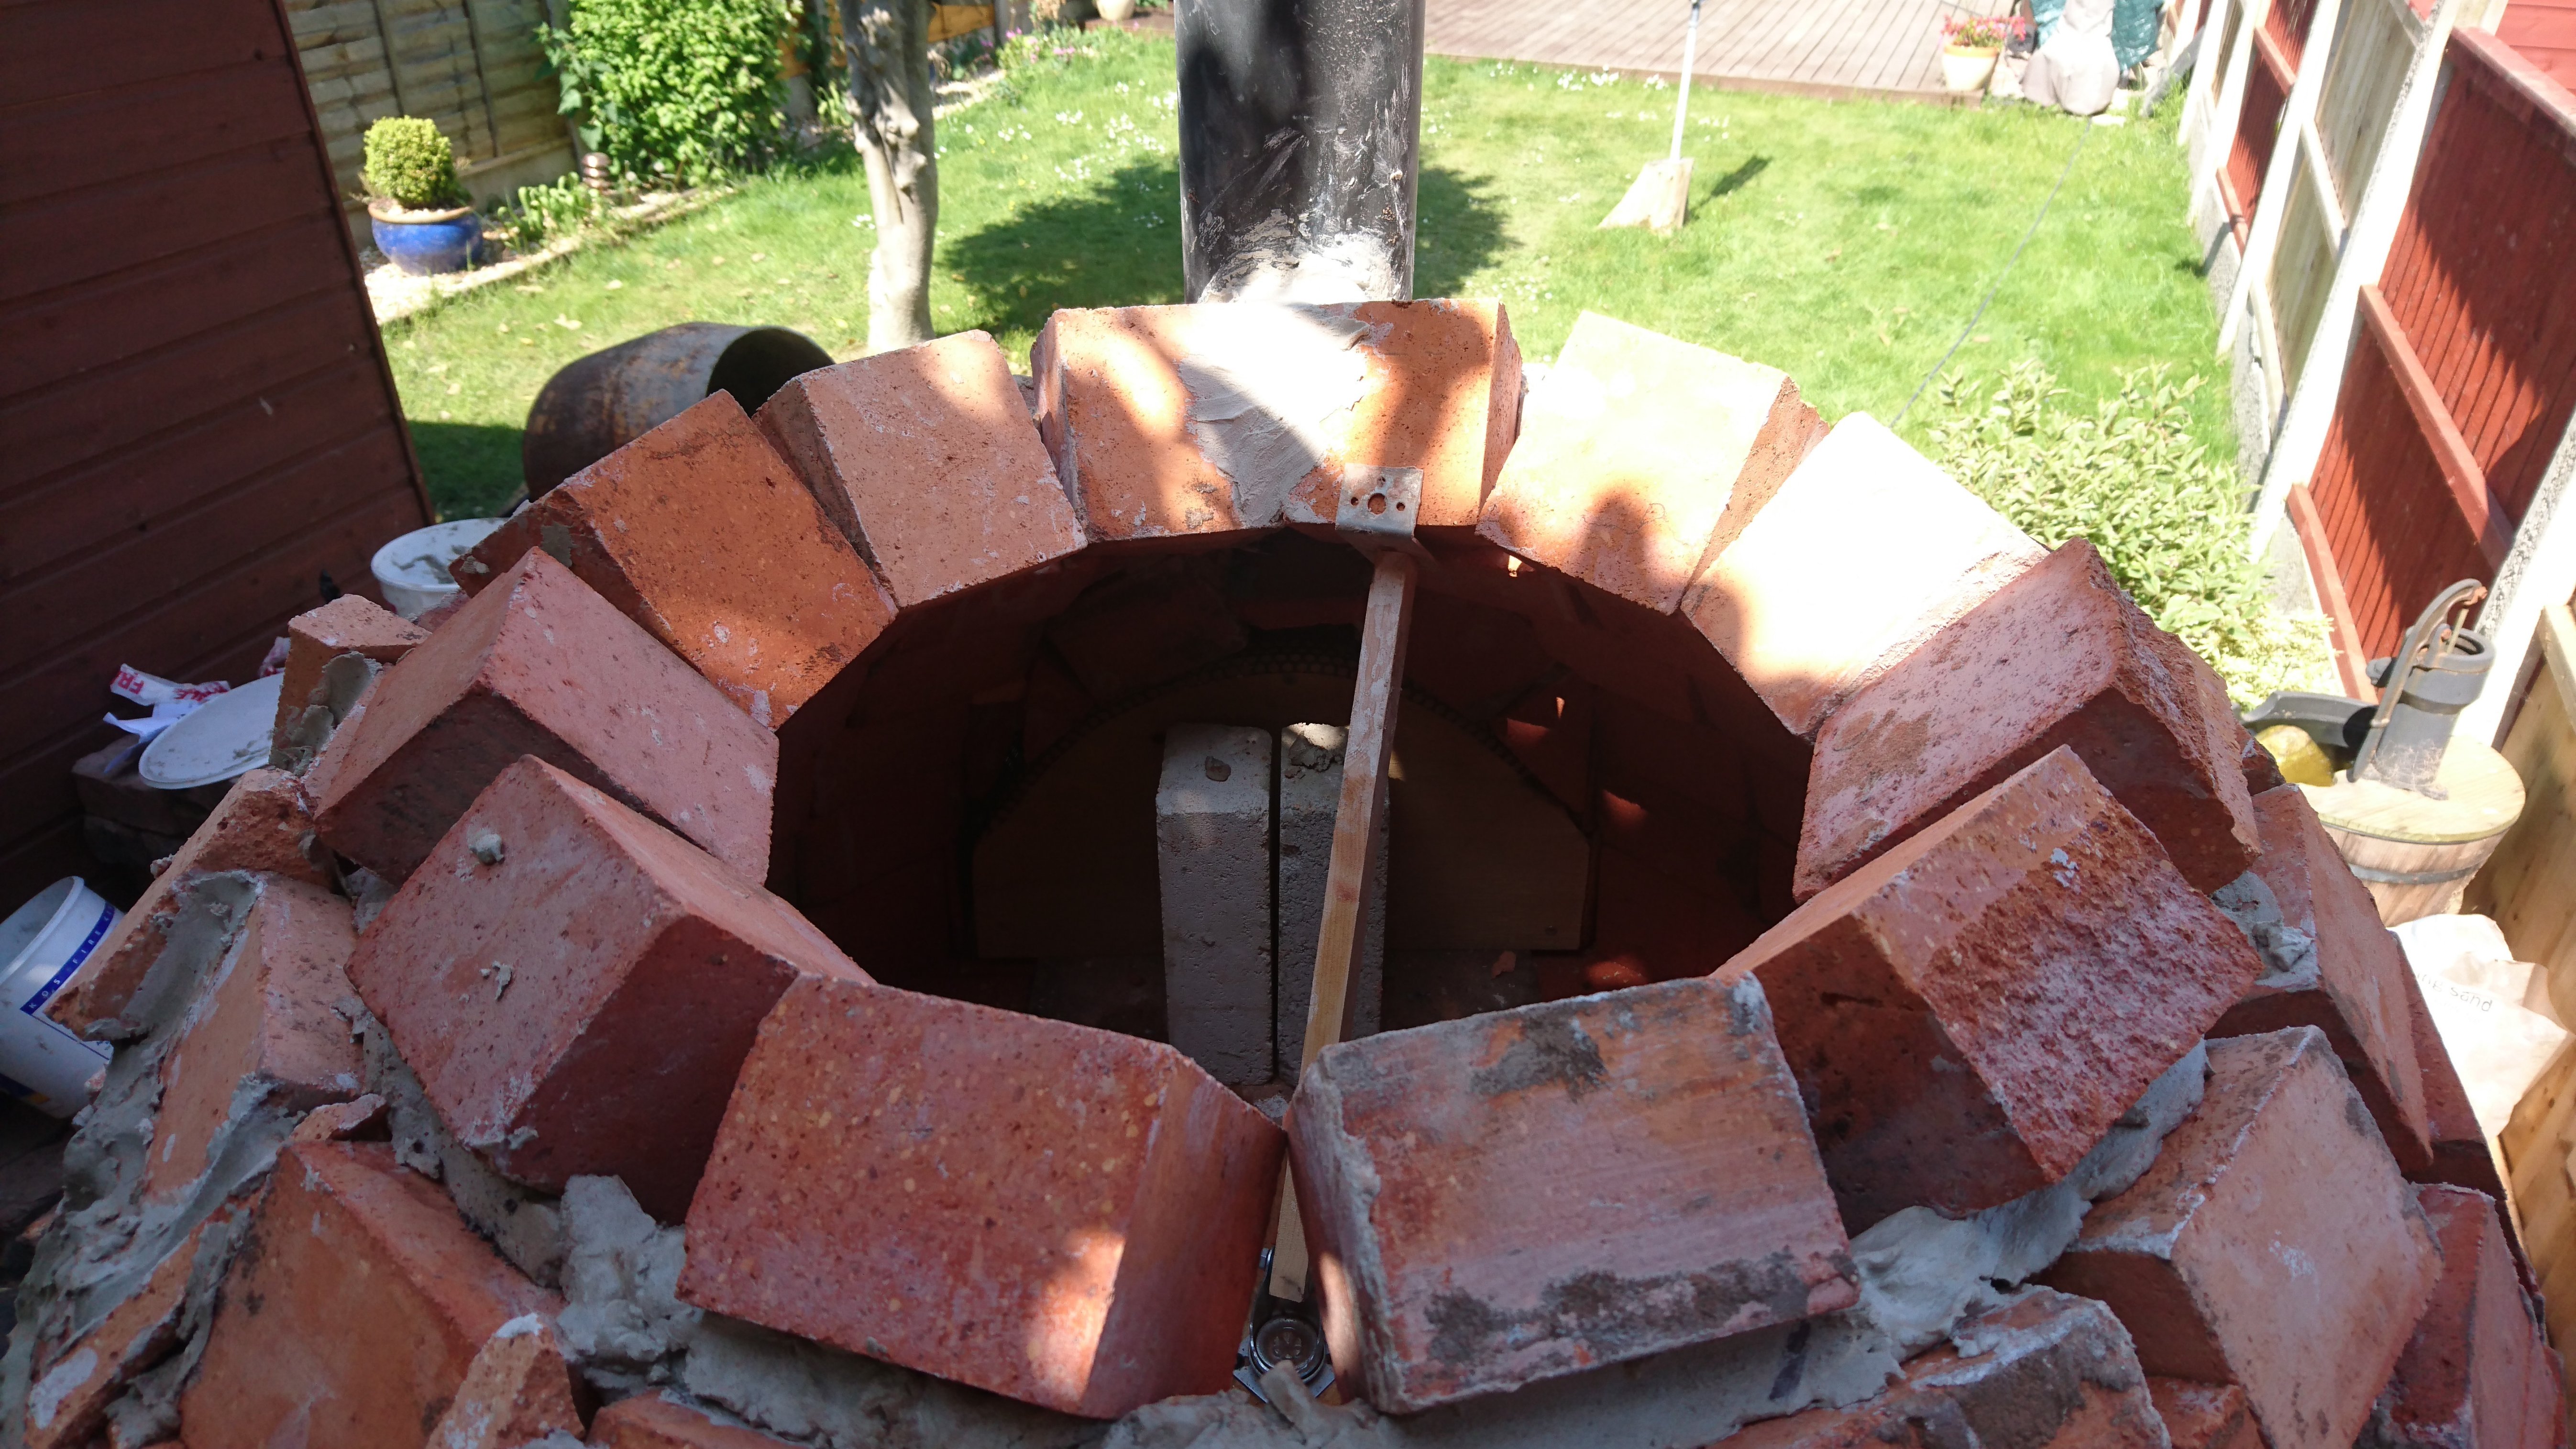
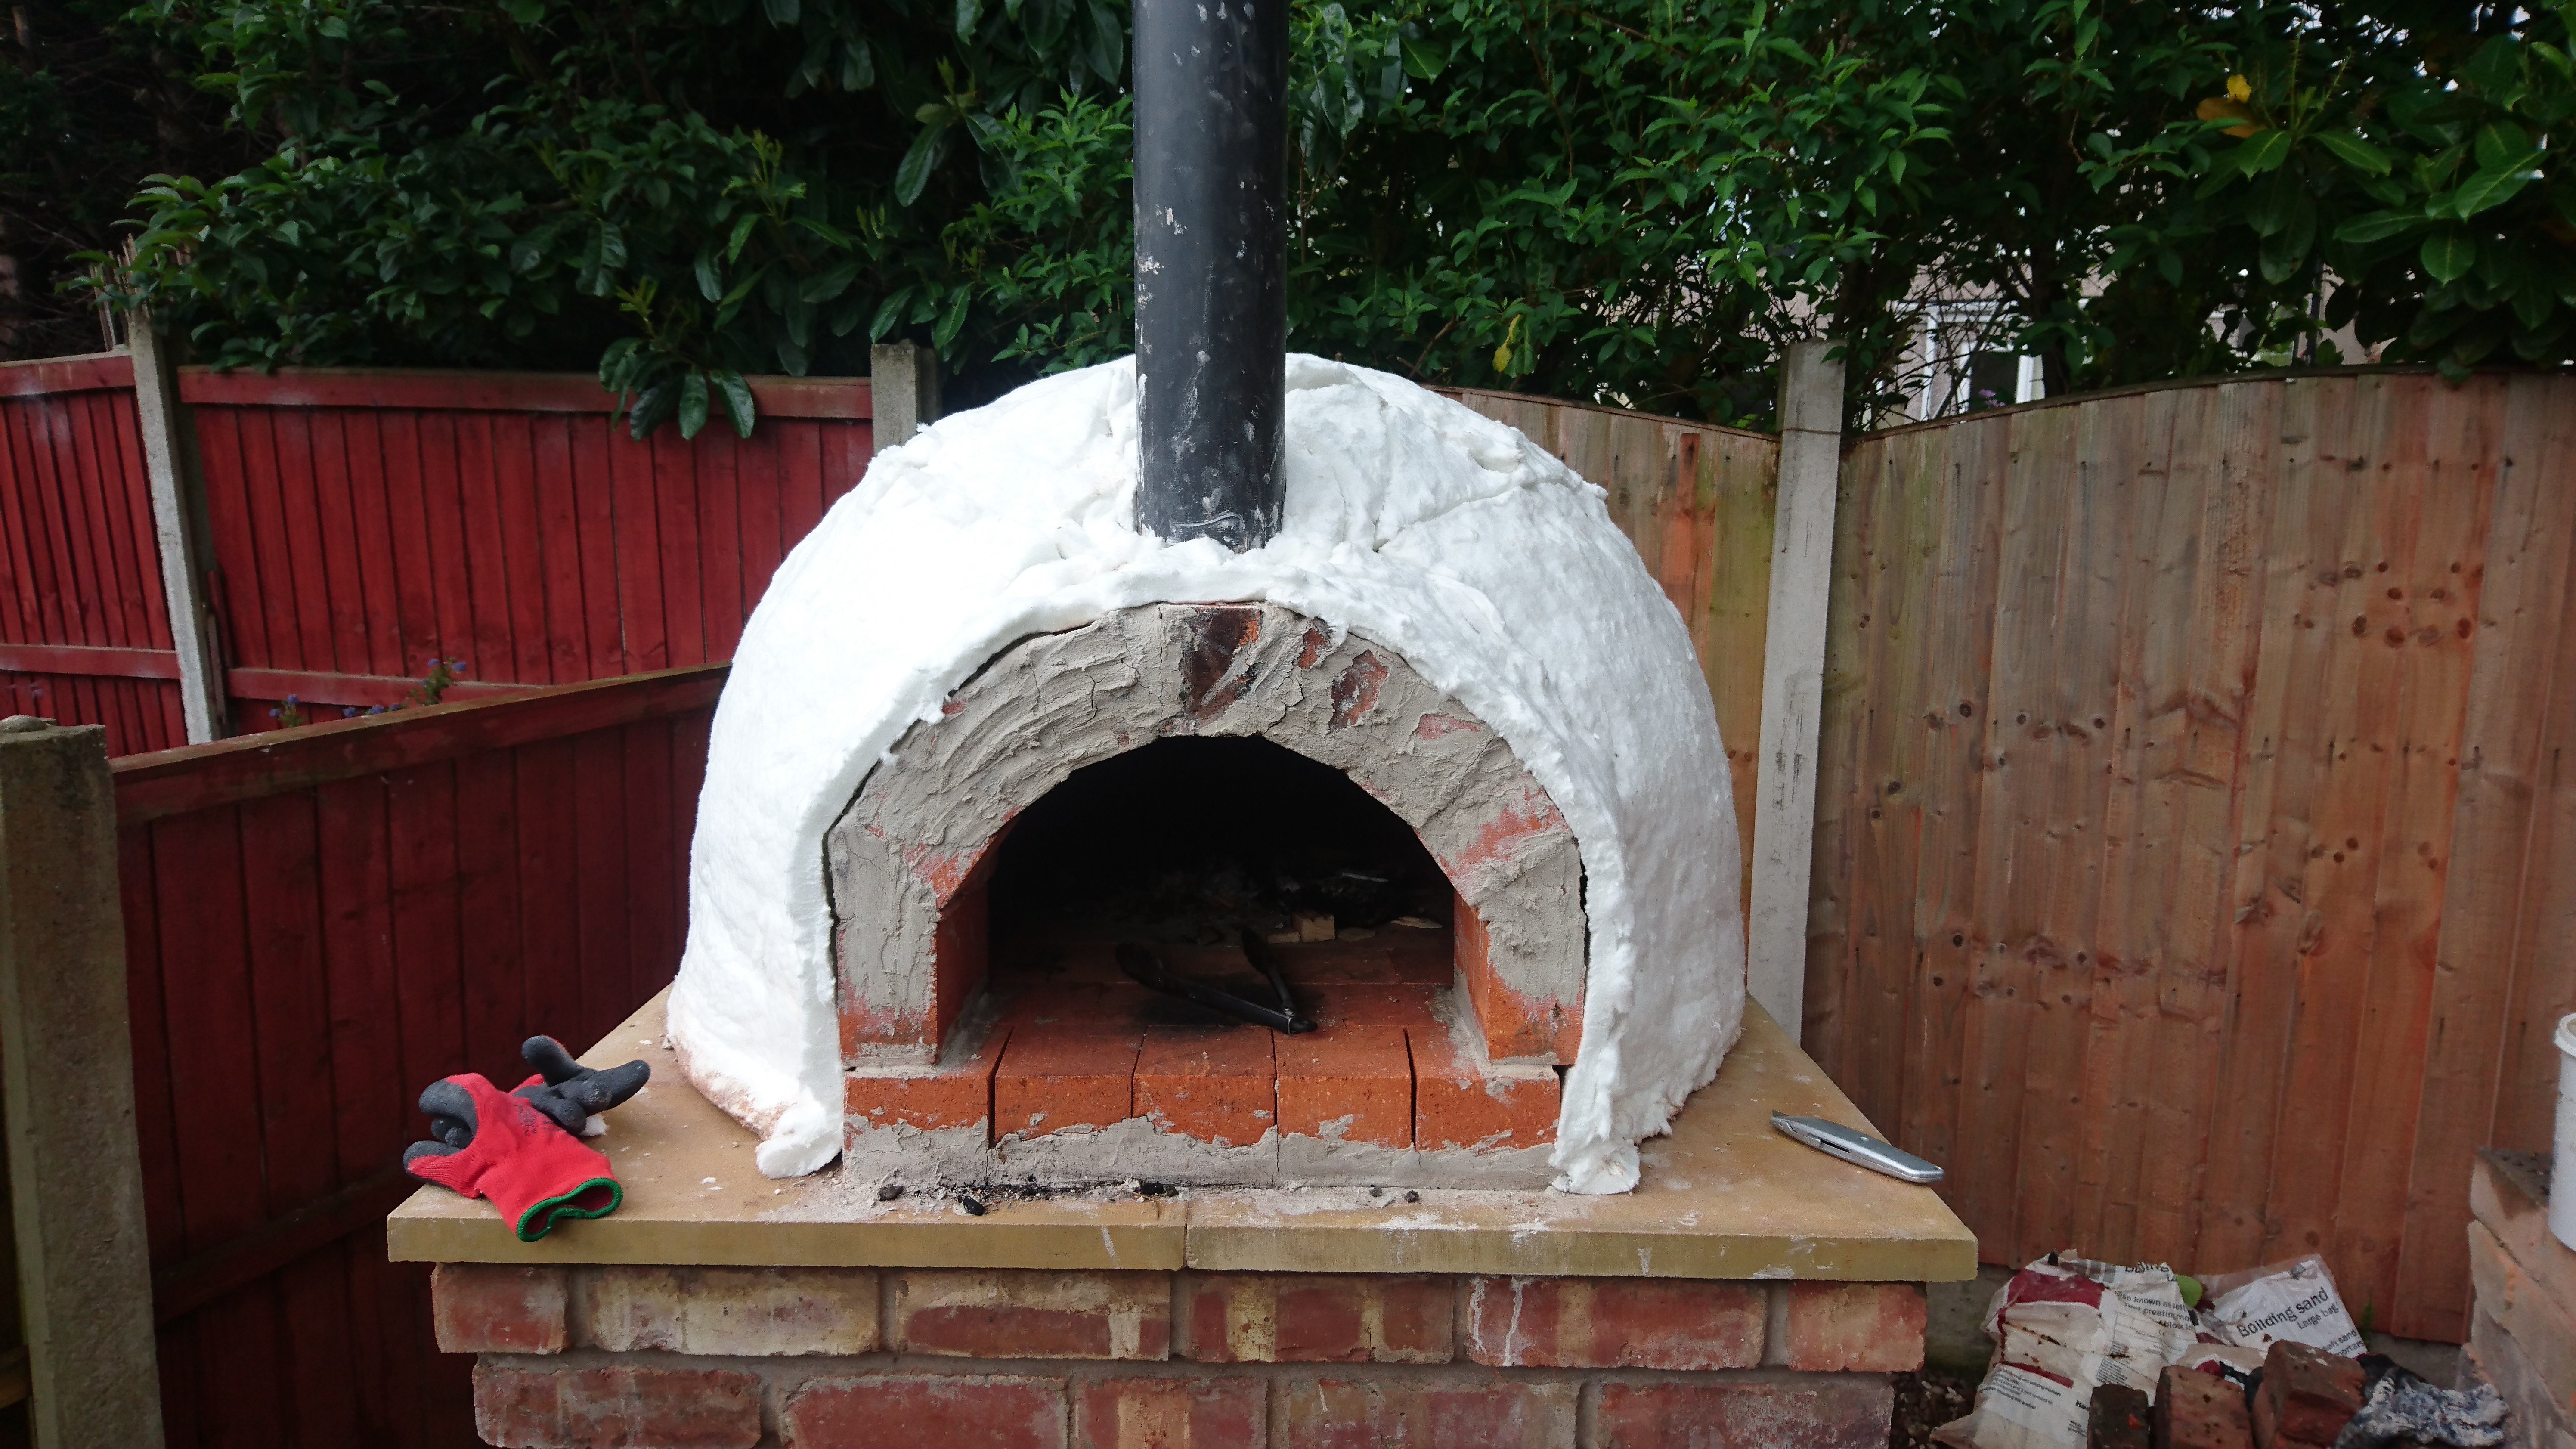
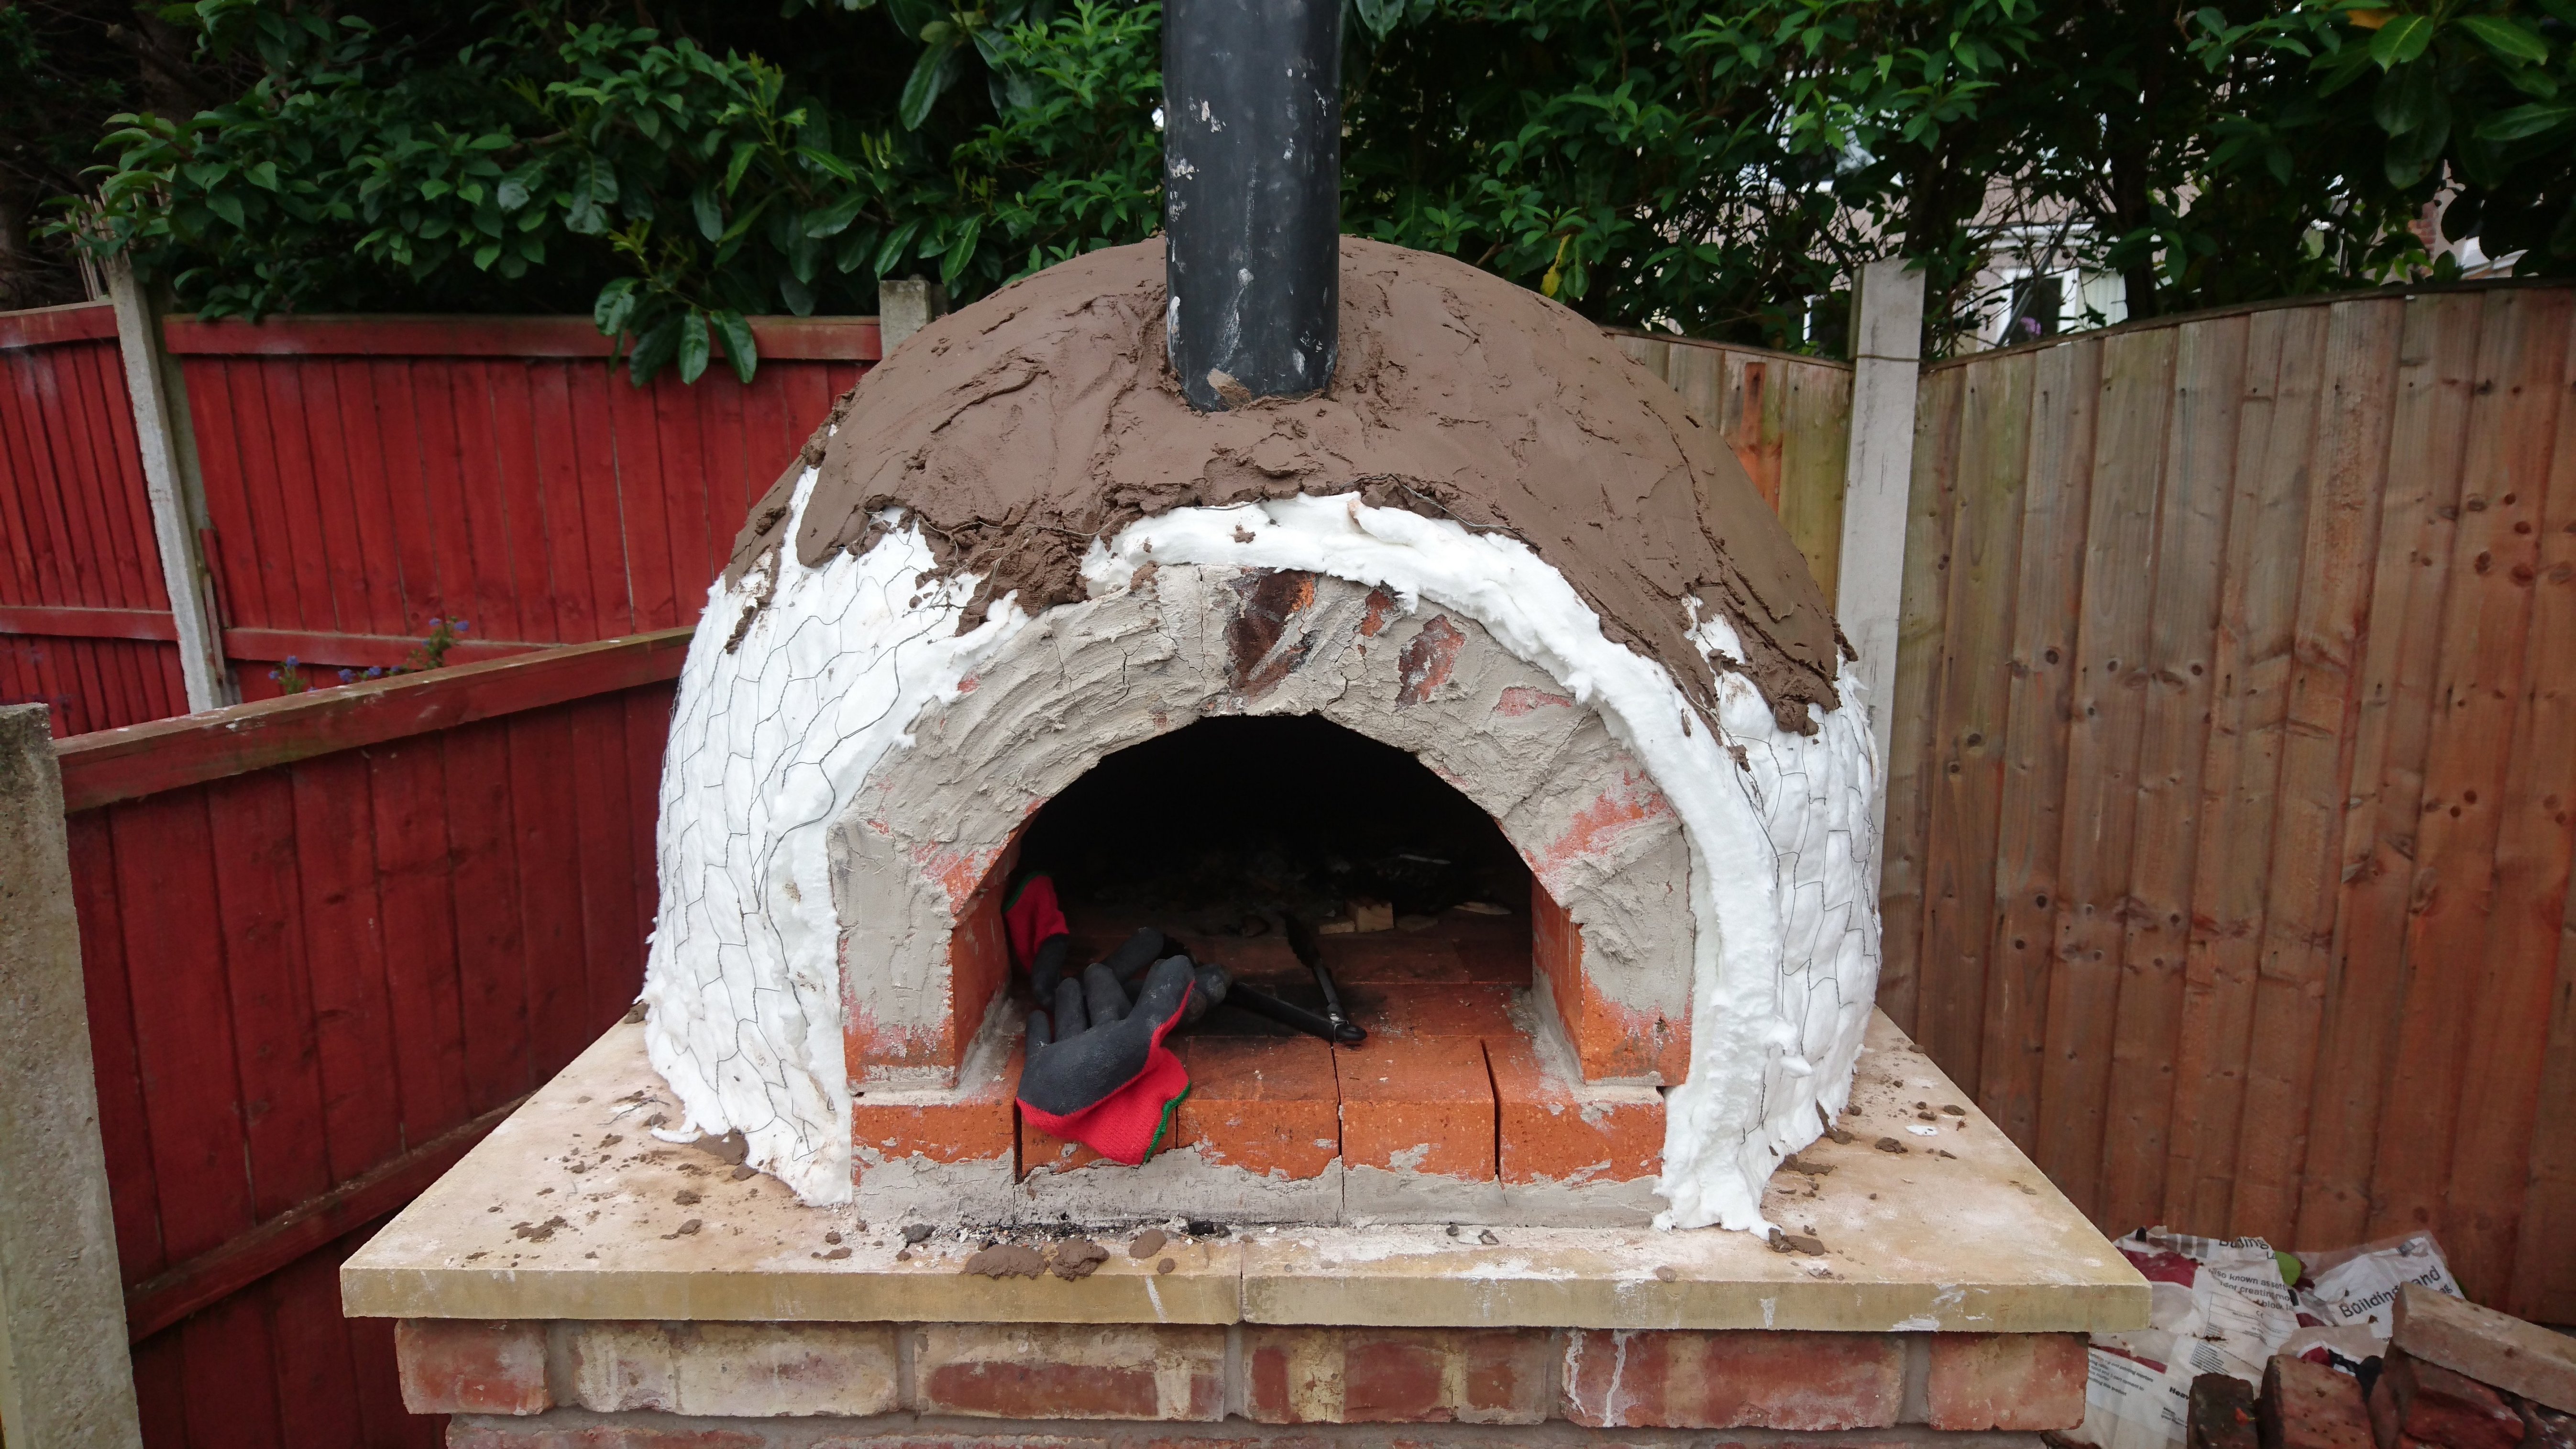
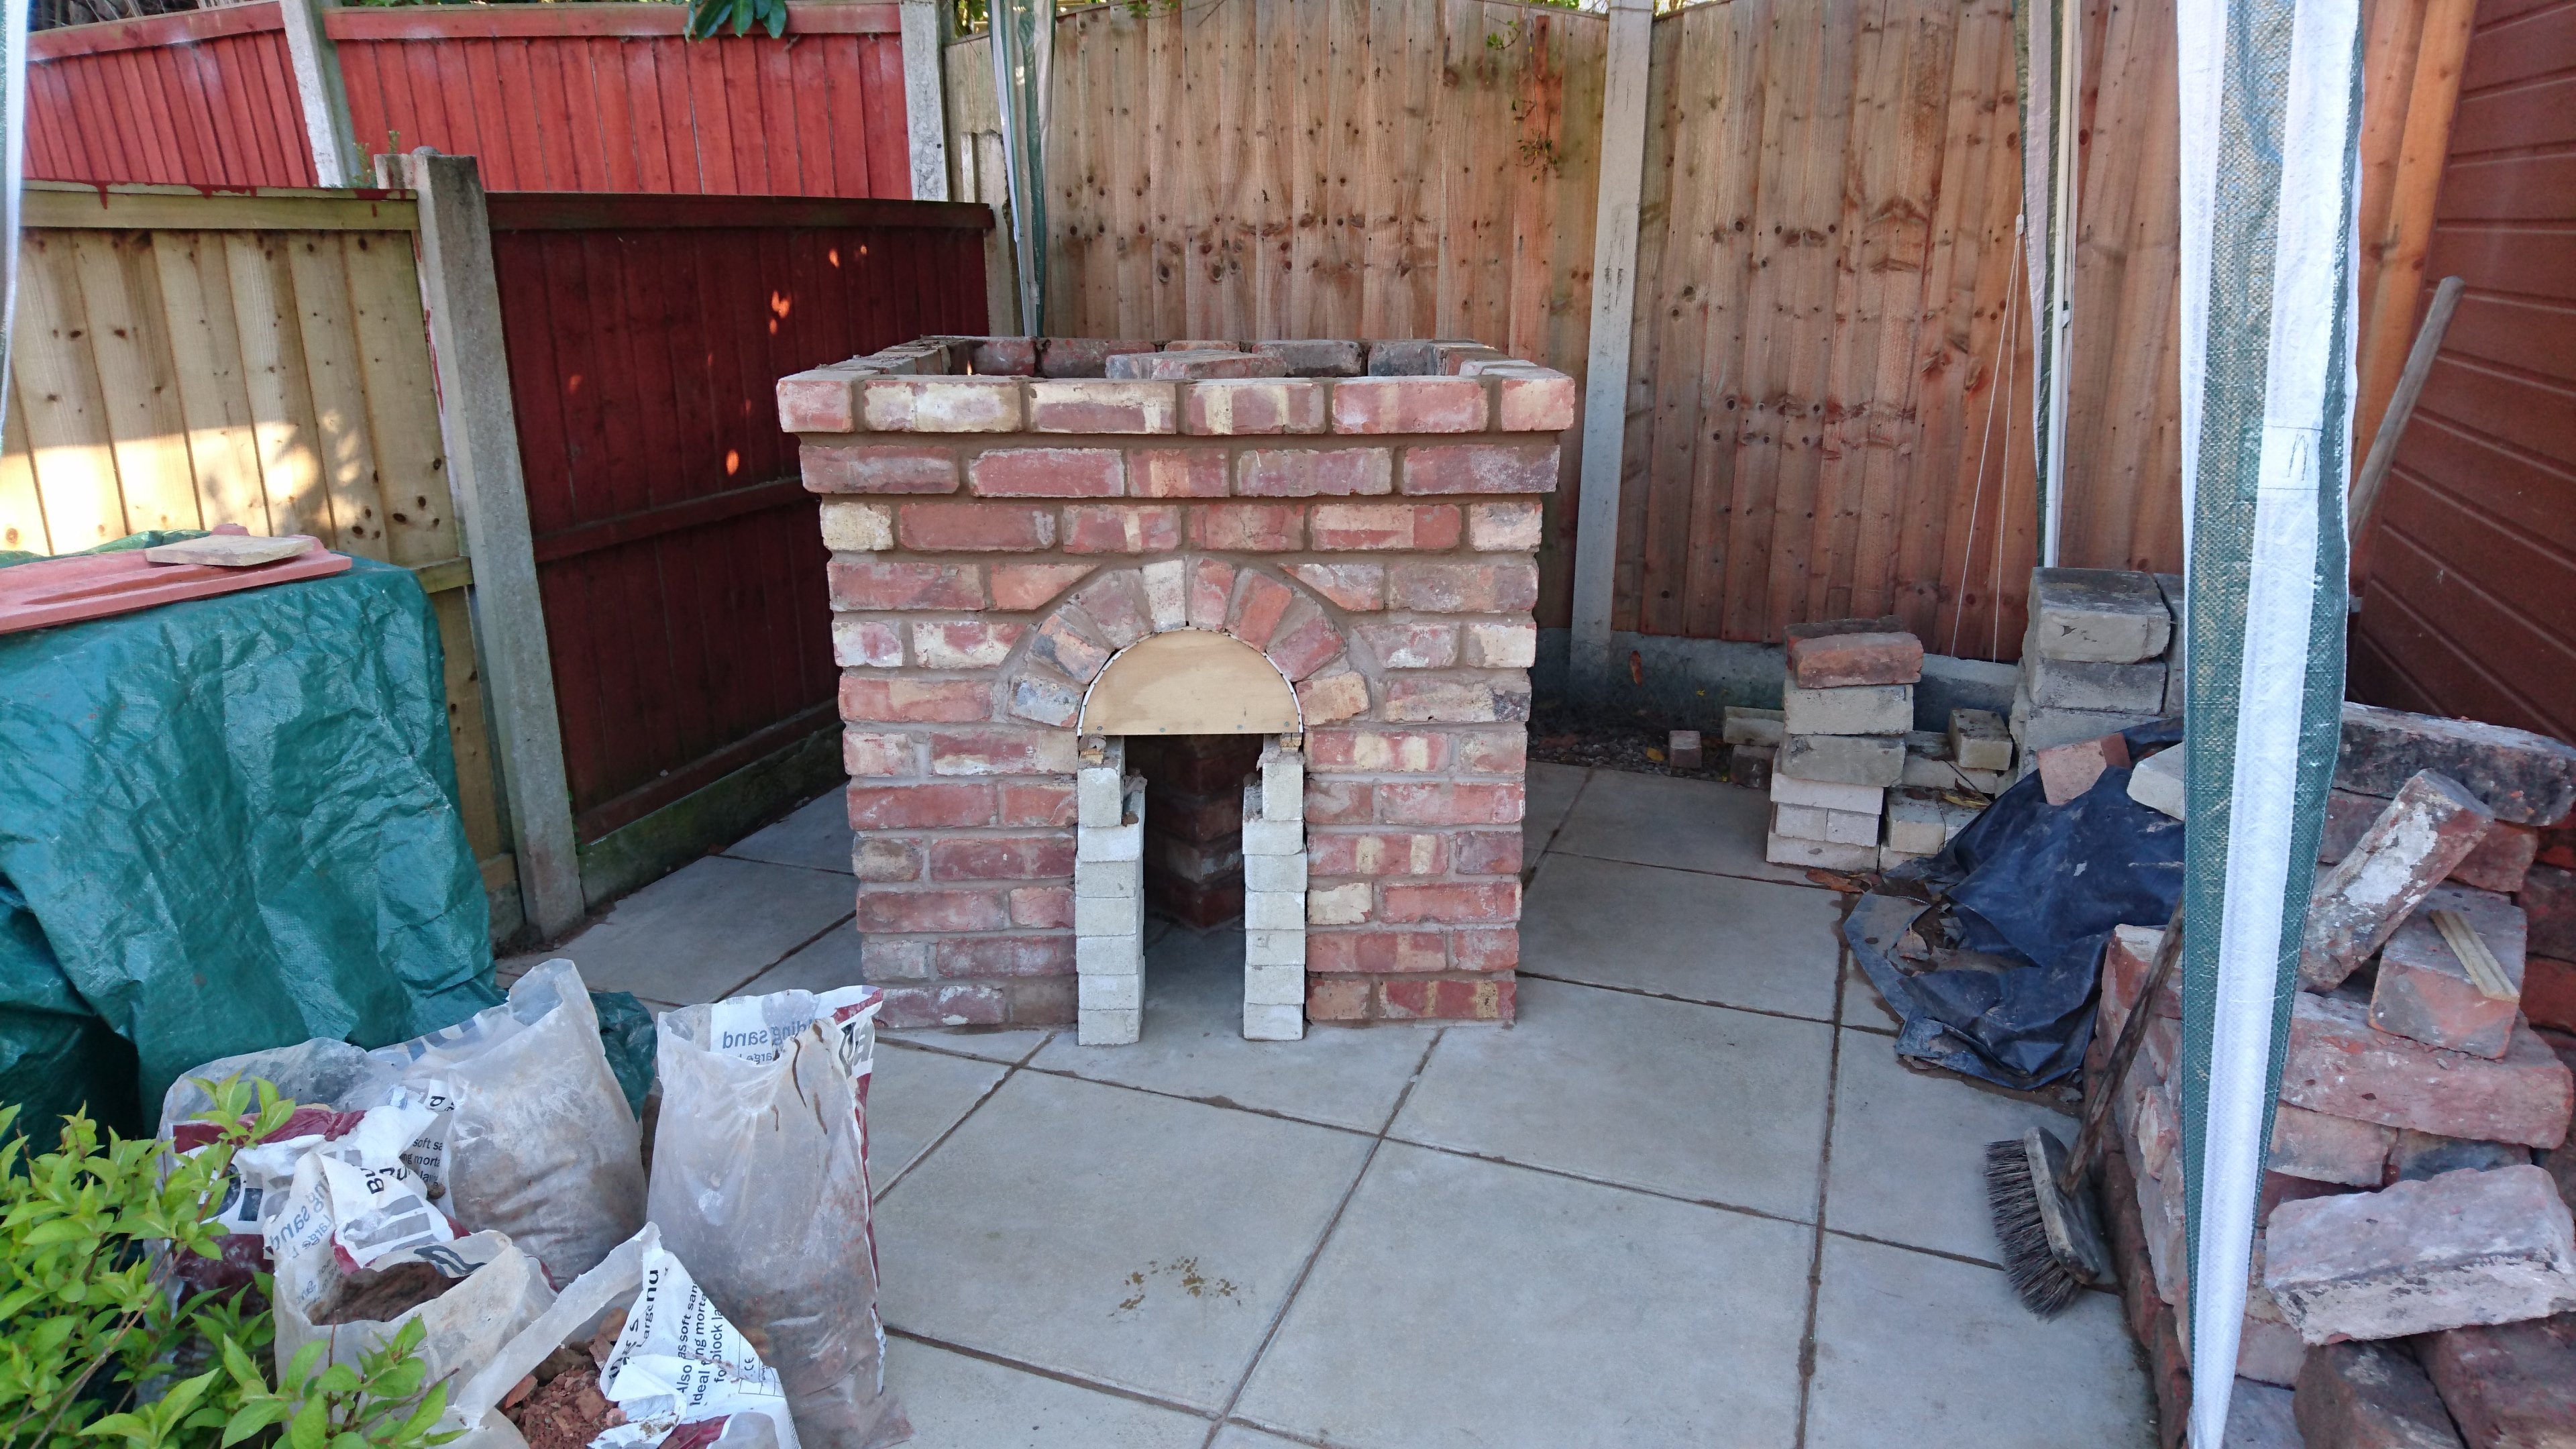
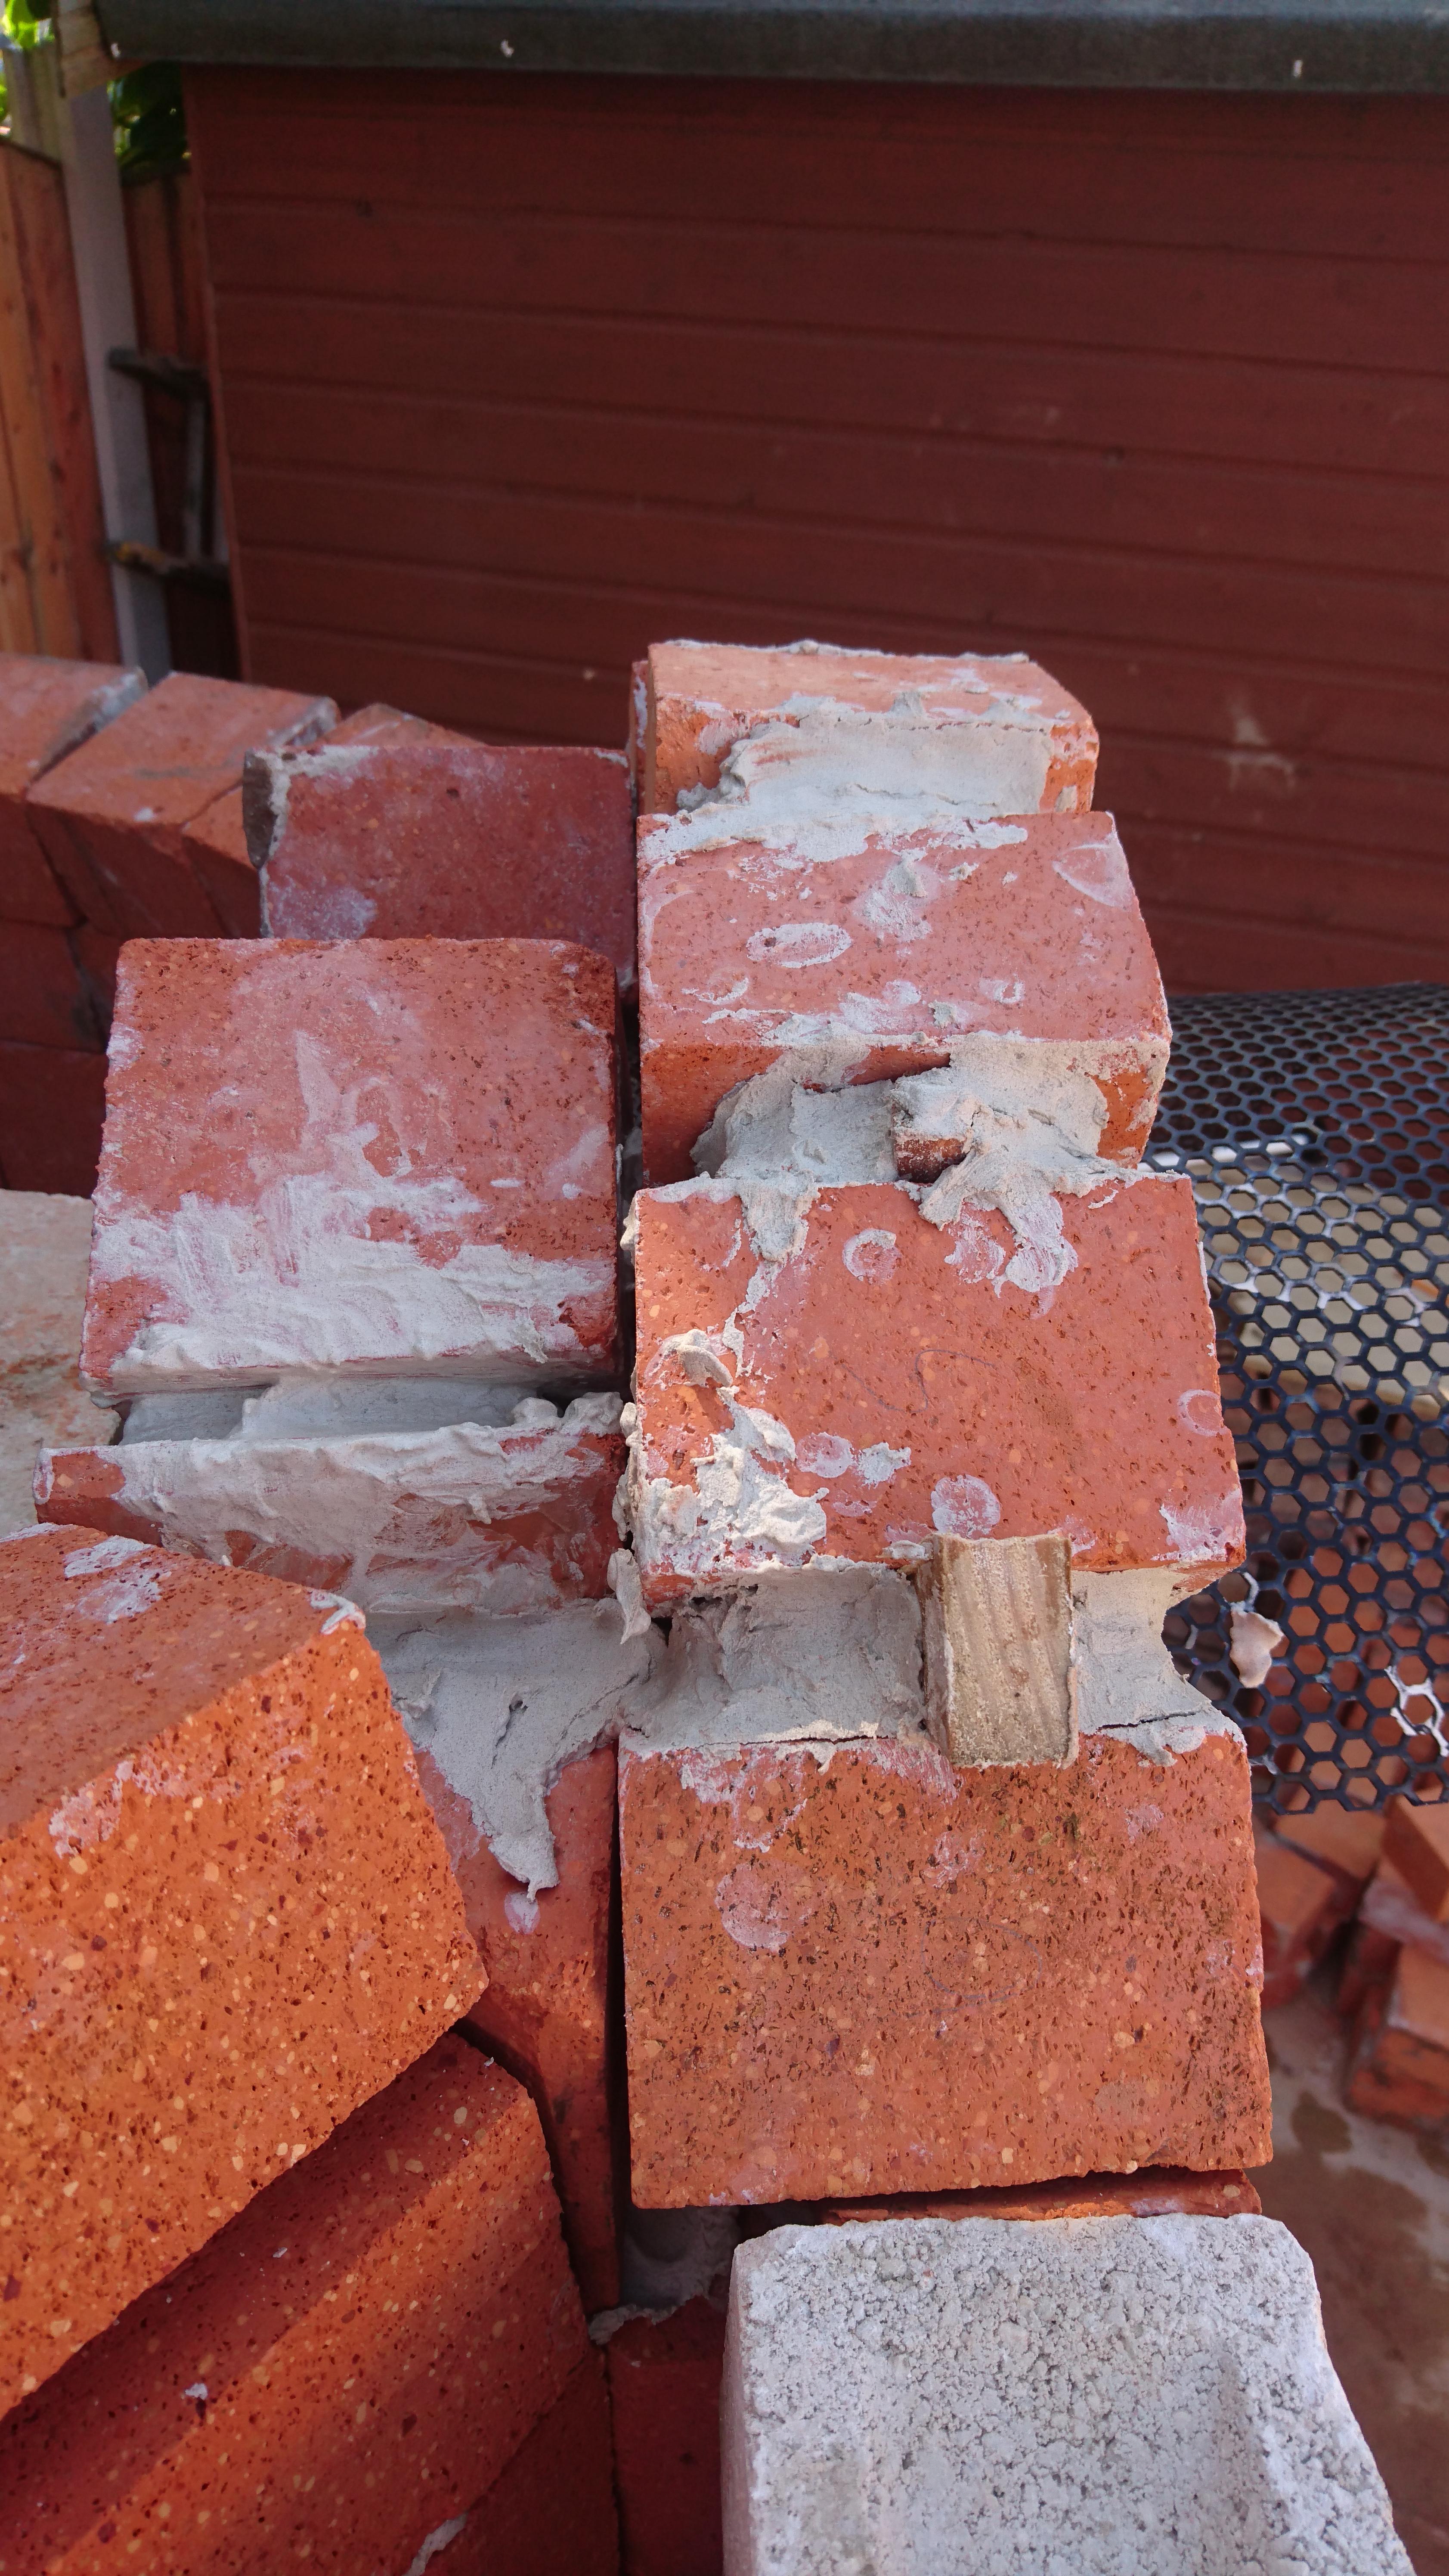
"Now the whole thing needs a thick coat of fire cement to bond it all together. I collected whatever off cuts/pieces of fire brick I had left over and filled as much of the joints in between the bricks as possible. Here I removed the arch former to reveal the door opening. I also managed to rescue the beloved trammel tool as a memento."
11
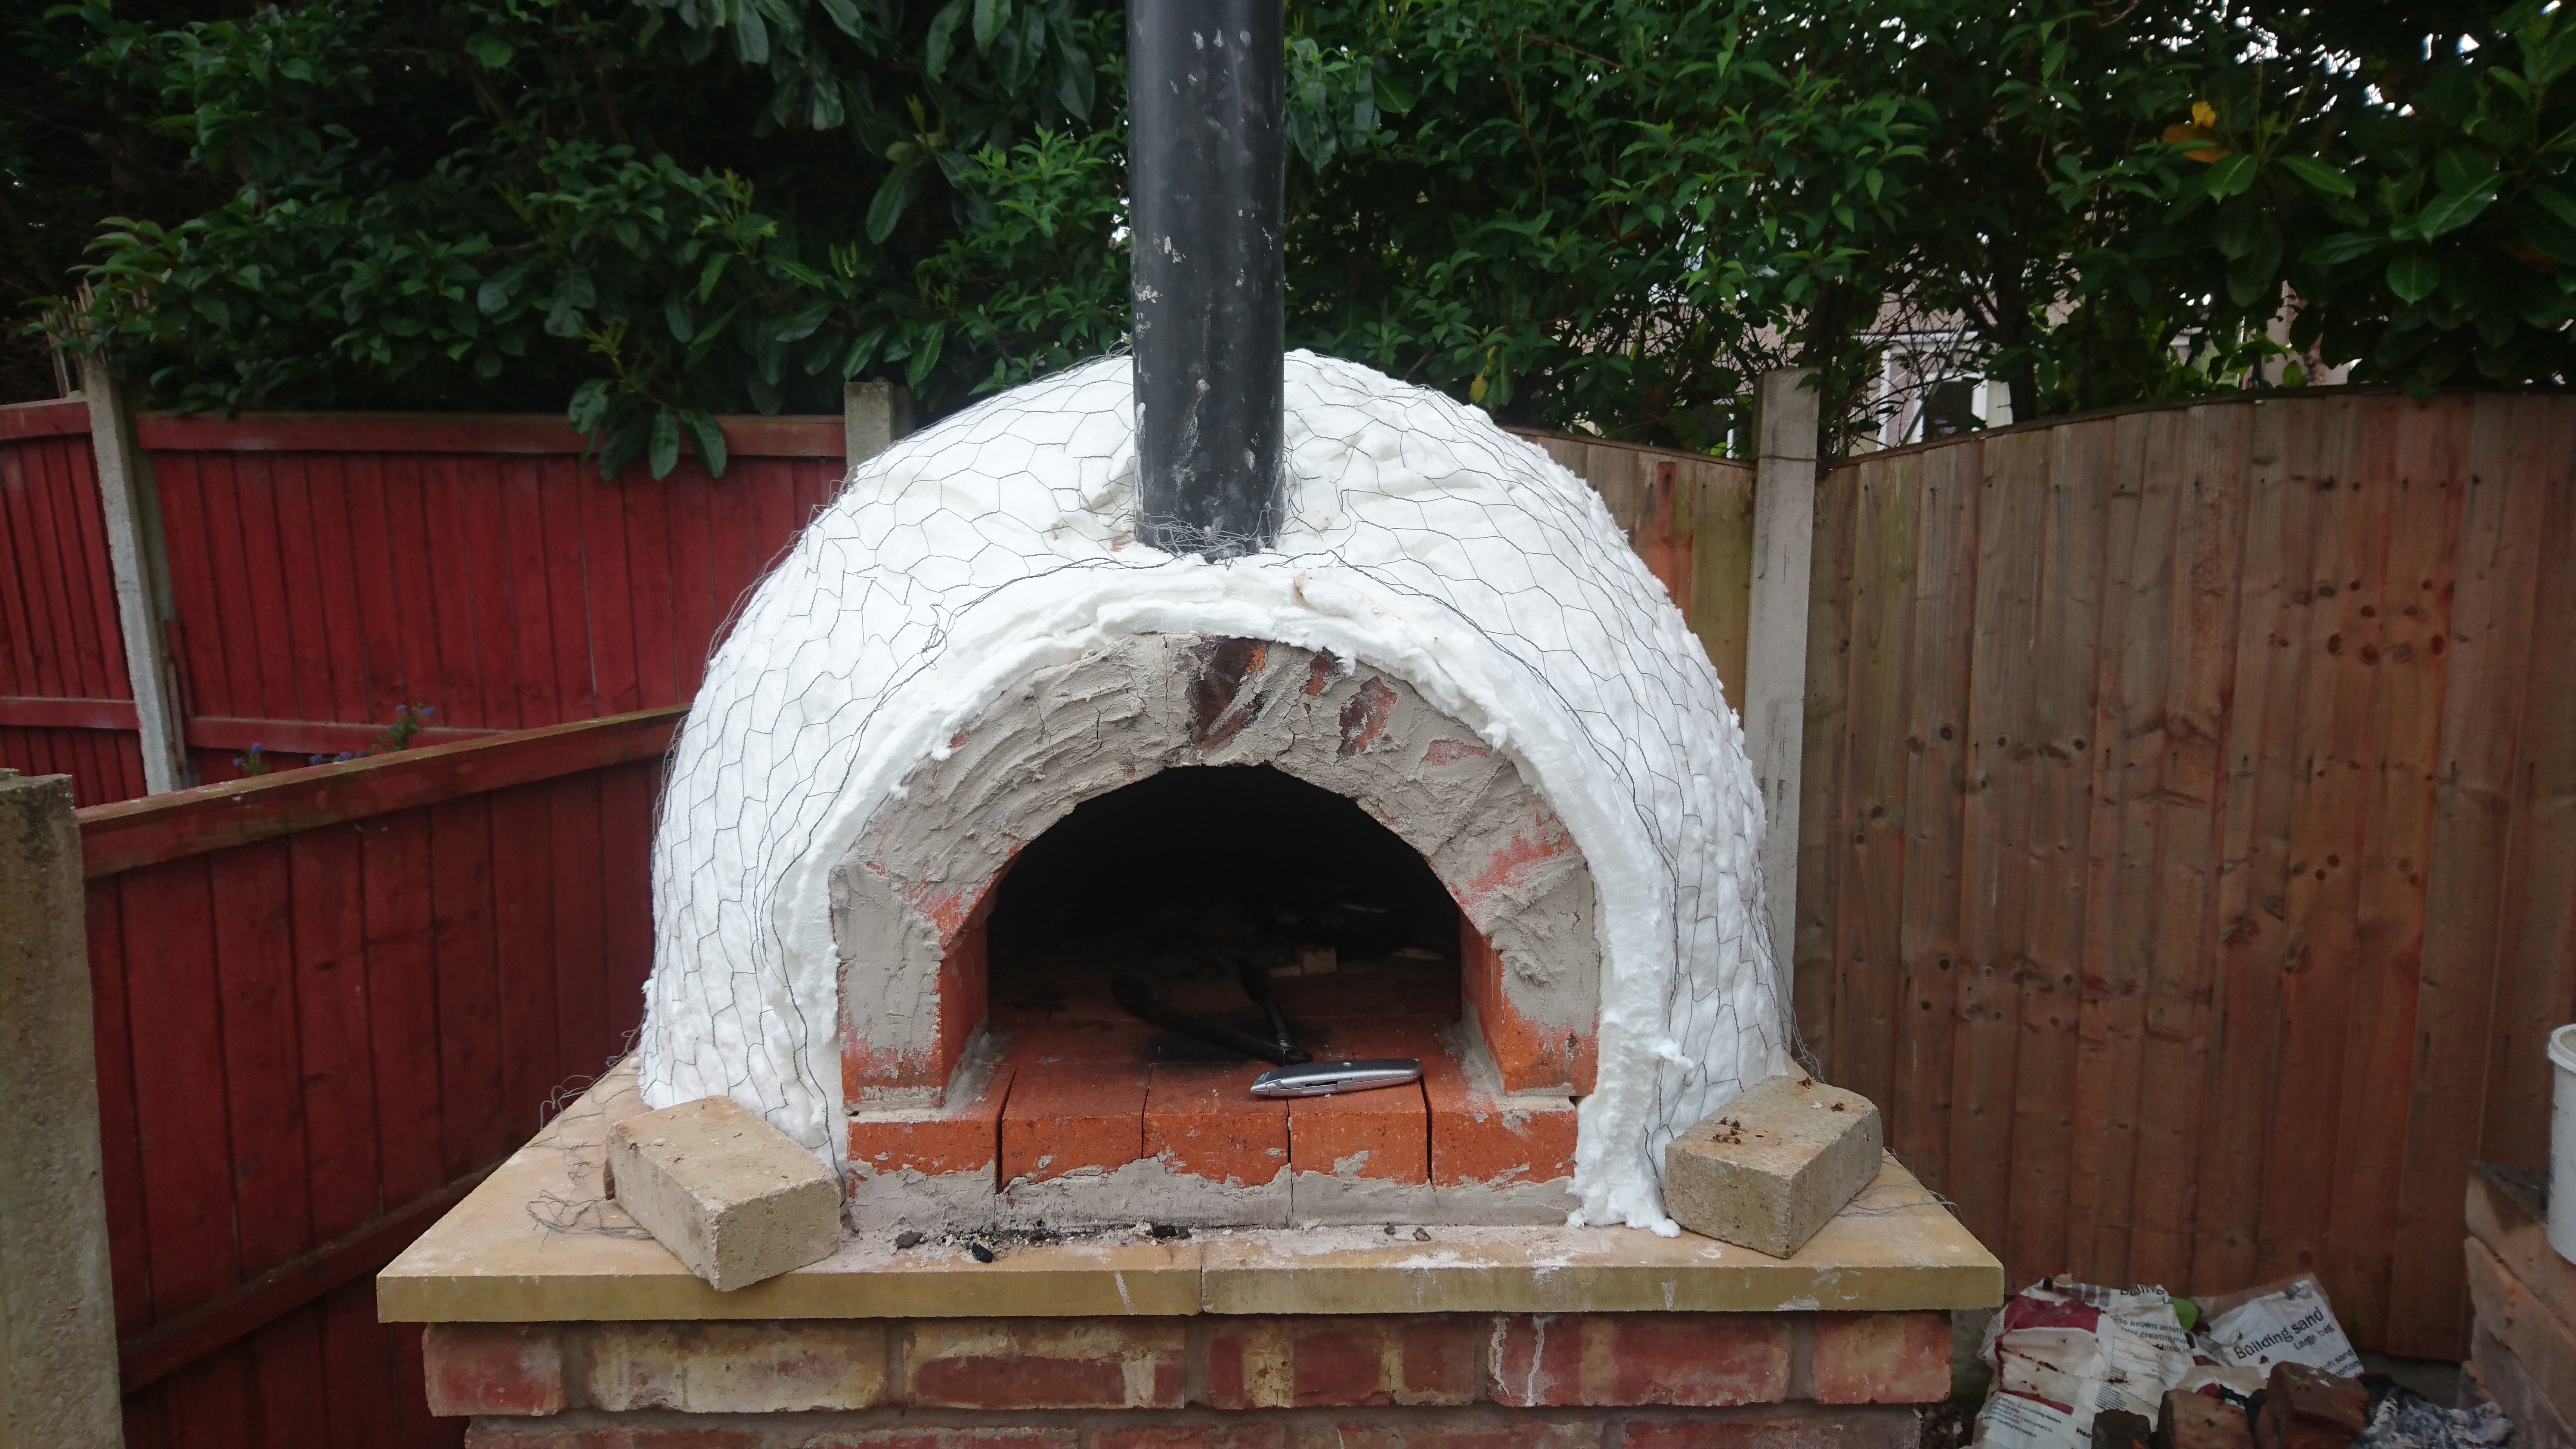
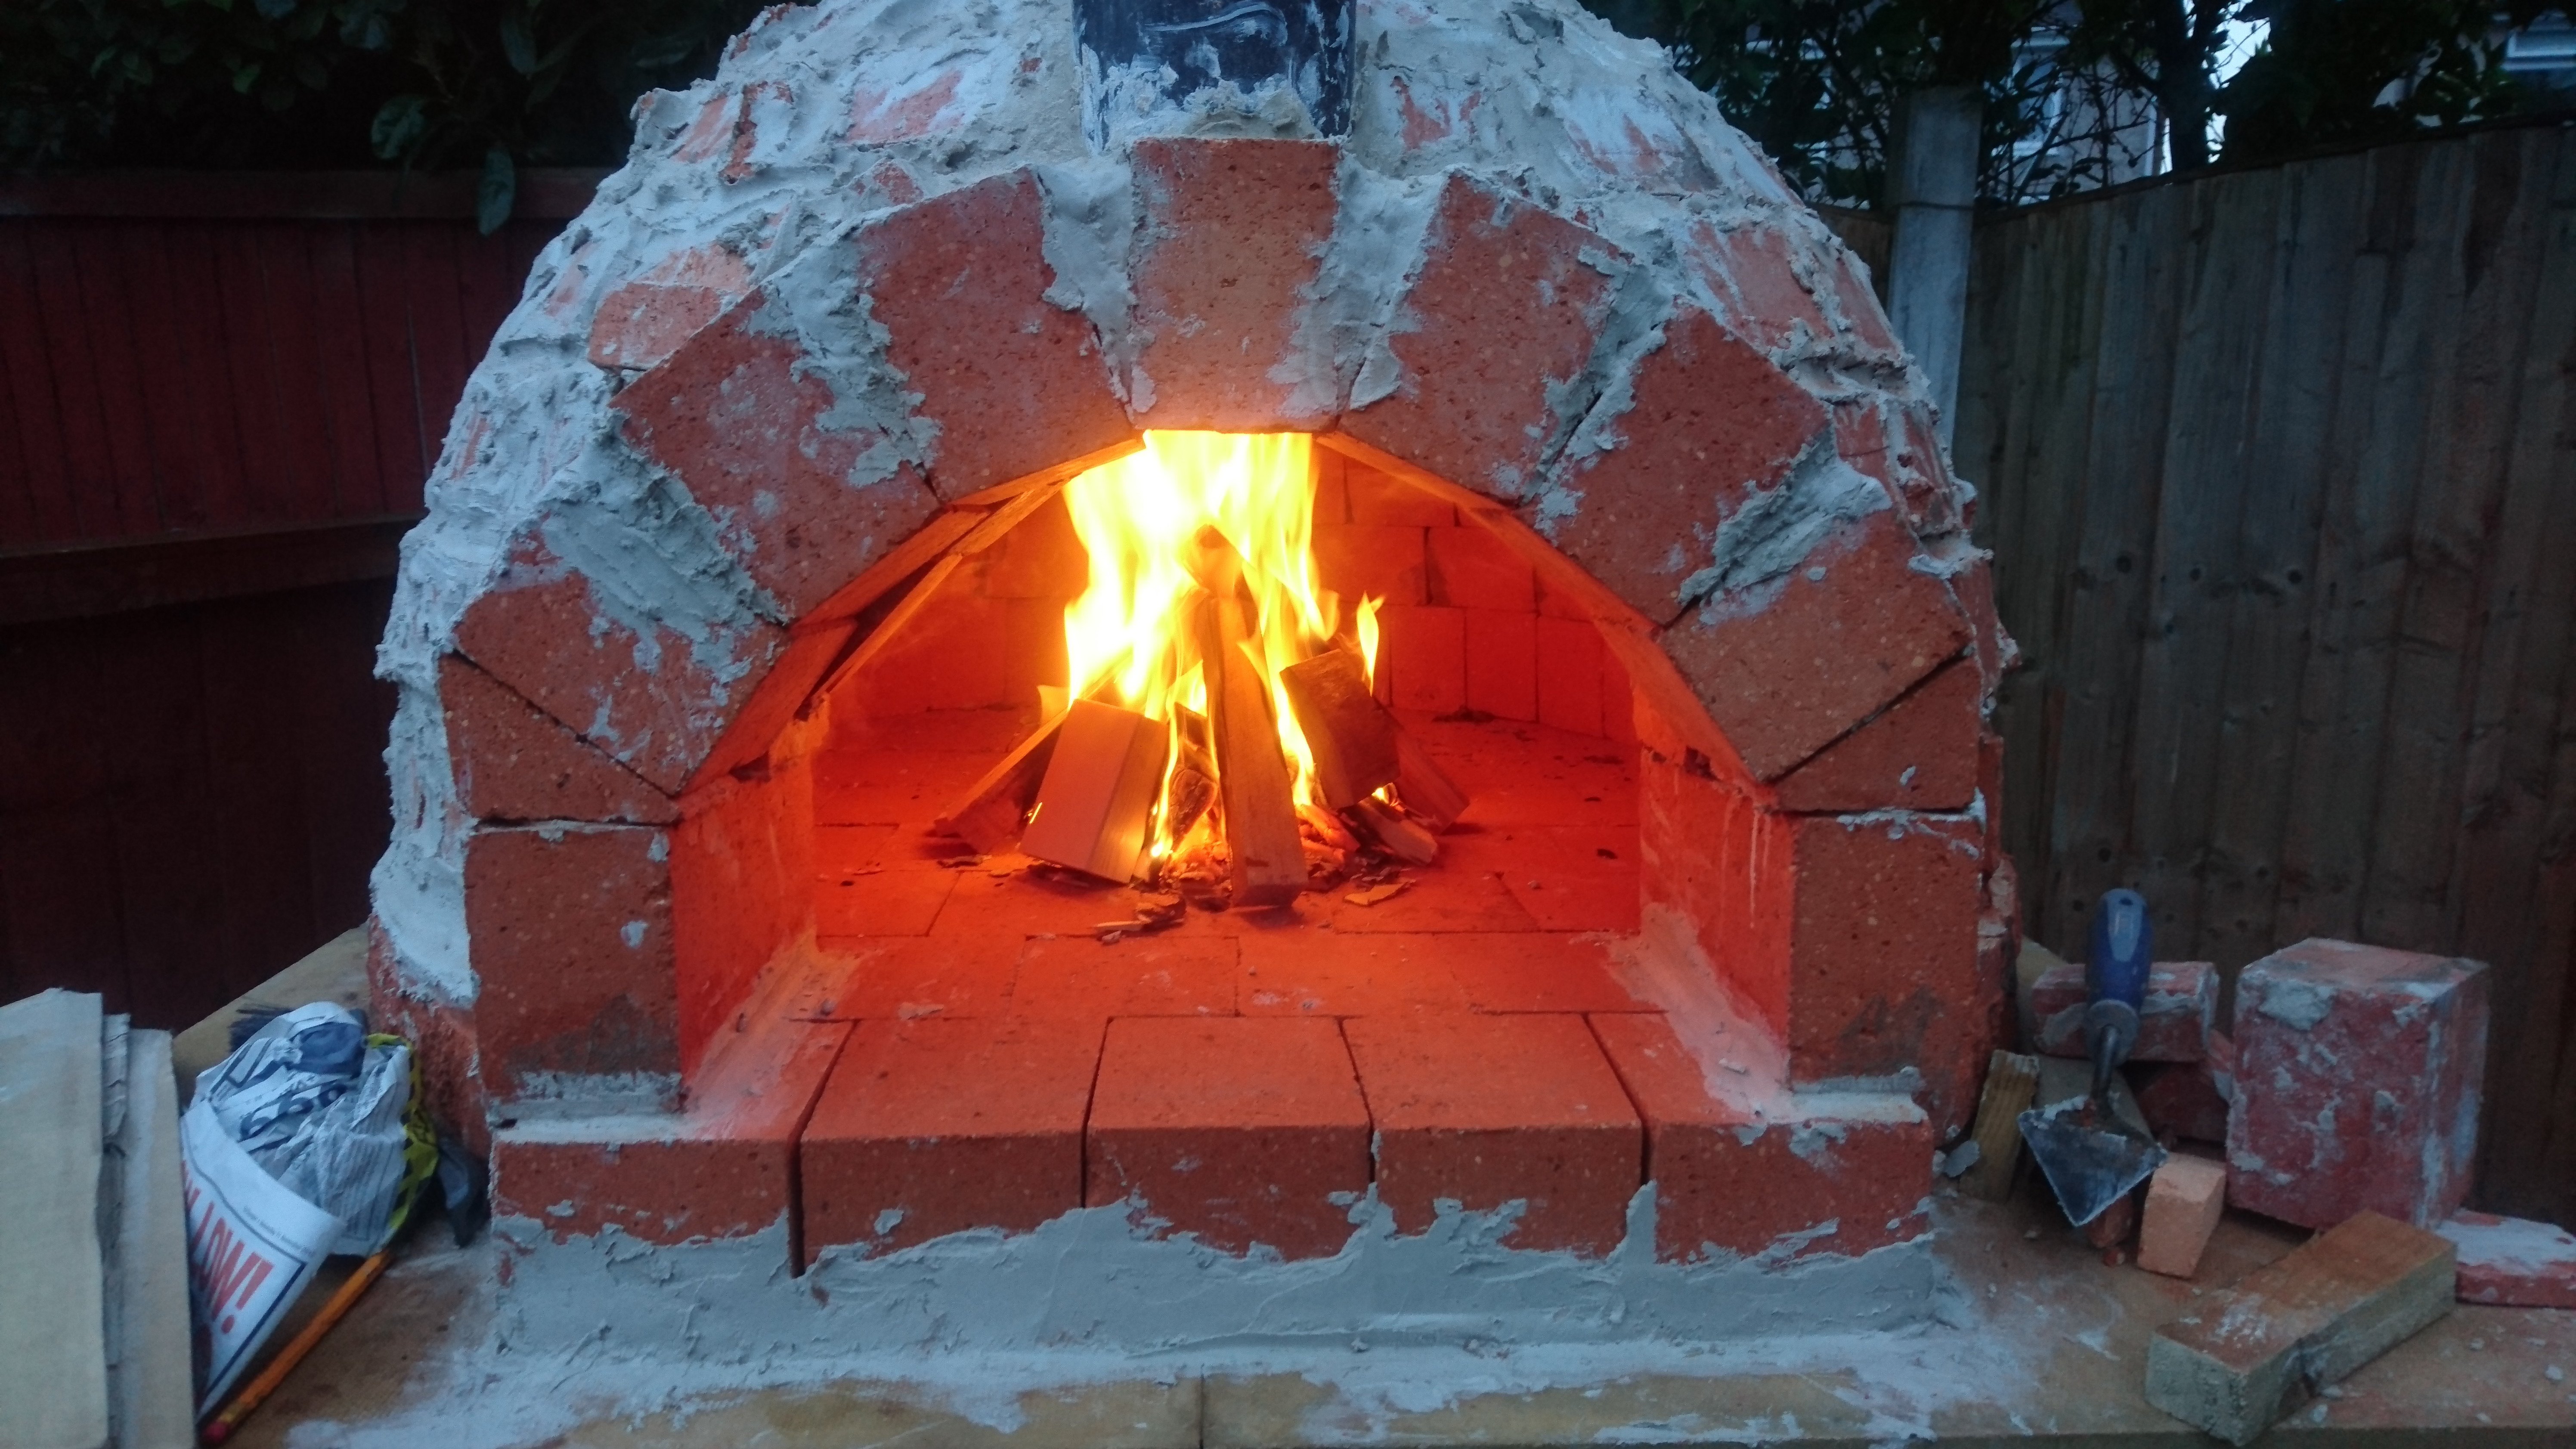
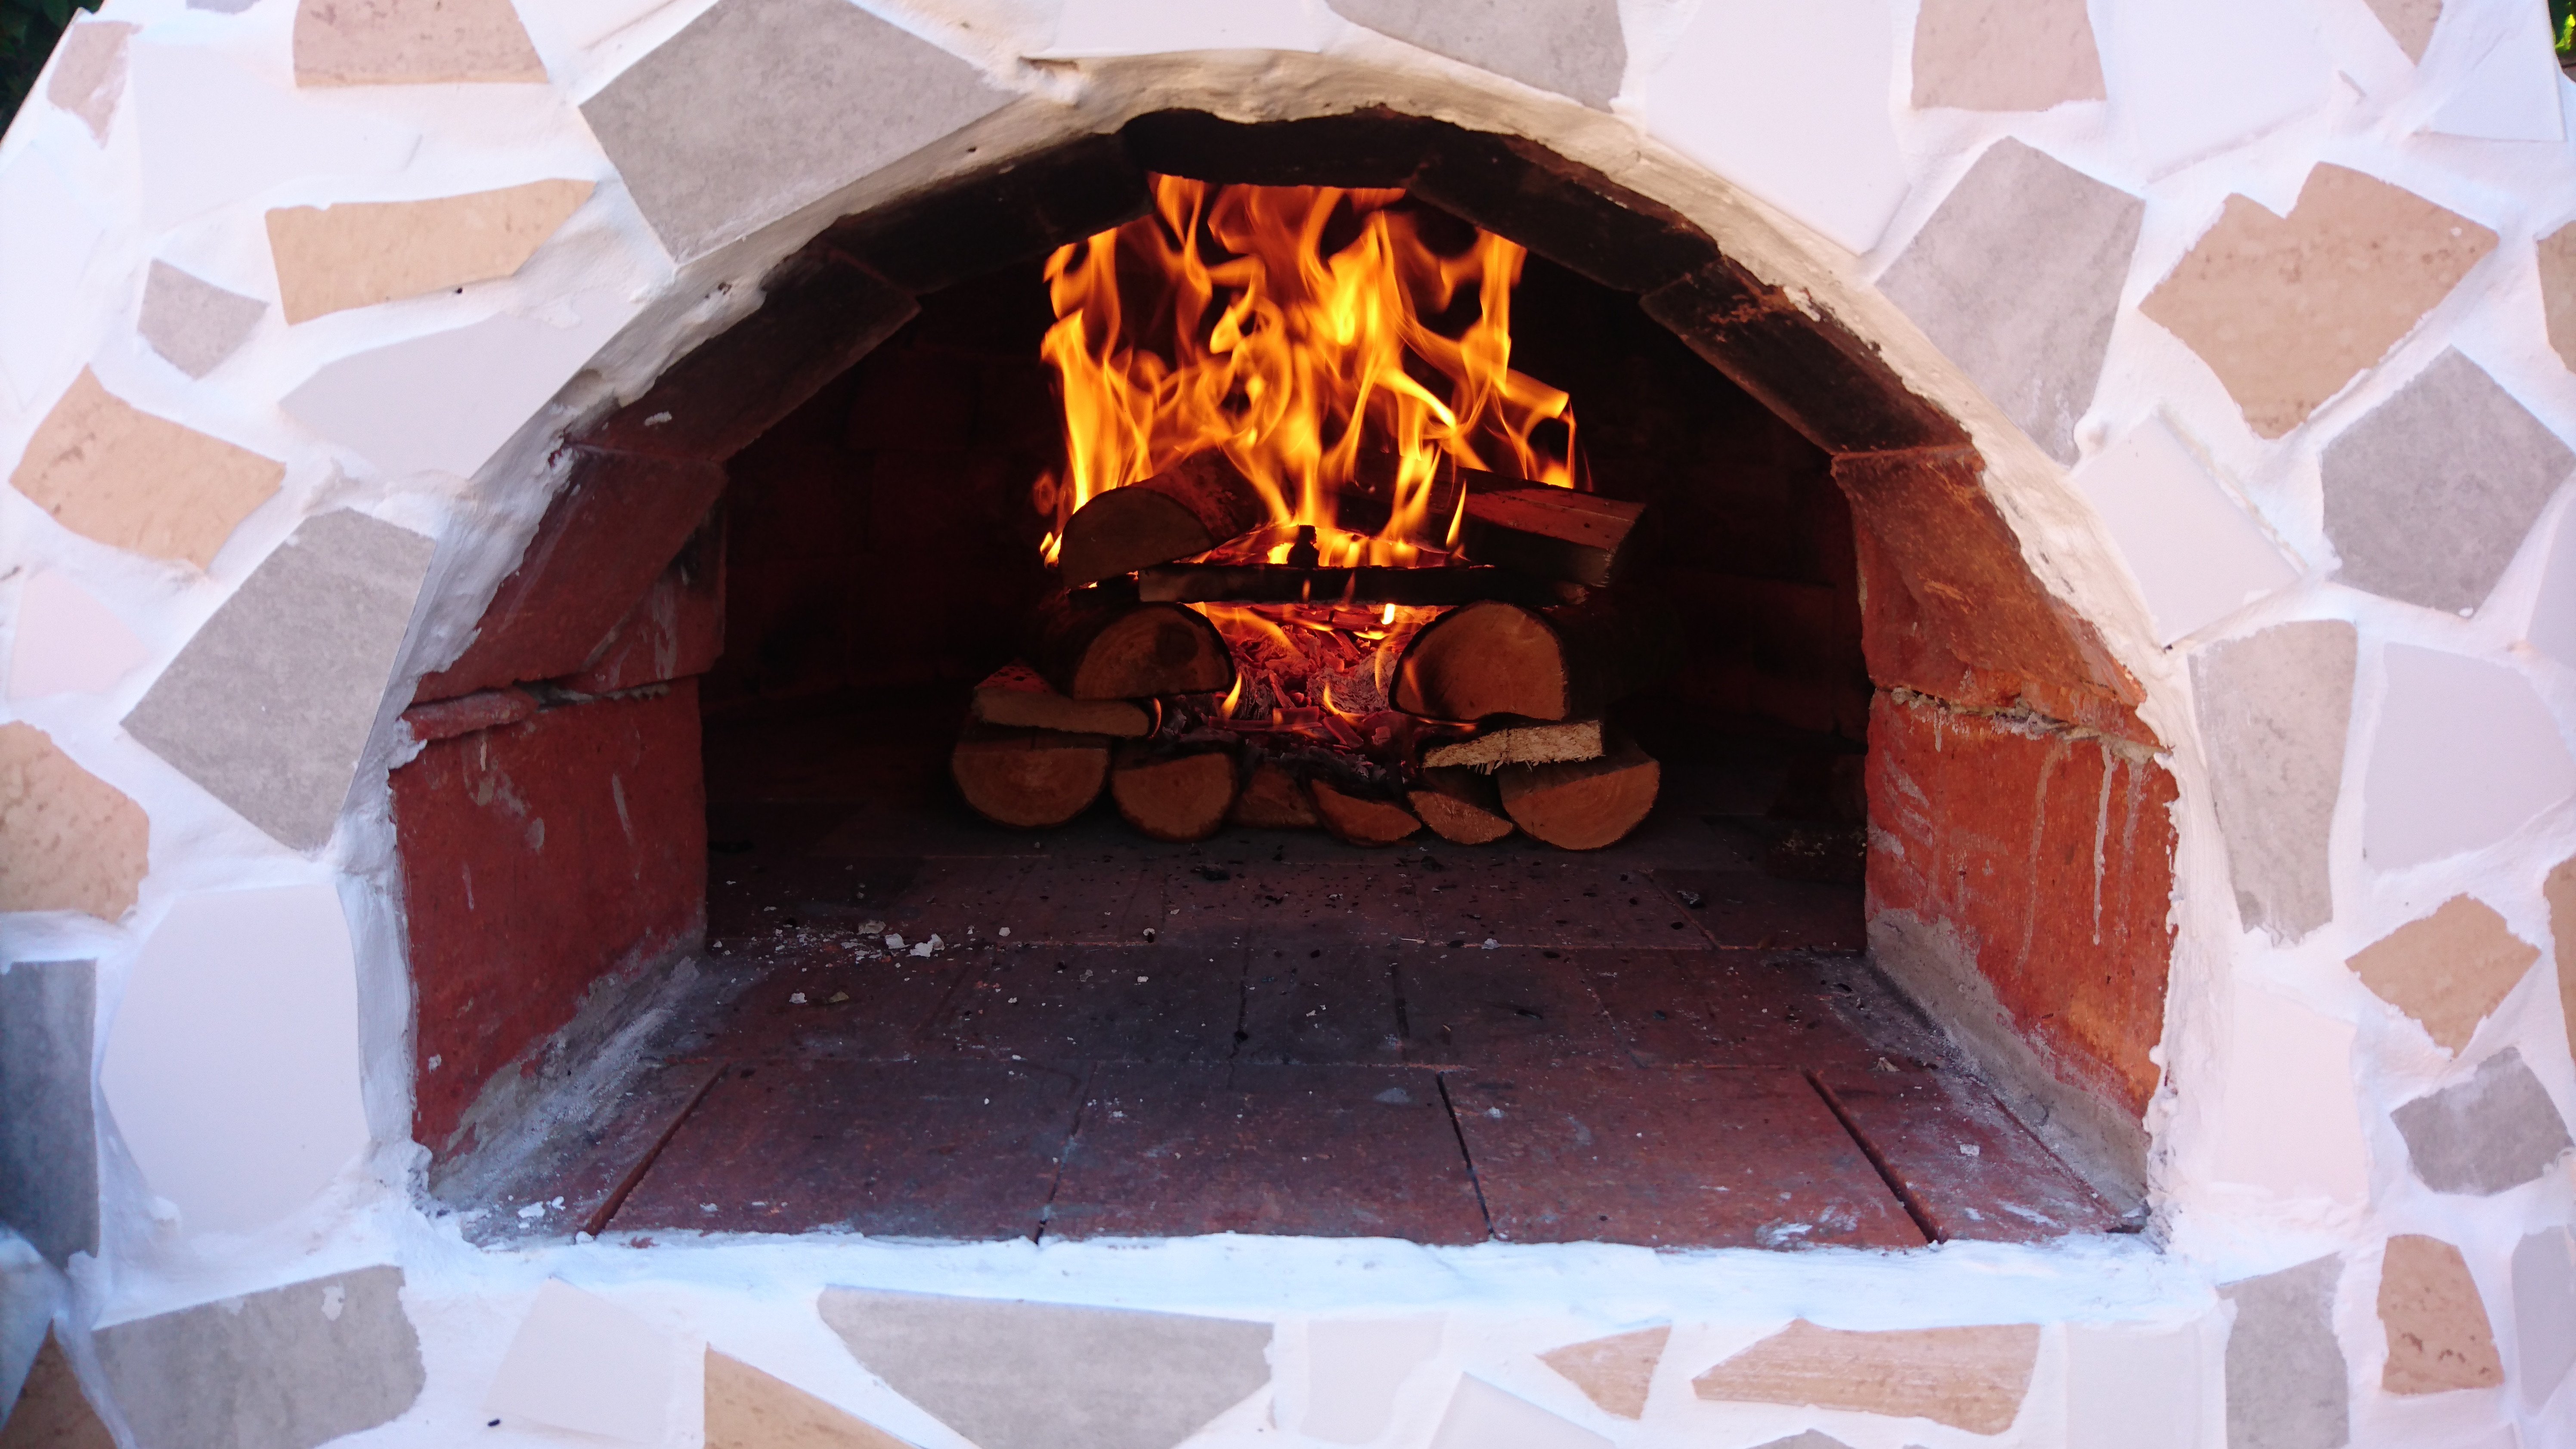
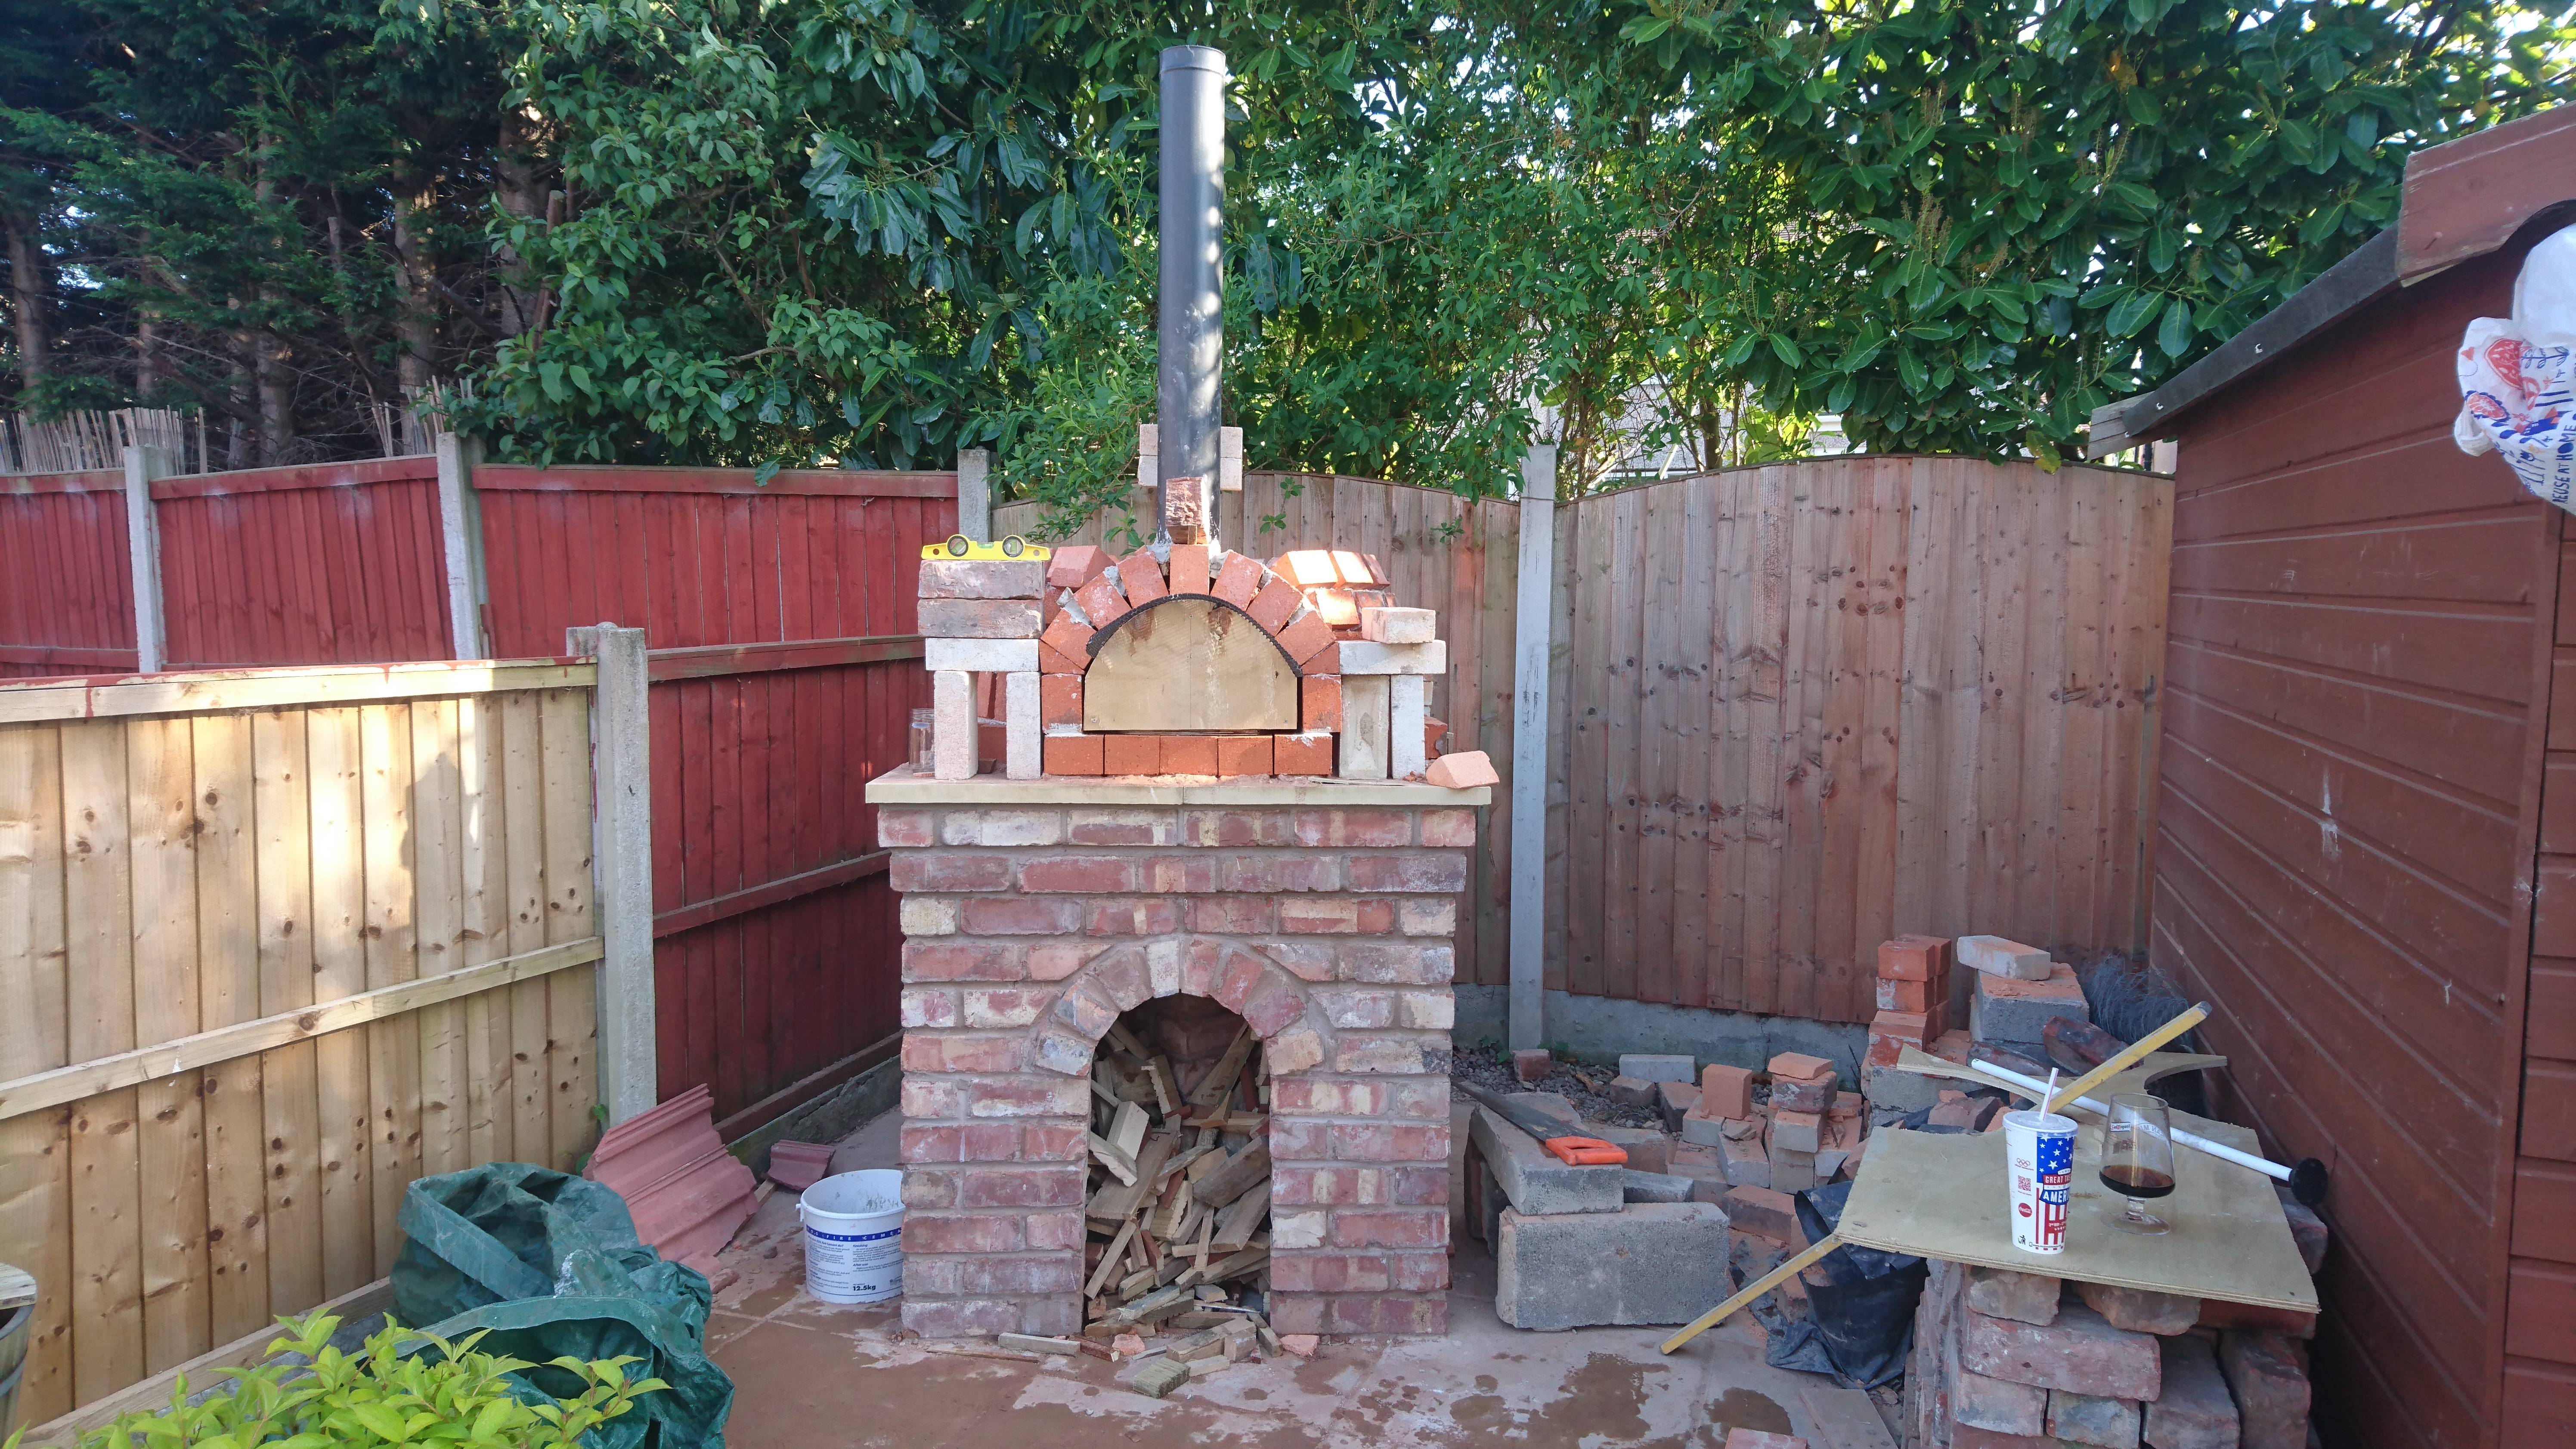
"First fire to cure the cement. Curing the oven is essential and will take around 5 days of building small fires and gradually increasing them. However, this is just the first one. It's crucial to cure the oven to make sure it sets the cement. It's important that nothing is cooked in there until the whole thing is complete, due to steam escaping from food which may effect the cement setting properly. Very frustrating but worth the wait."
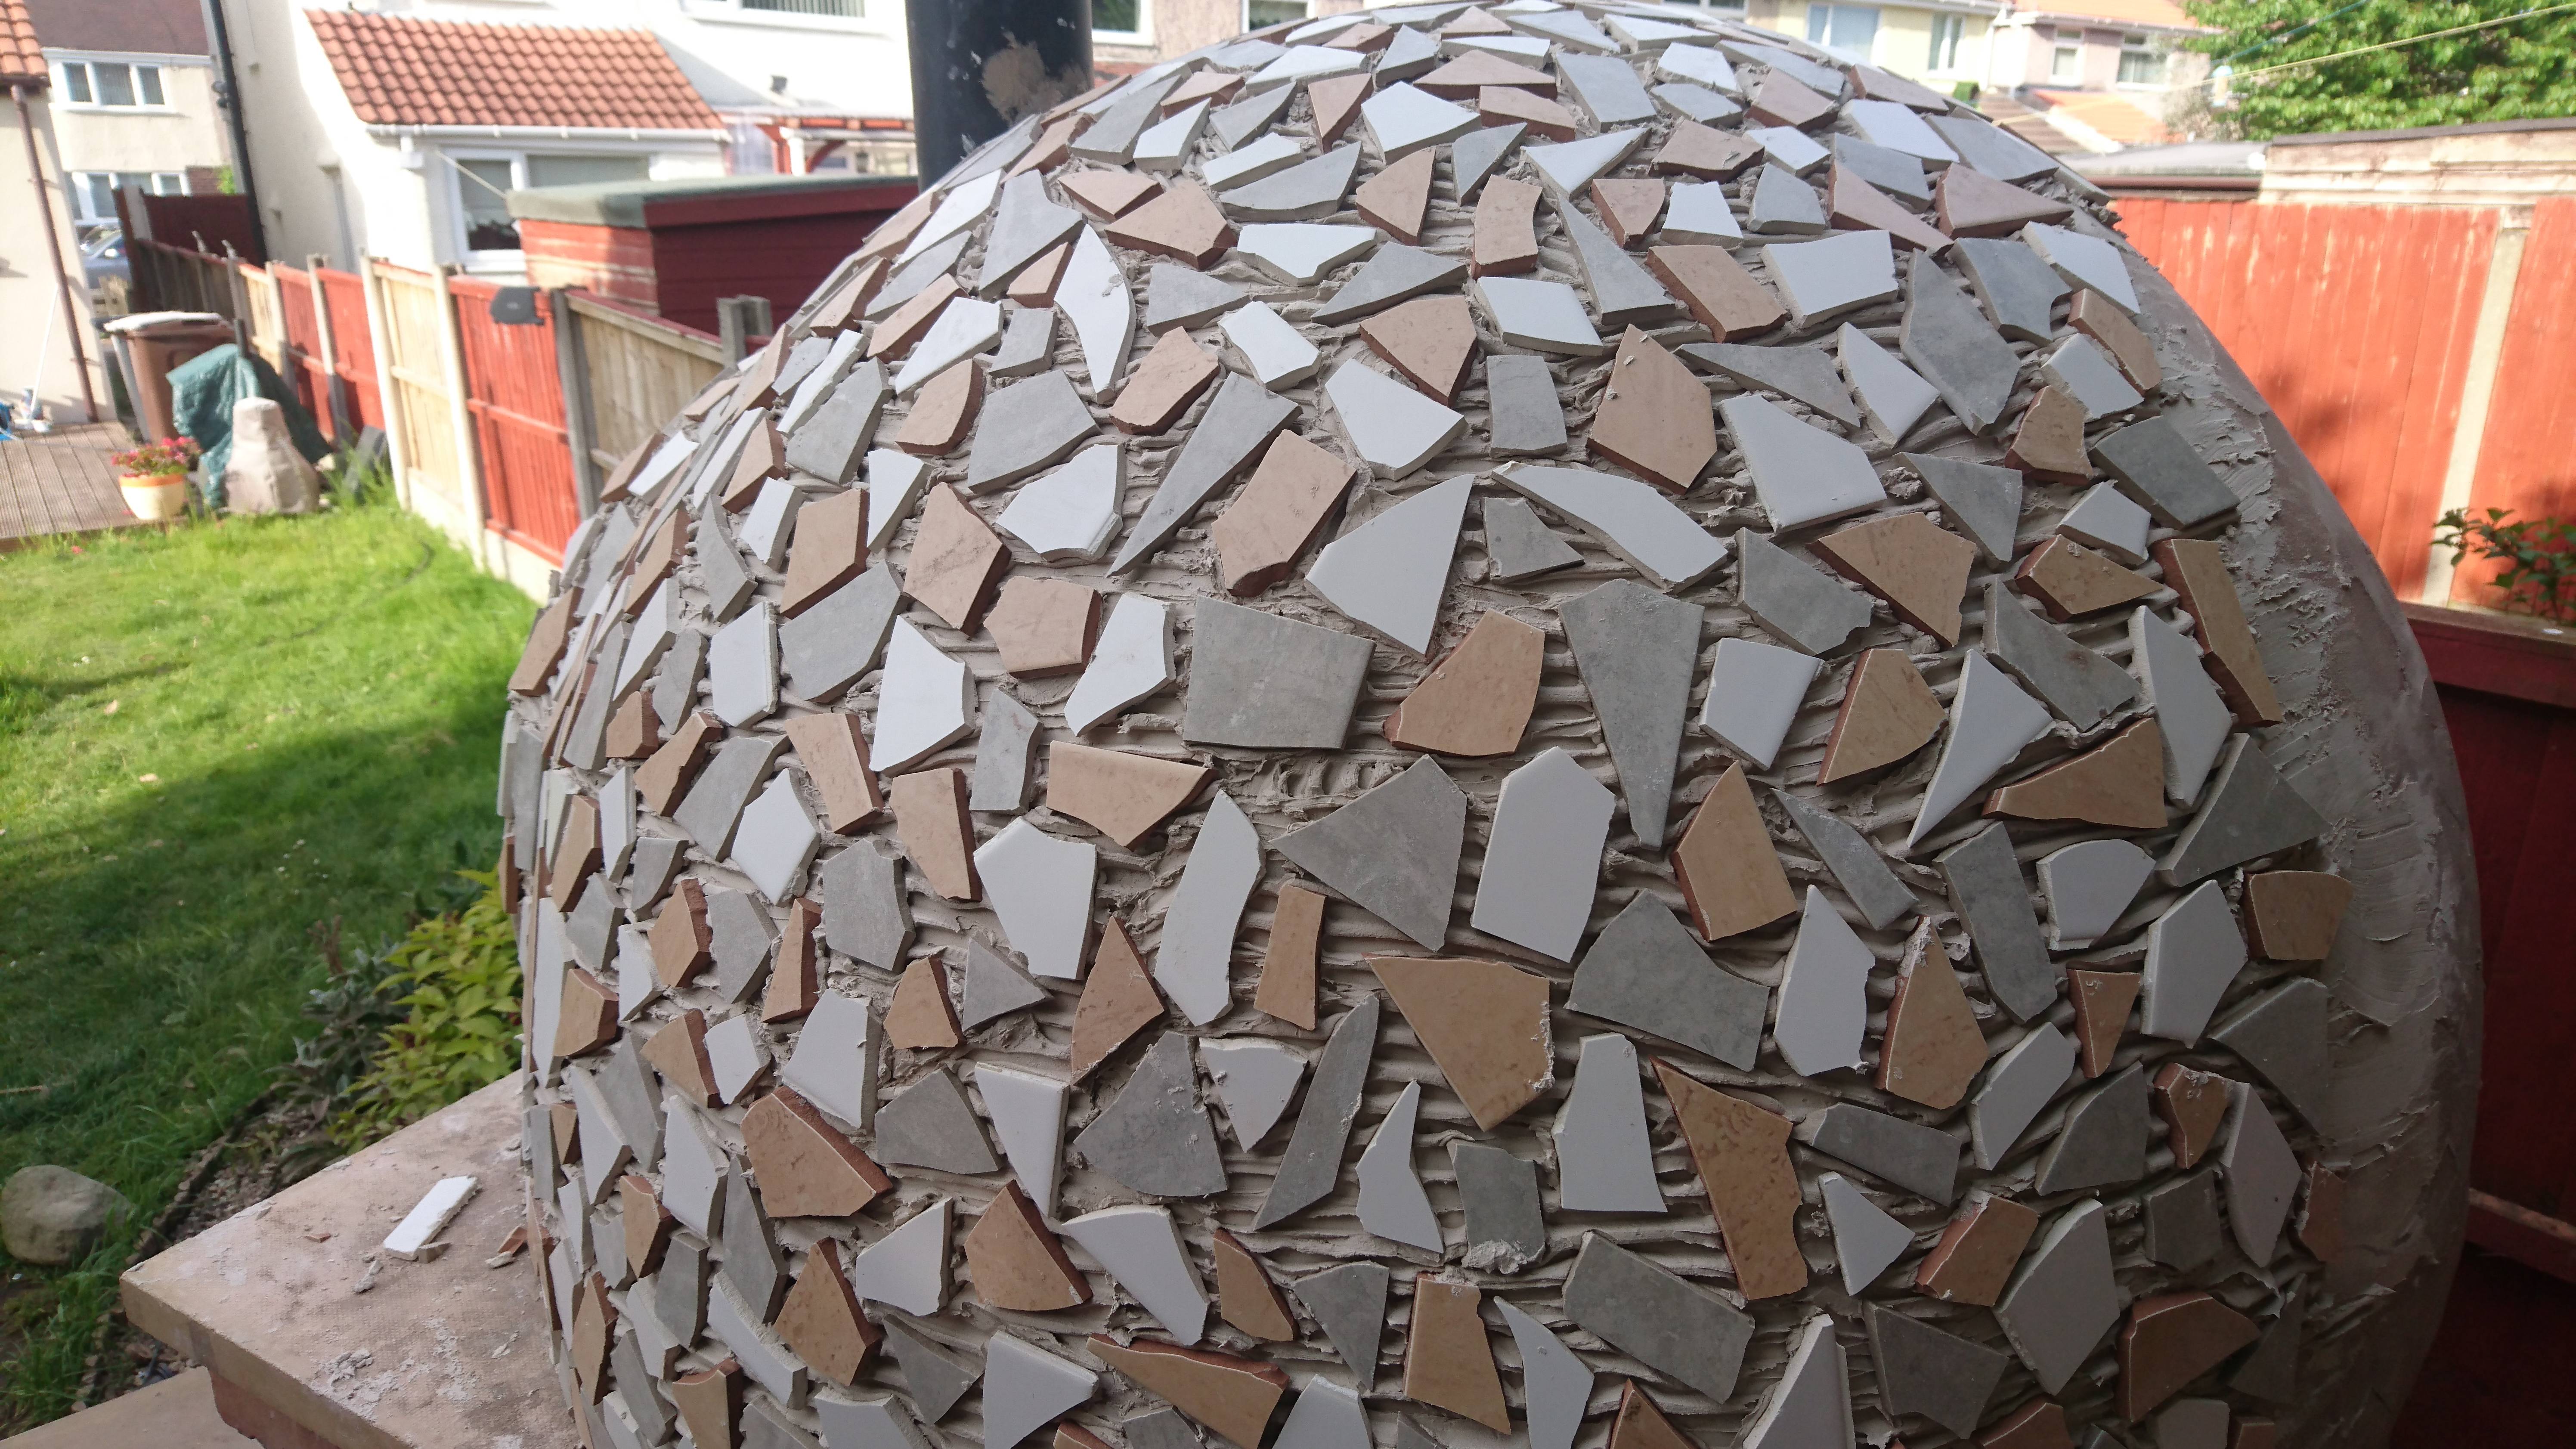
19
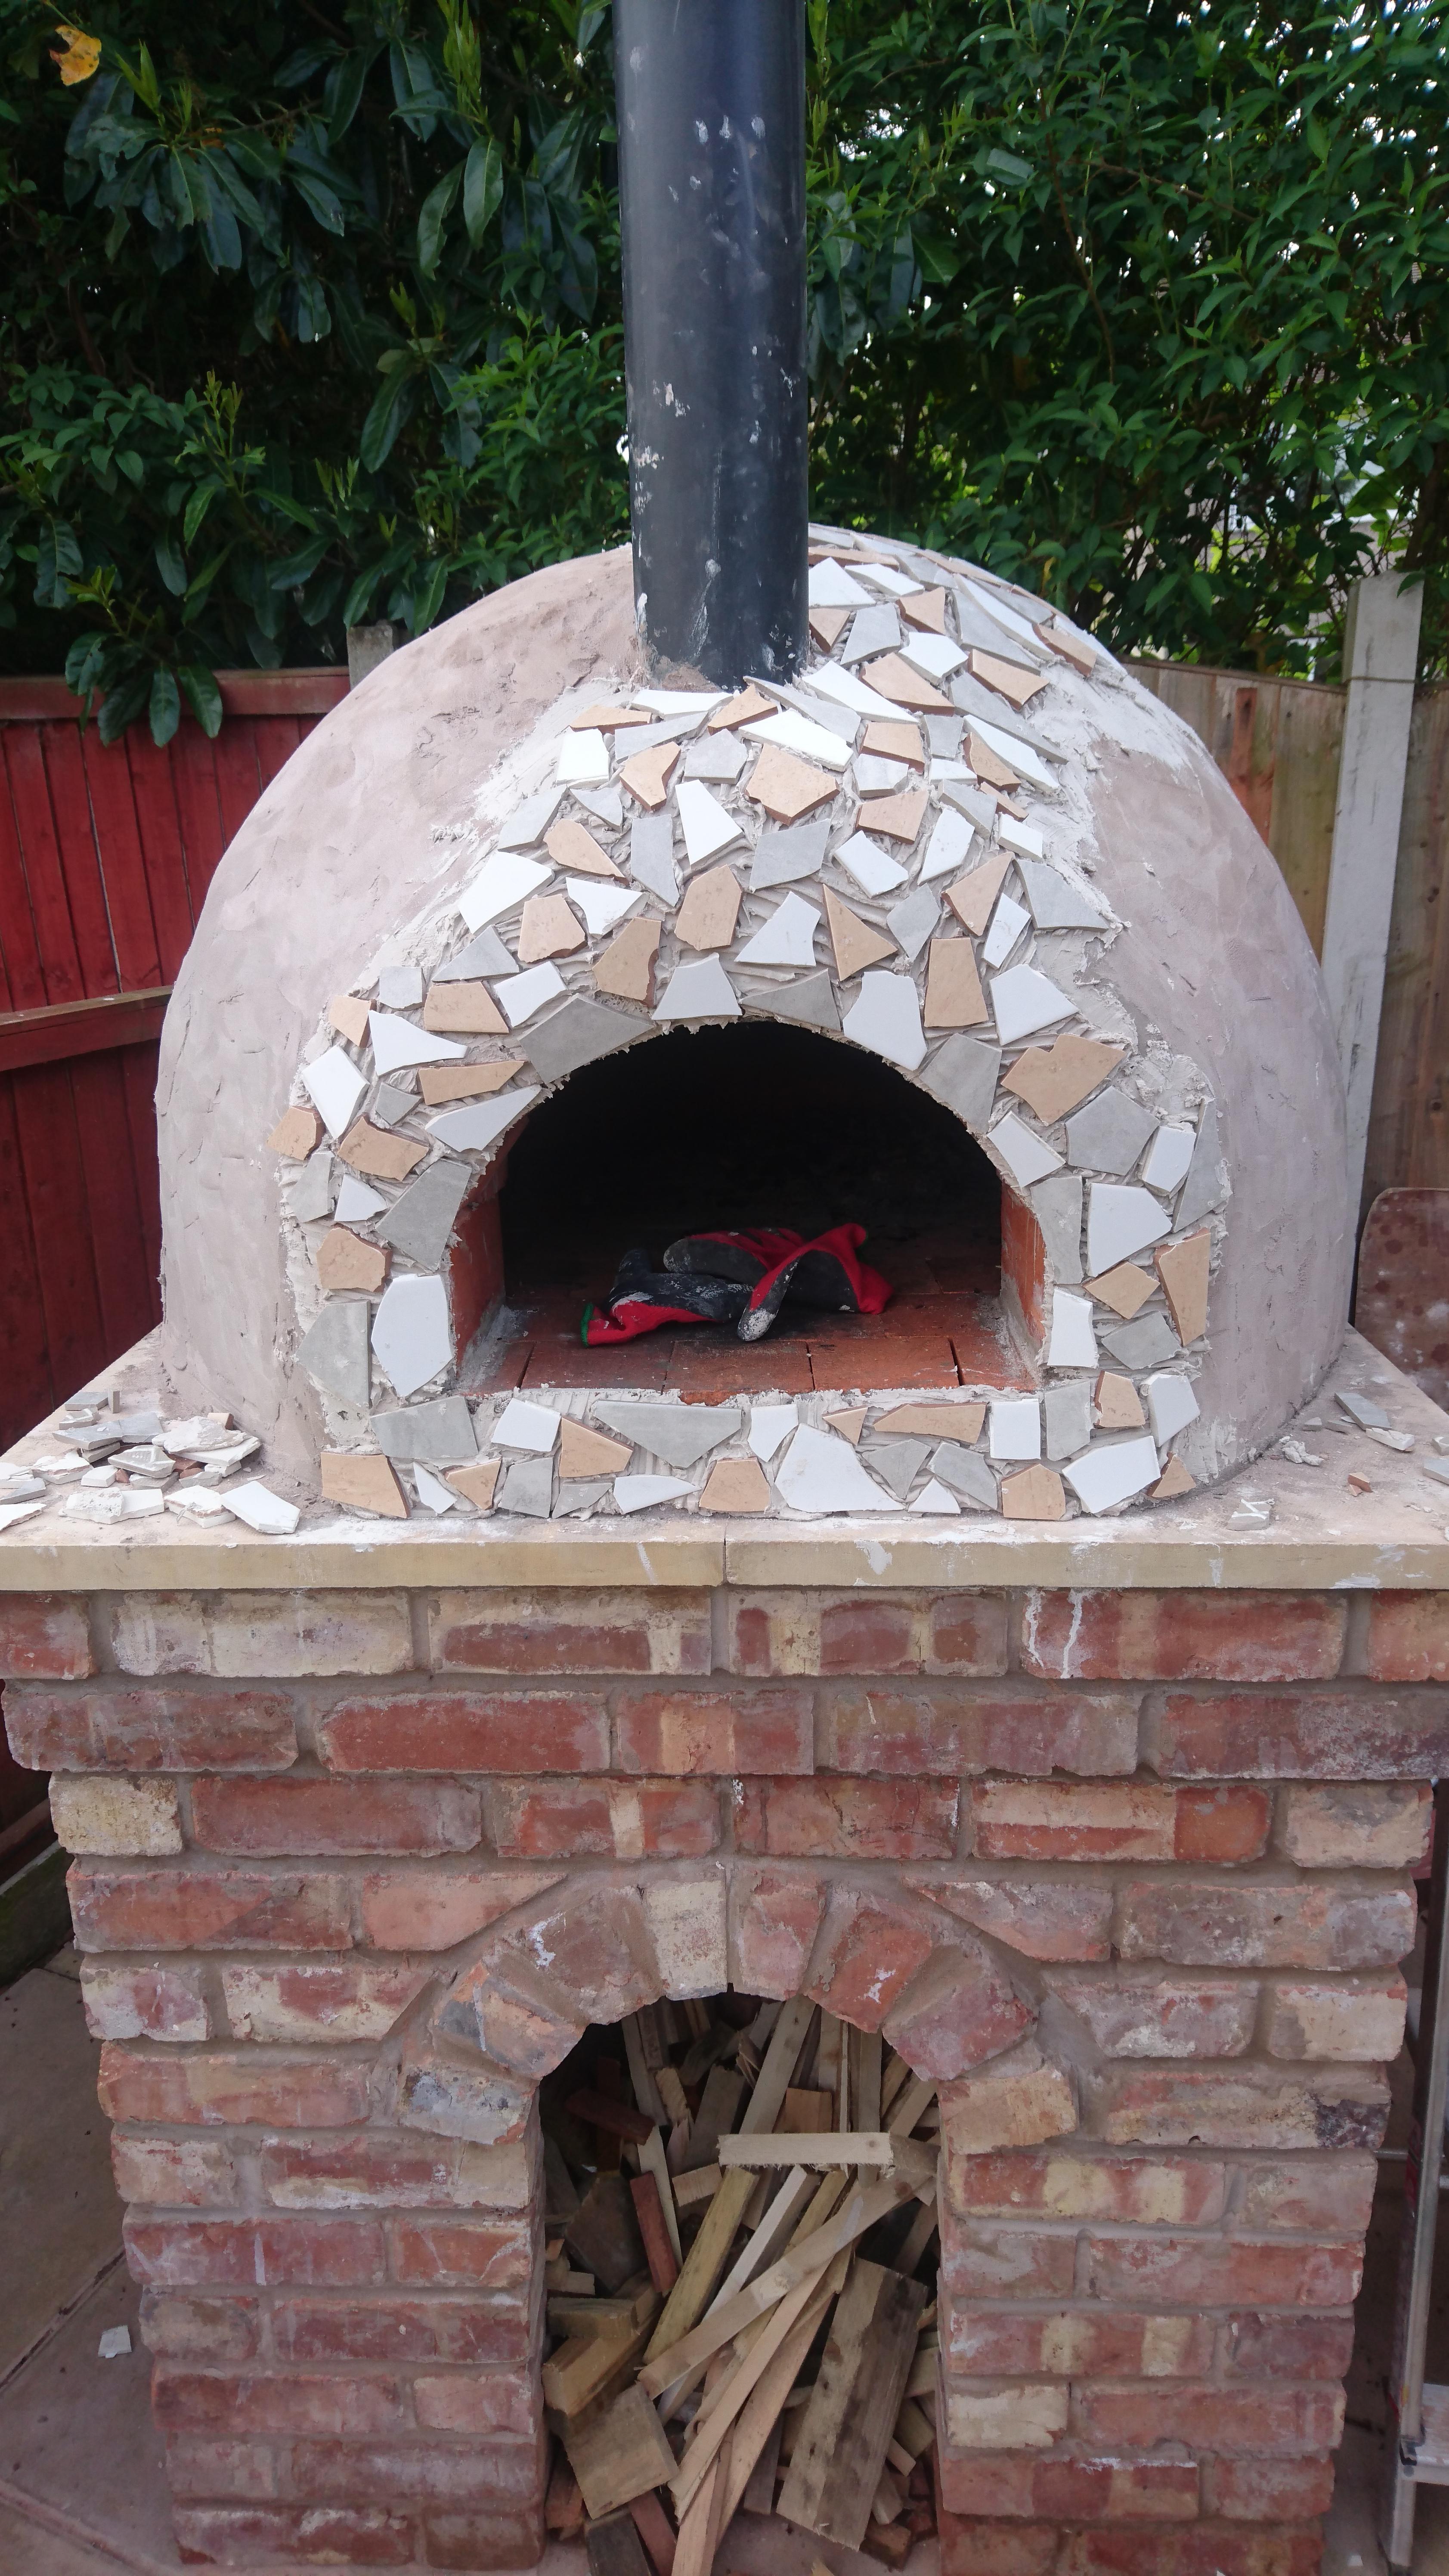
"Once the mosaic was done, time for grouting. Lots of it! Each tile then had to be cleaned off with a wet sponge. You may have noticed there is a gazebo over the oven. I did start with one originally, which then blew into my neighbours garden and was destroyed. If you decide to build one keep your oven as dry as possible when building it!"
28
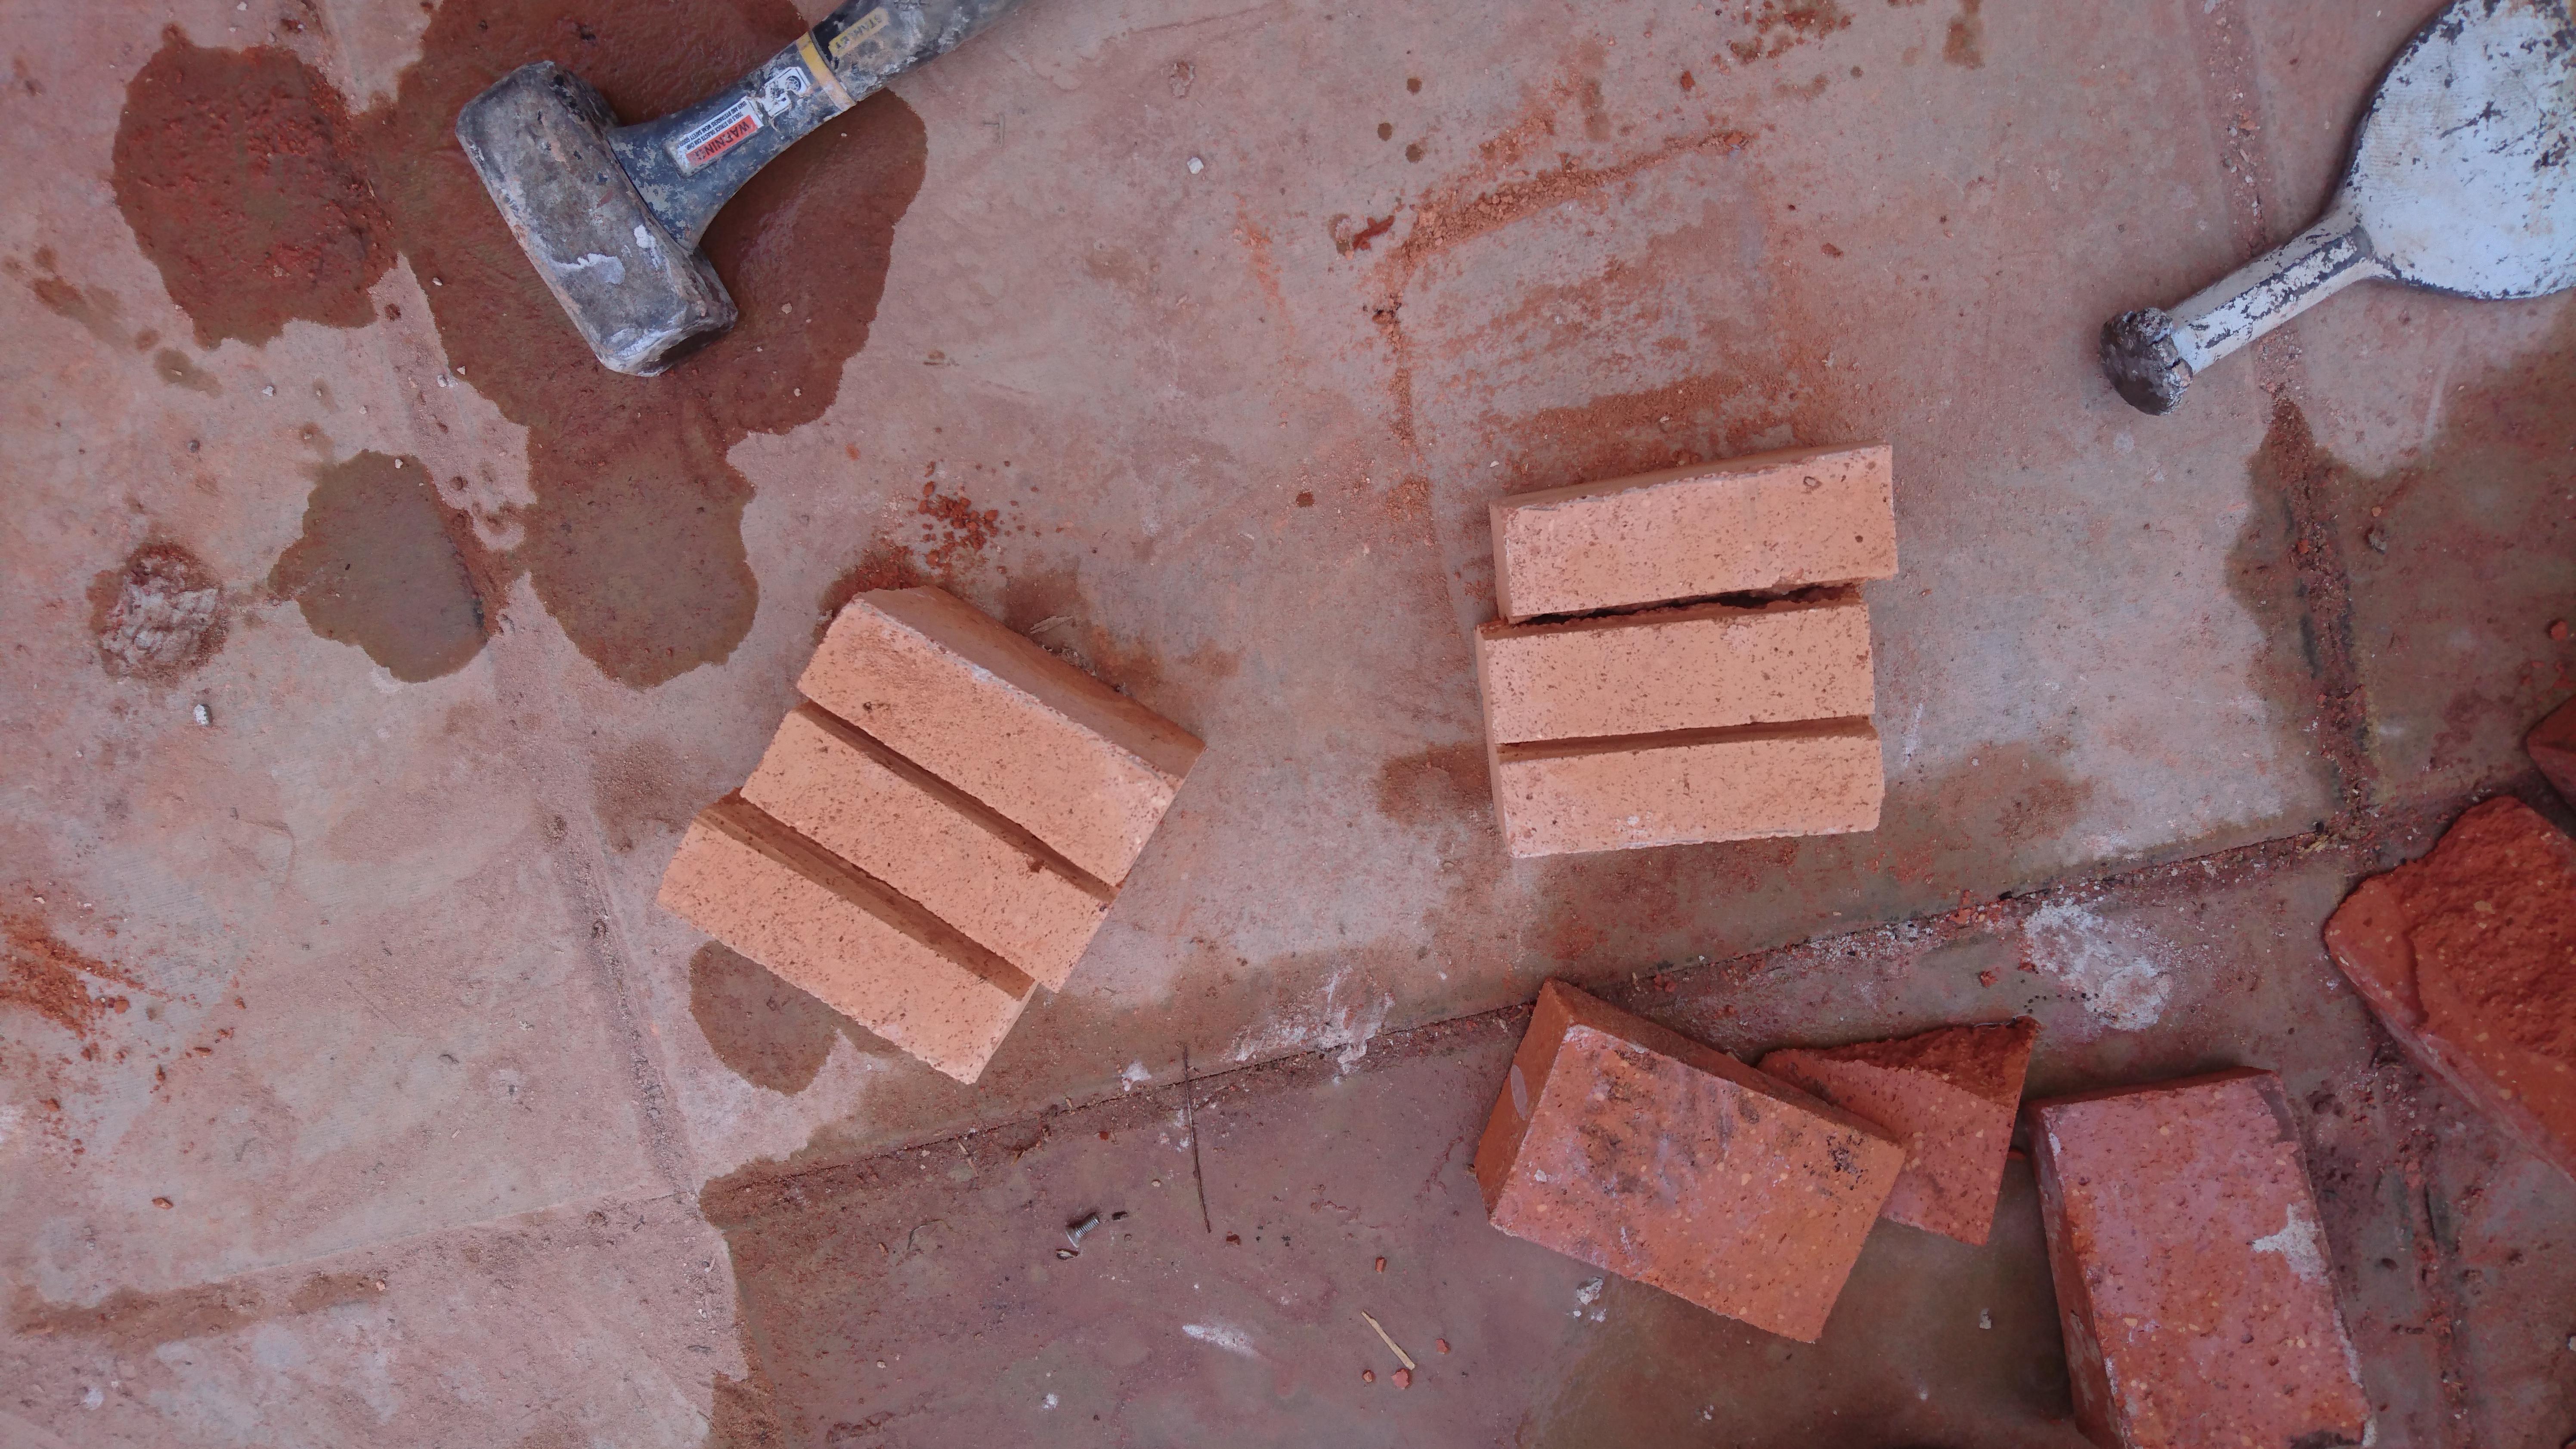
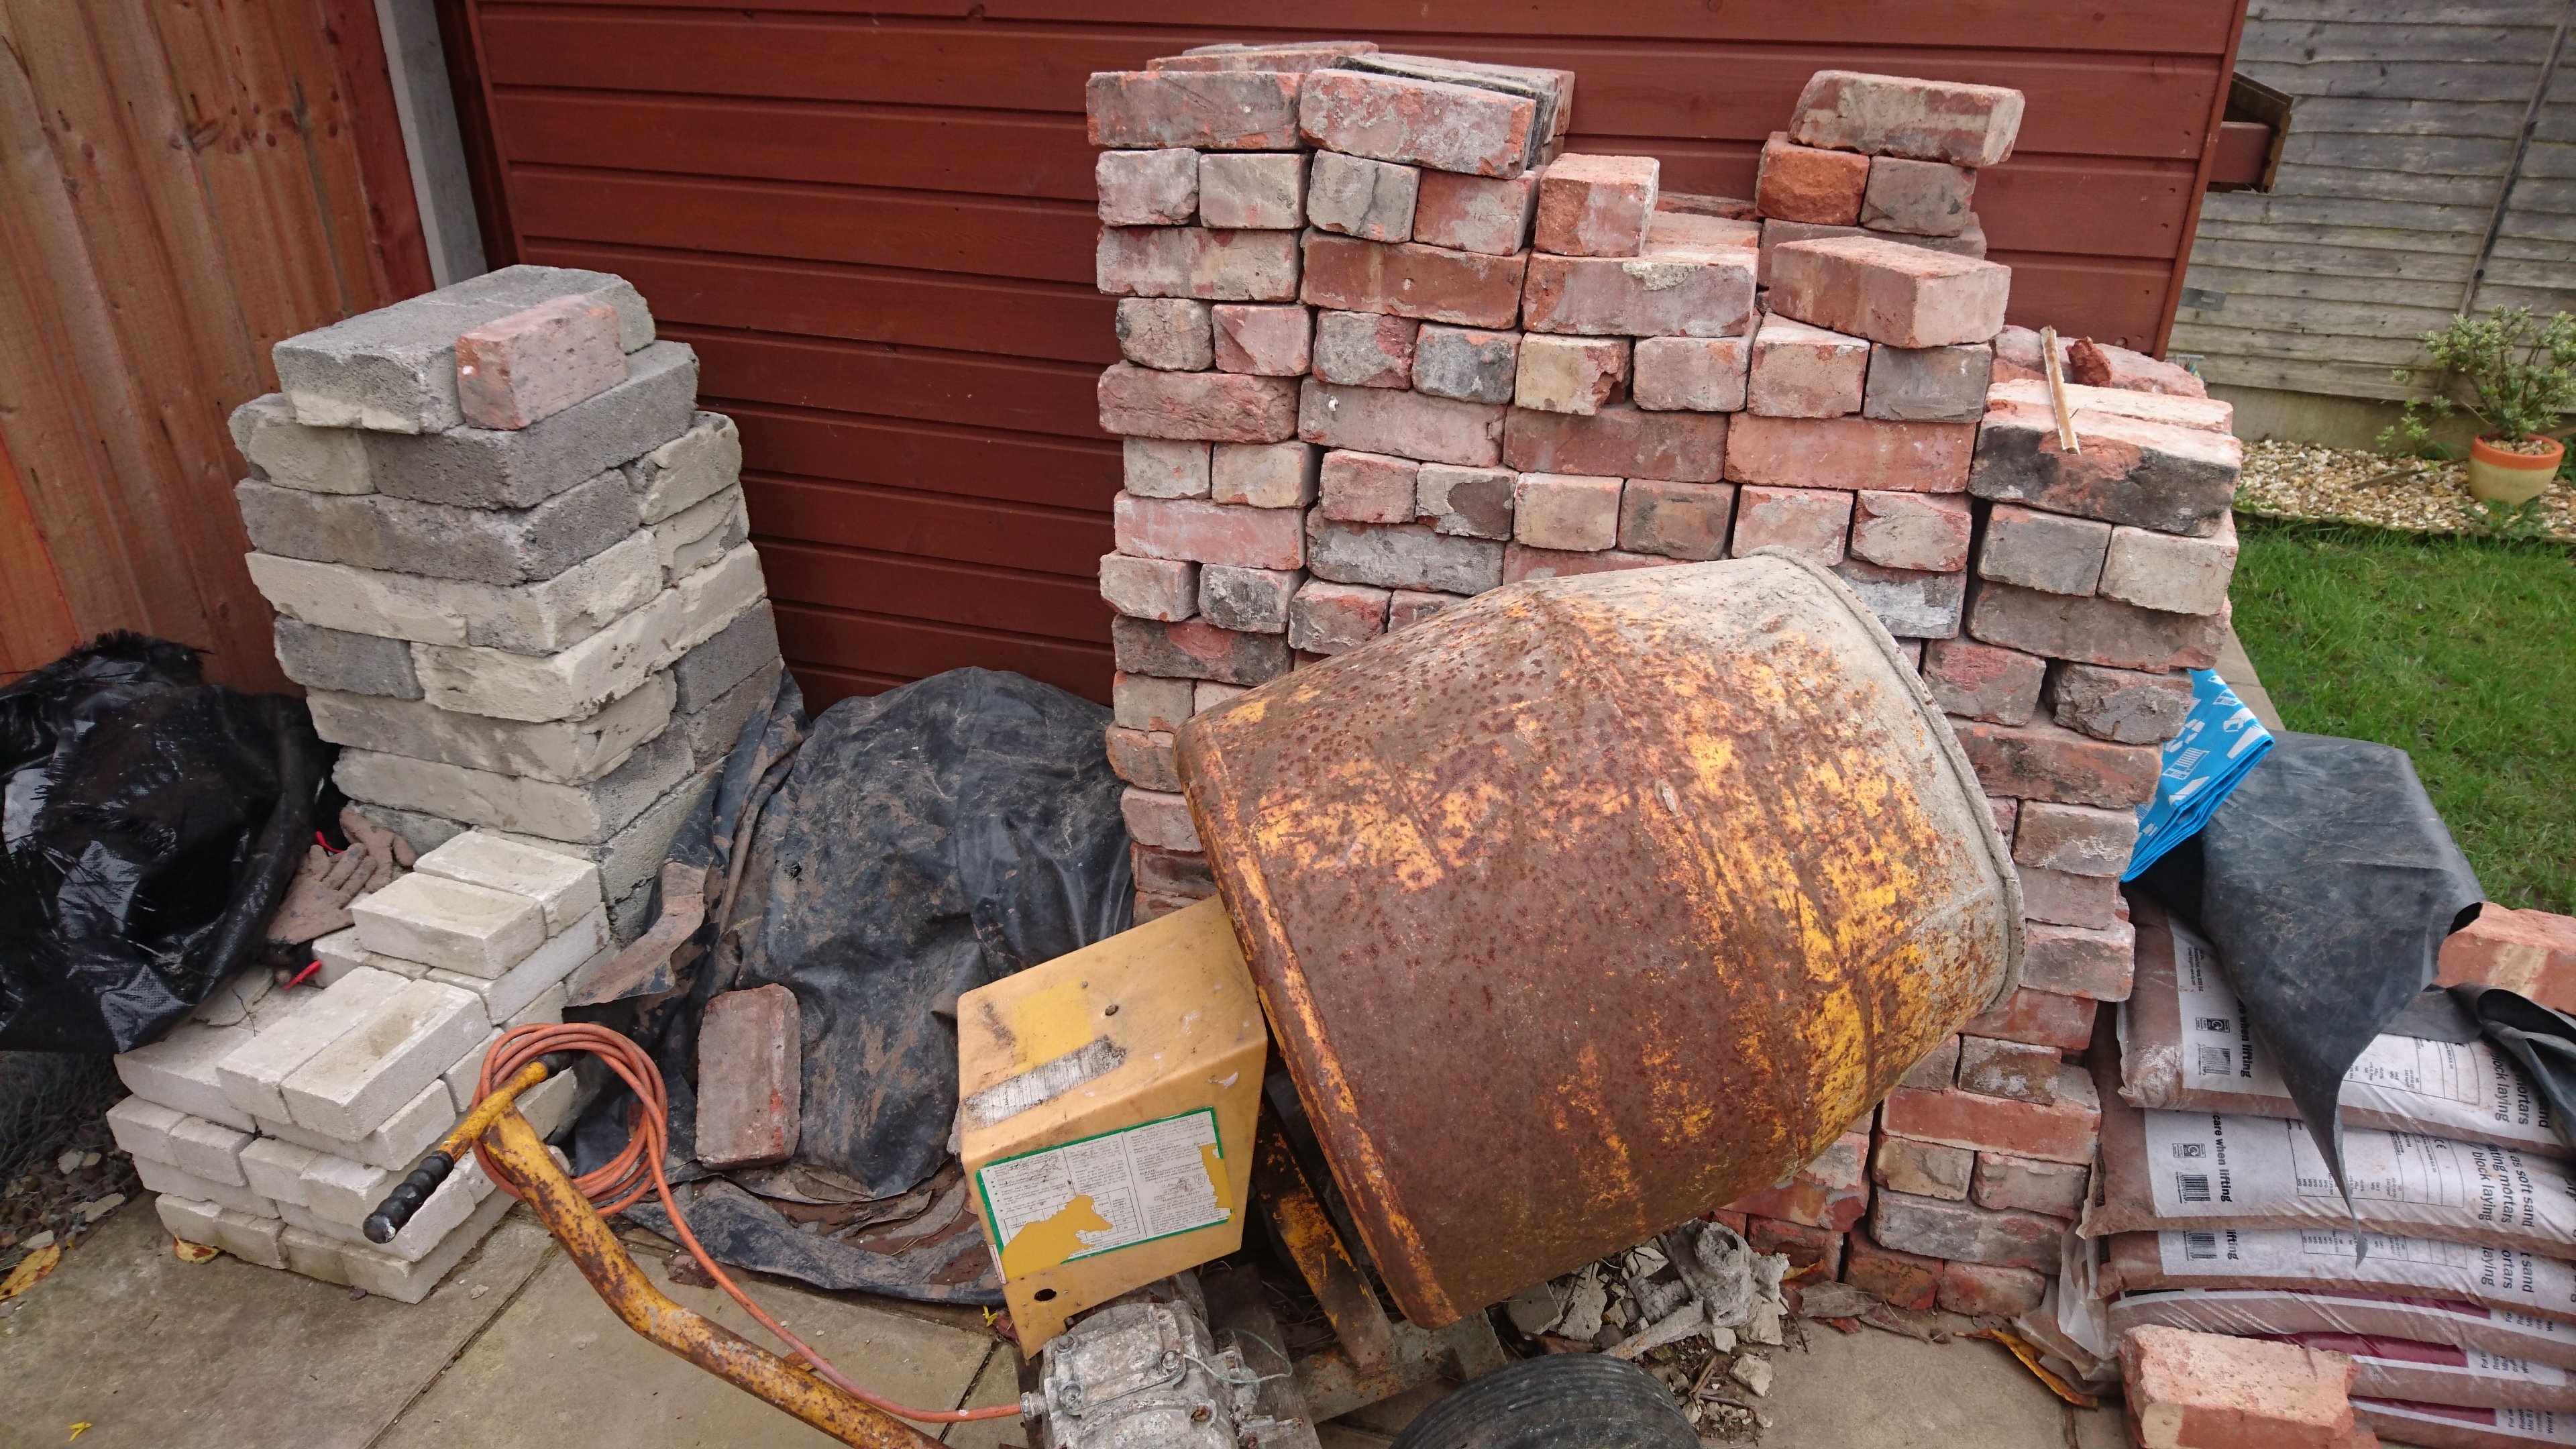
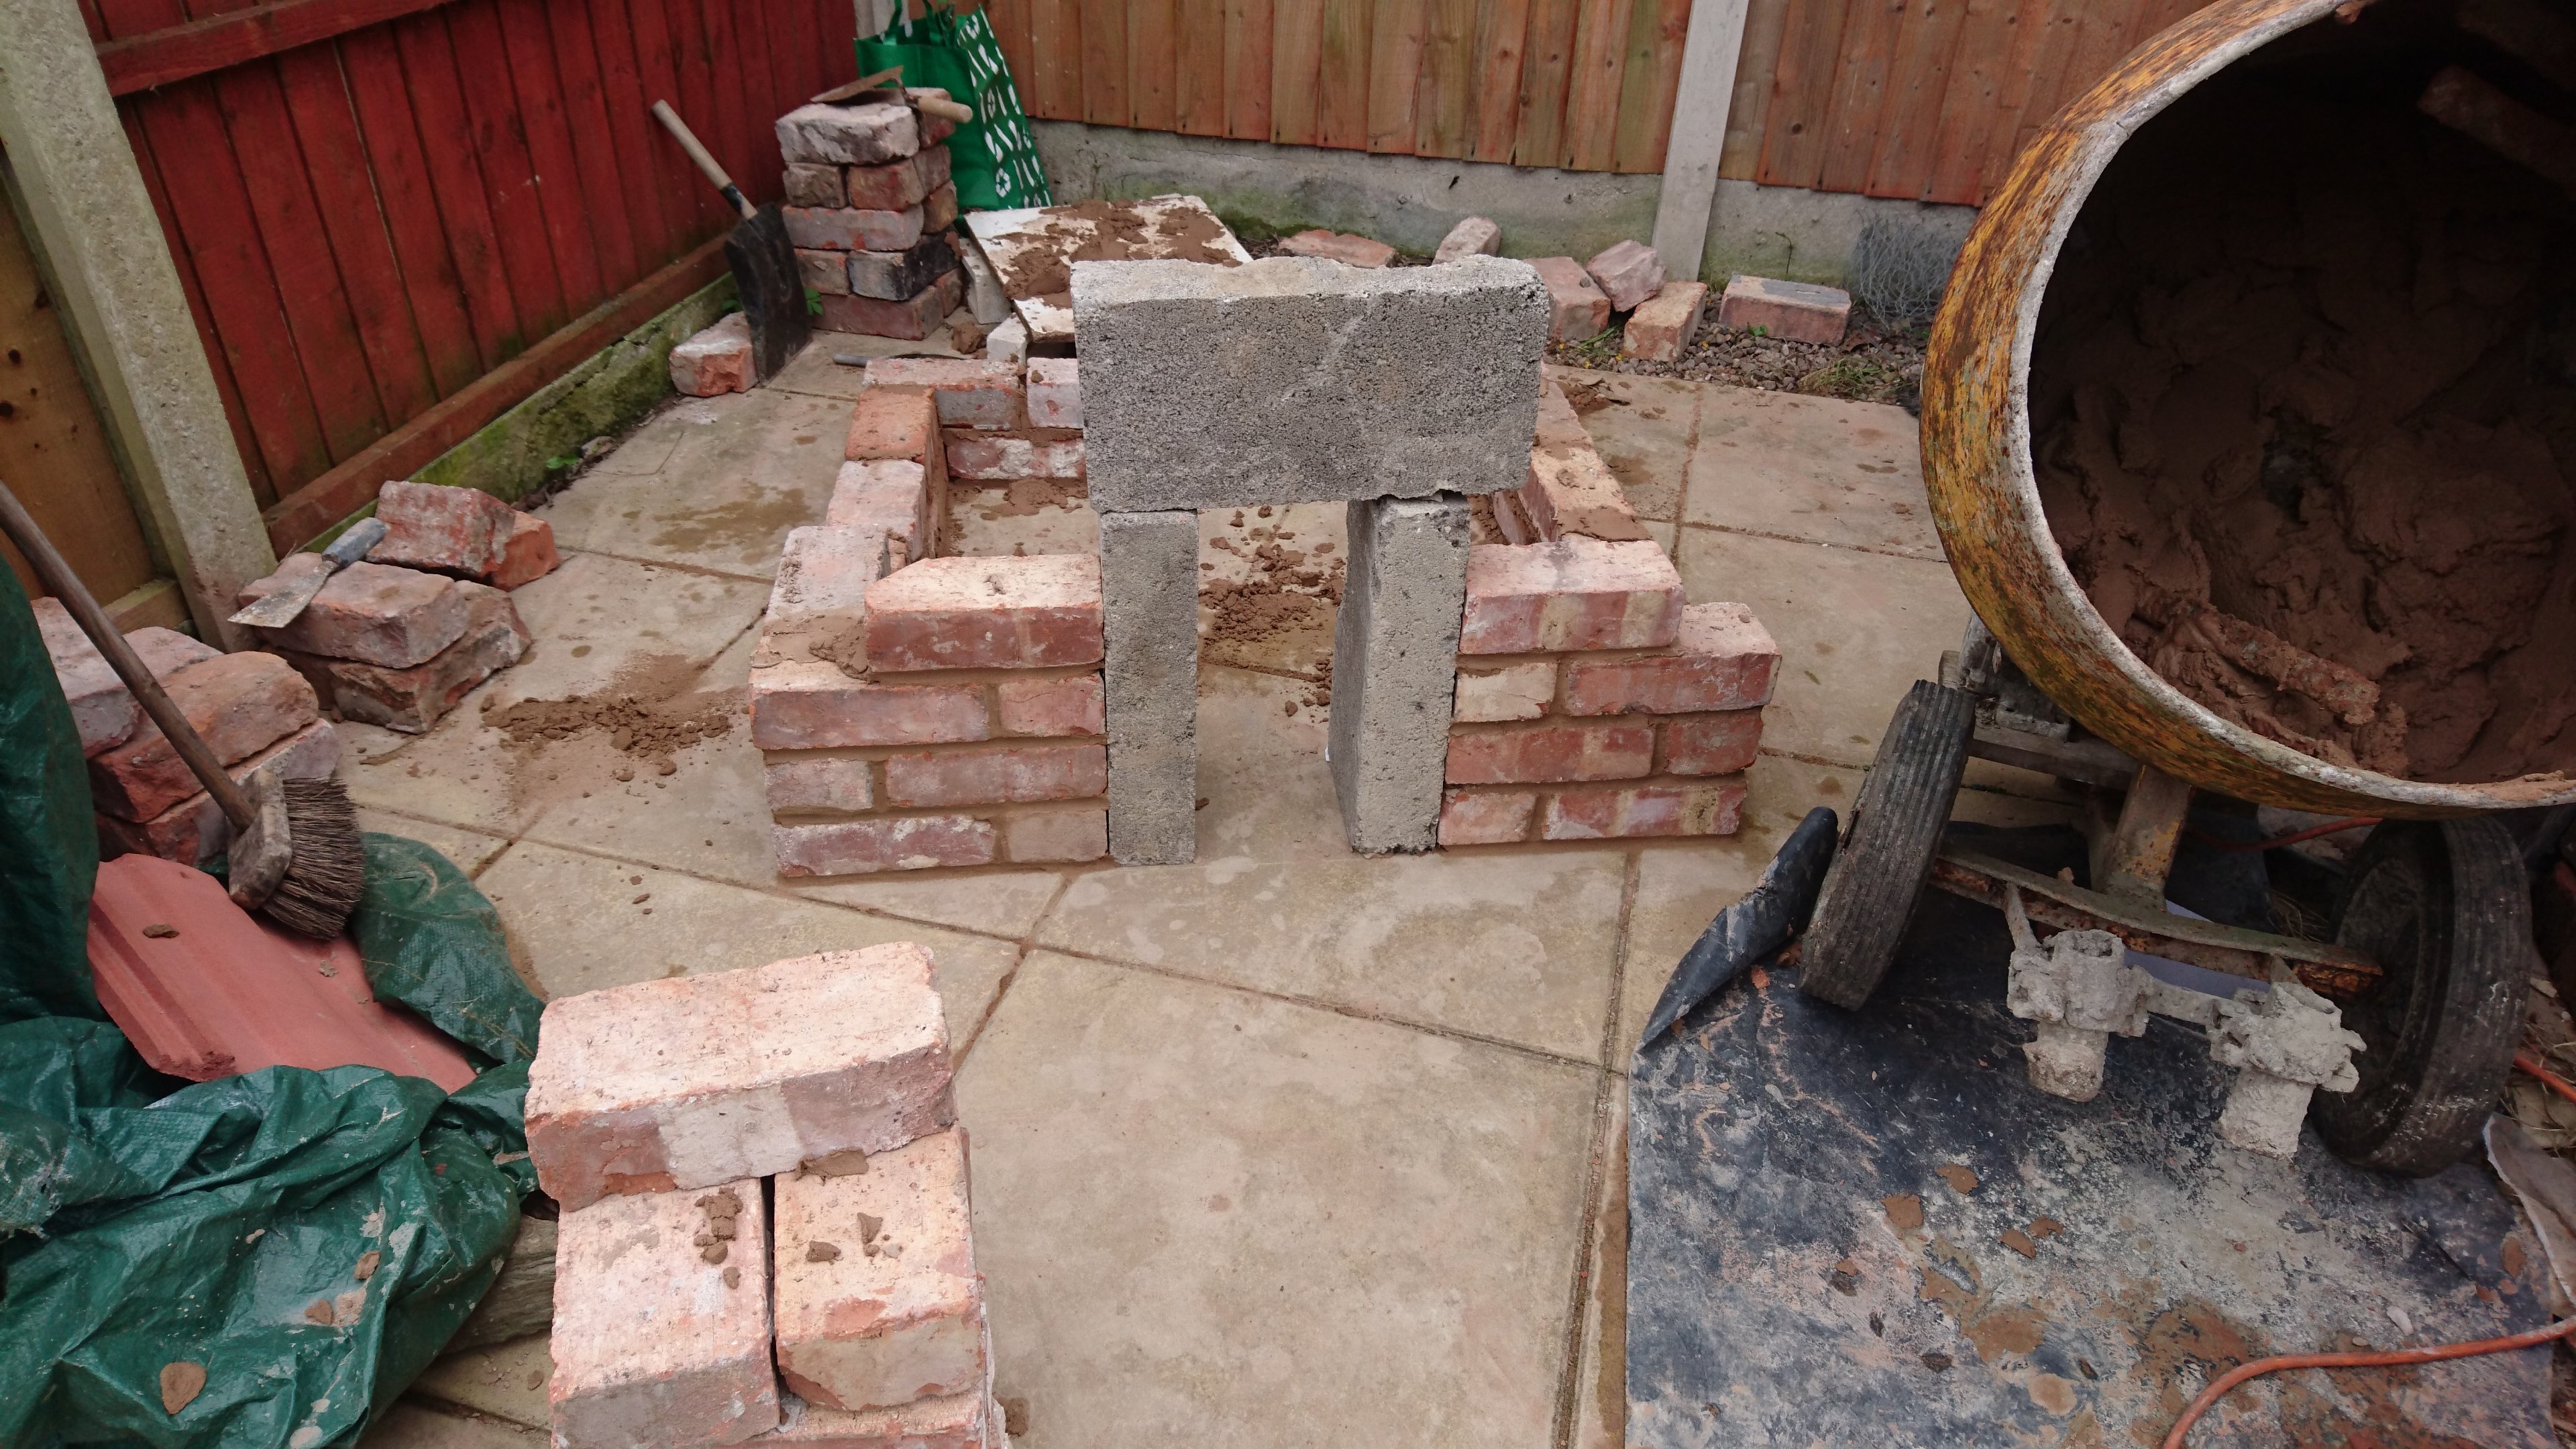
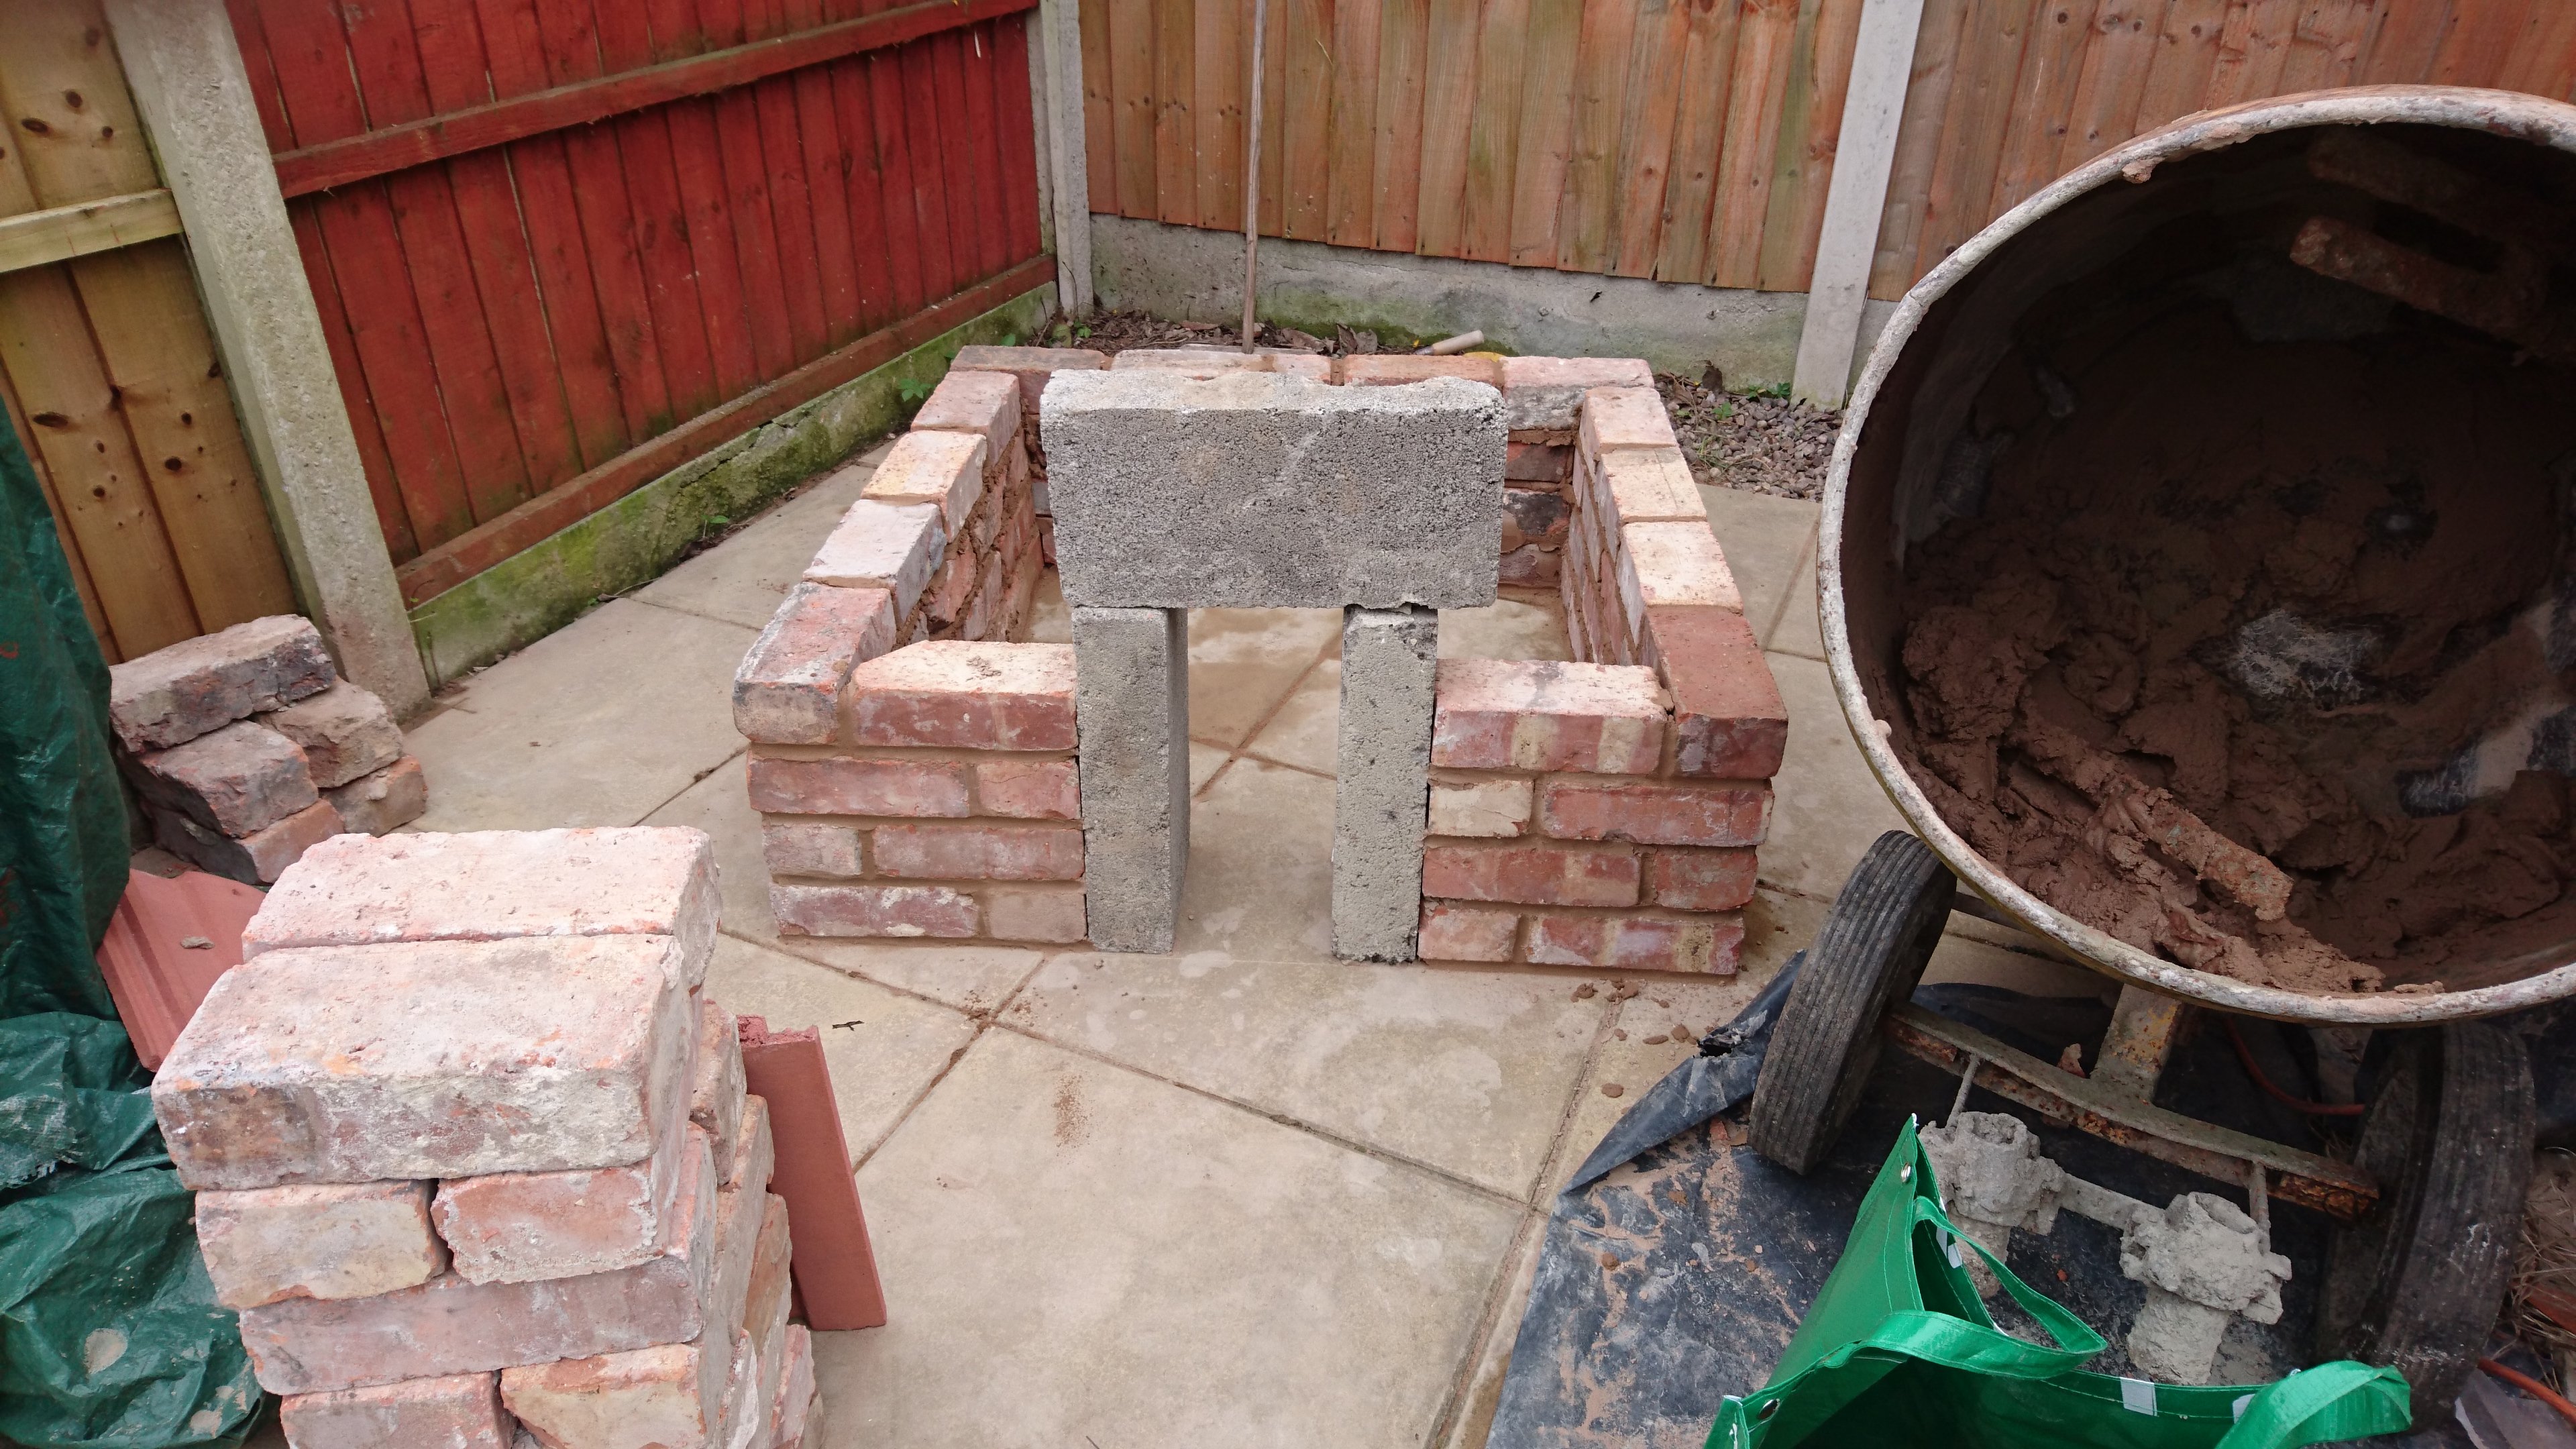
"First, gather all the materials, tools and a cement mixer. You need a large and small trowel, a large and small spirit level and a brick jointer. A cement mixer is essential to give you consistent mixes of mortar. Ignore all the bricks to the left; they were foraged and never ended up being used. I bought 350 reclaimed bricks from a popular auction site, 16 bags of sand and 4 bags of cement."
30
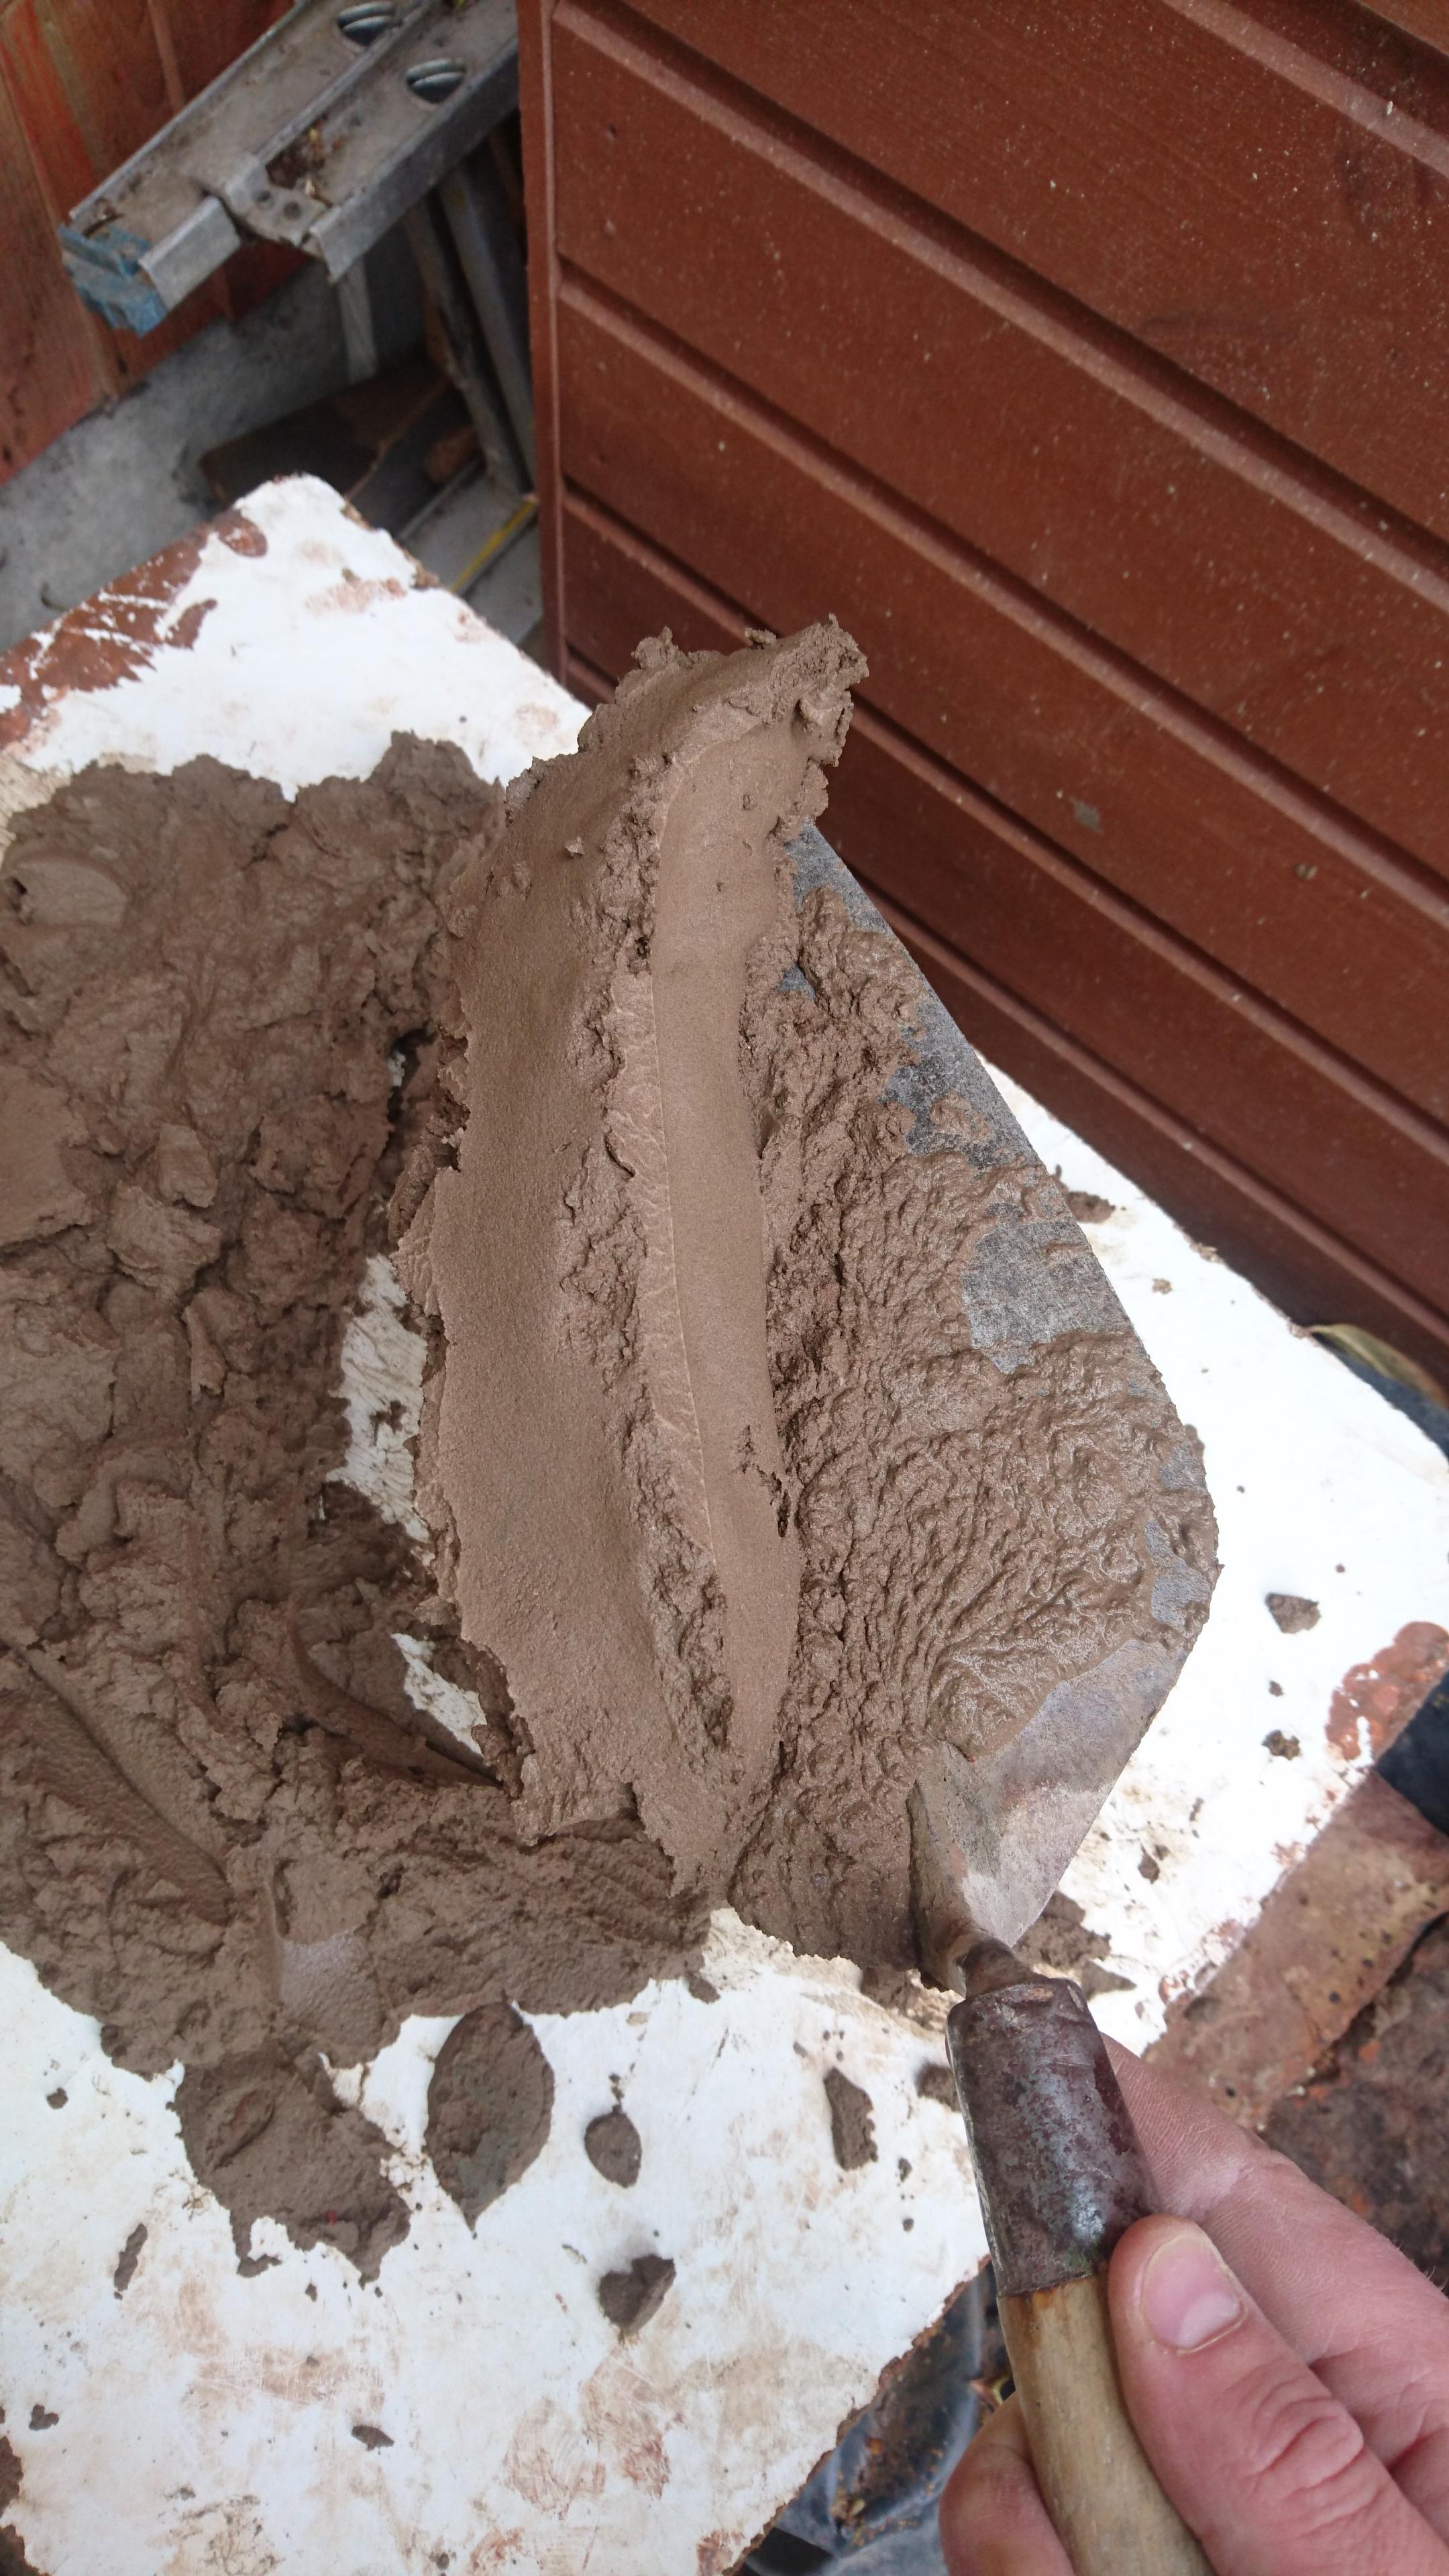
"The next stage is practice. Practice getting a good "sausage" of mortar on your trowel. Do this by scooping it up from one side and slop it onto the board (there is probably a technical term for this). In effect you want to be creating a "sausage" as you keep doing this action. Have a look on popular video hosting websites if you're unsure of what I mean."
32
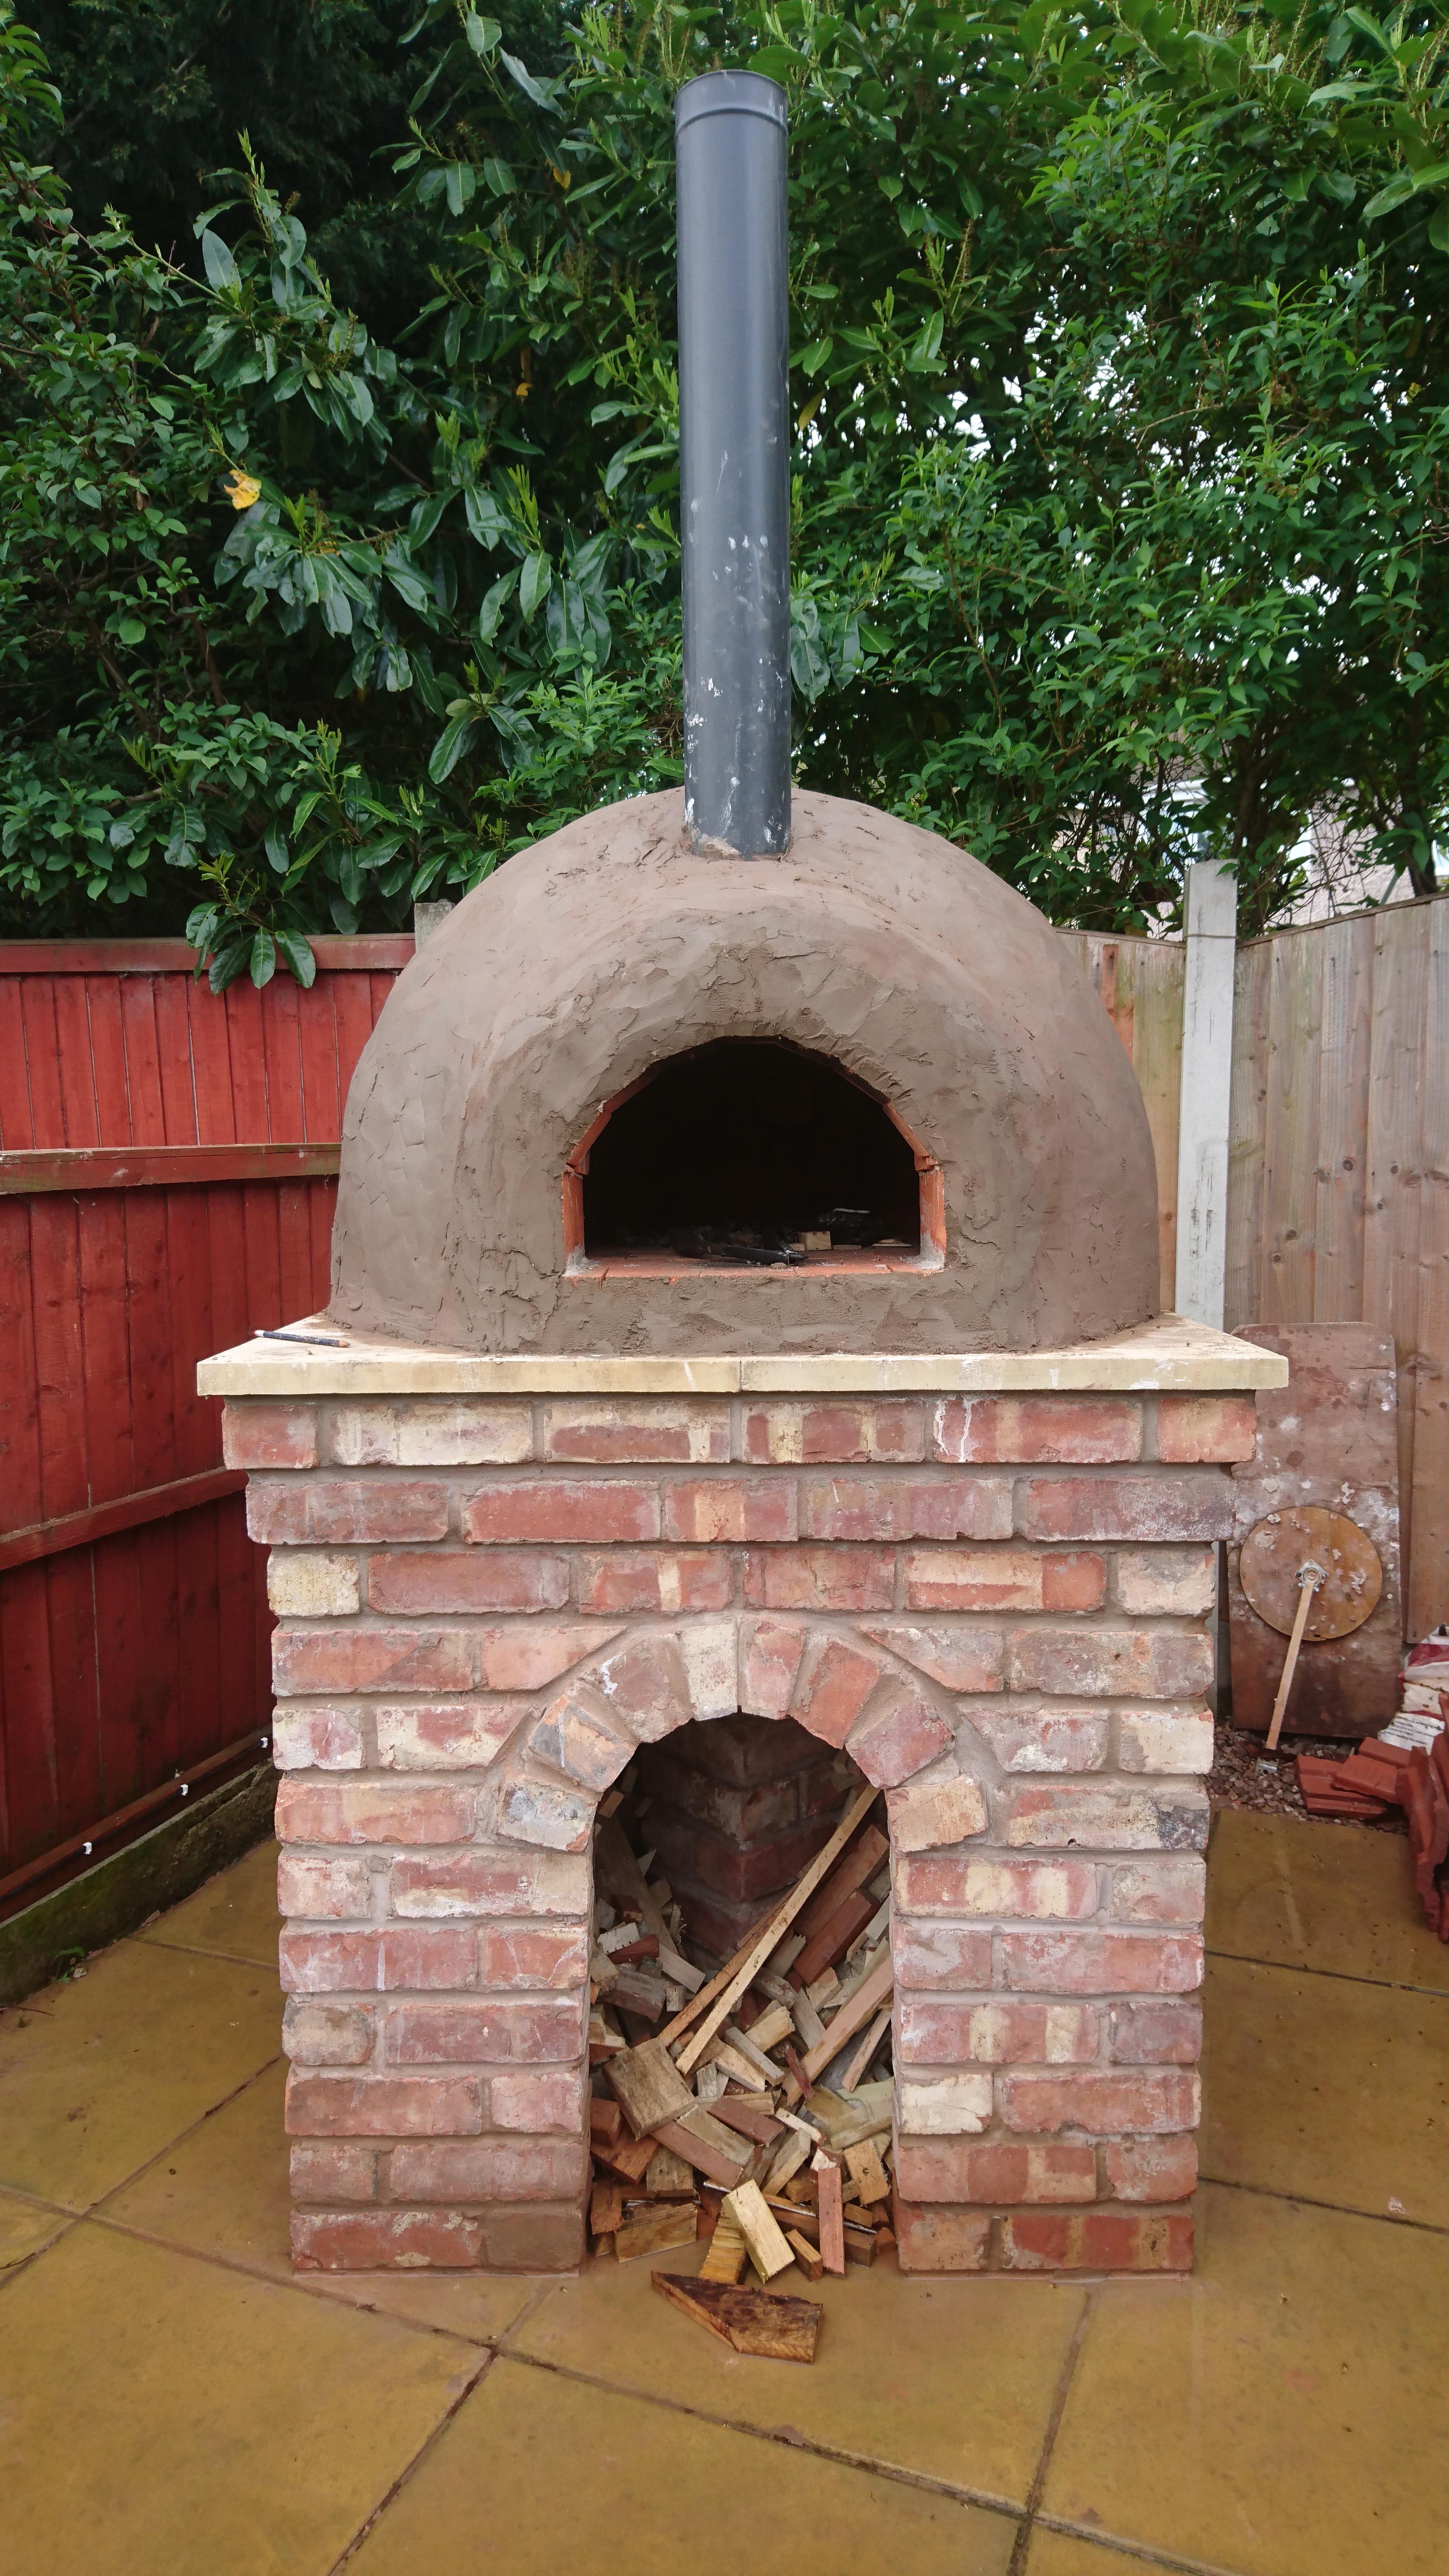
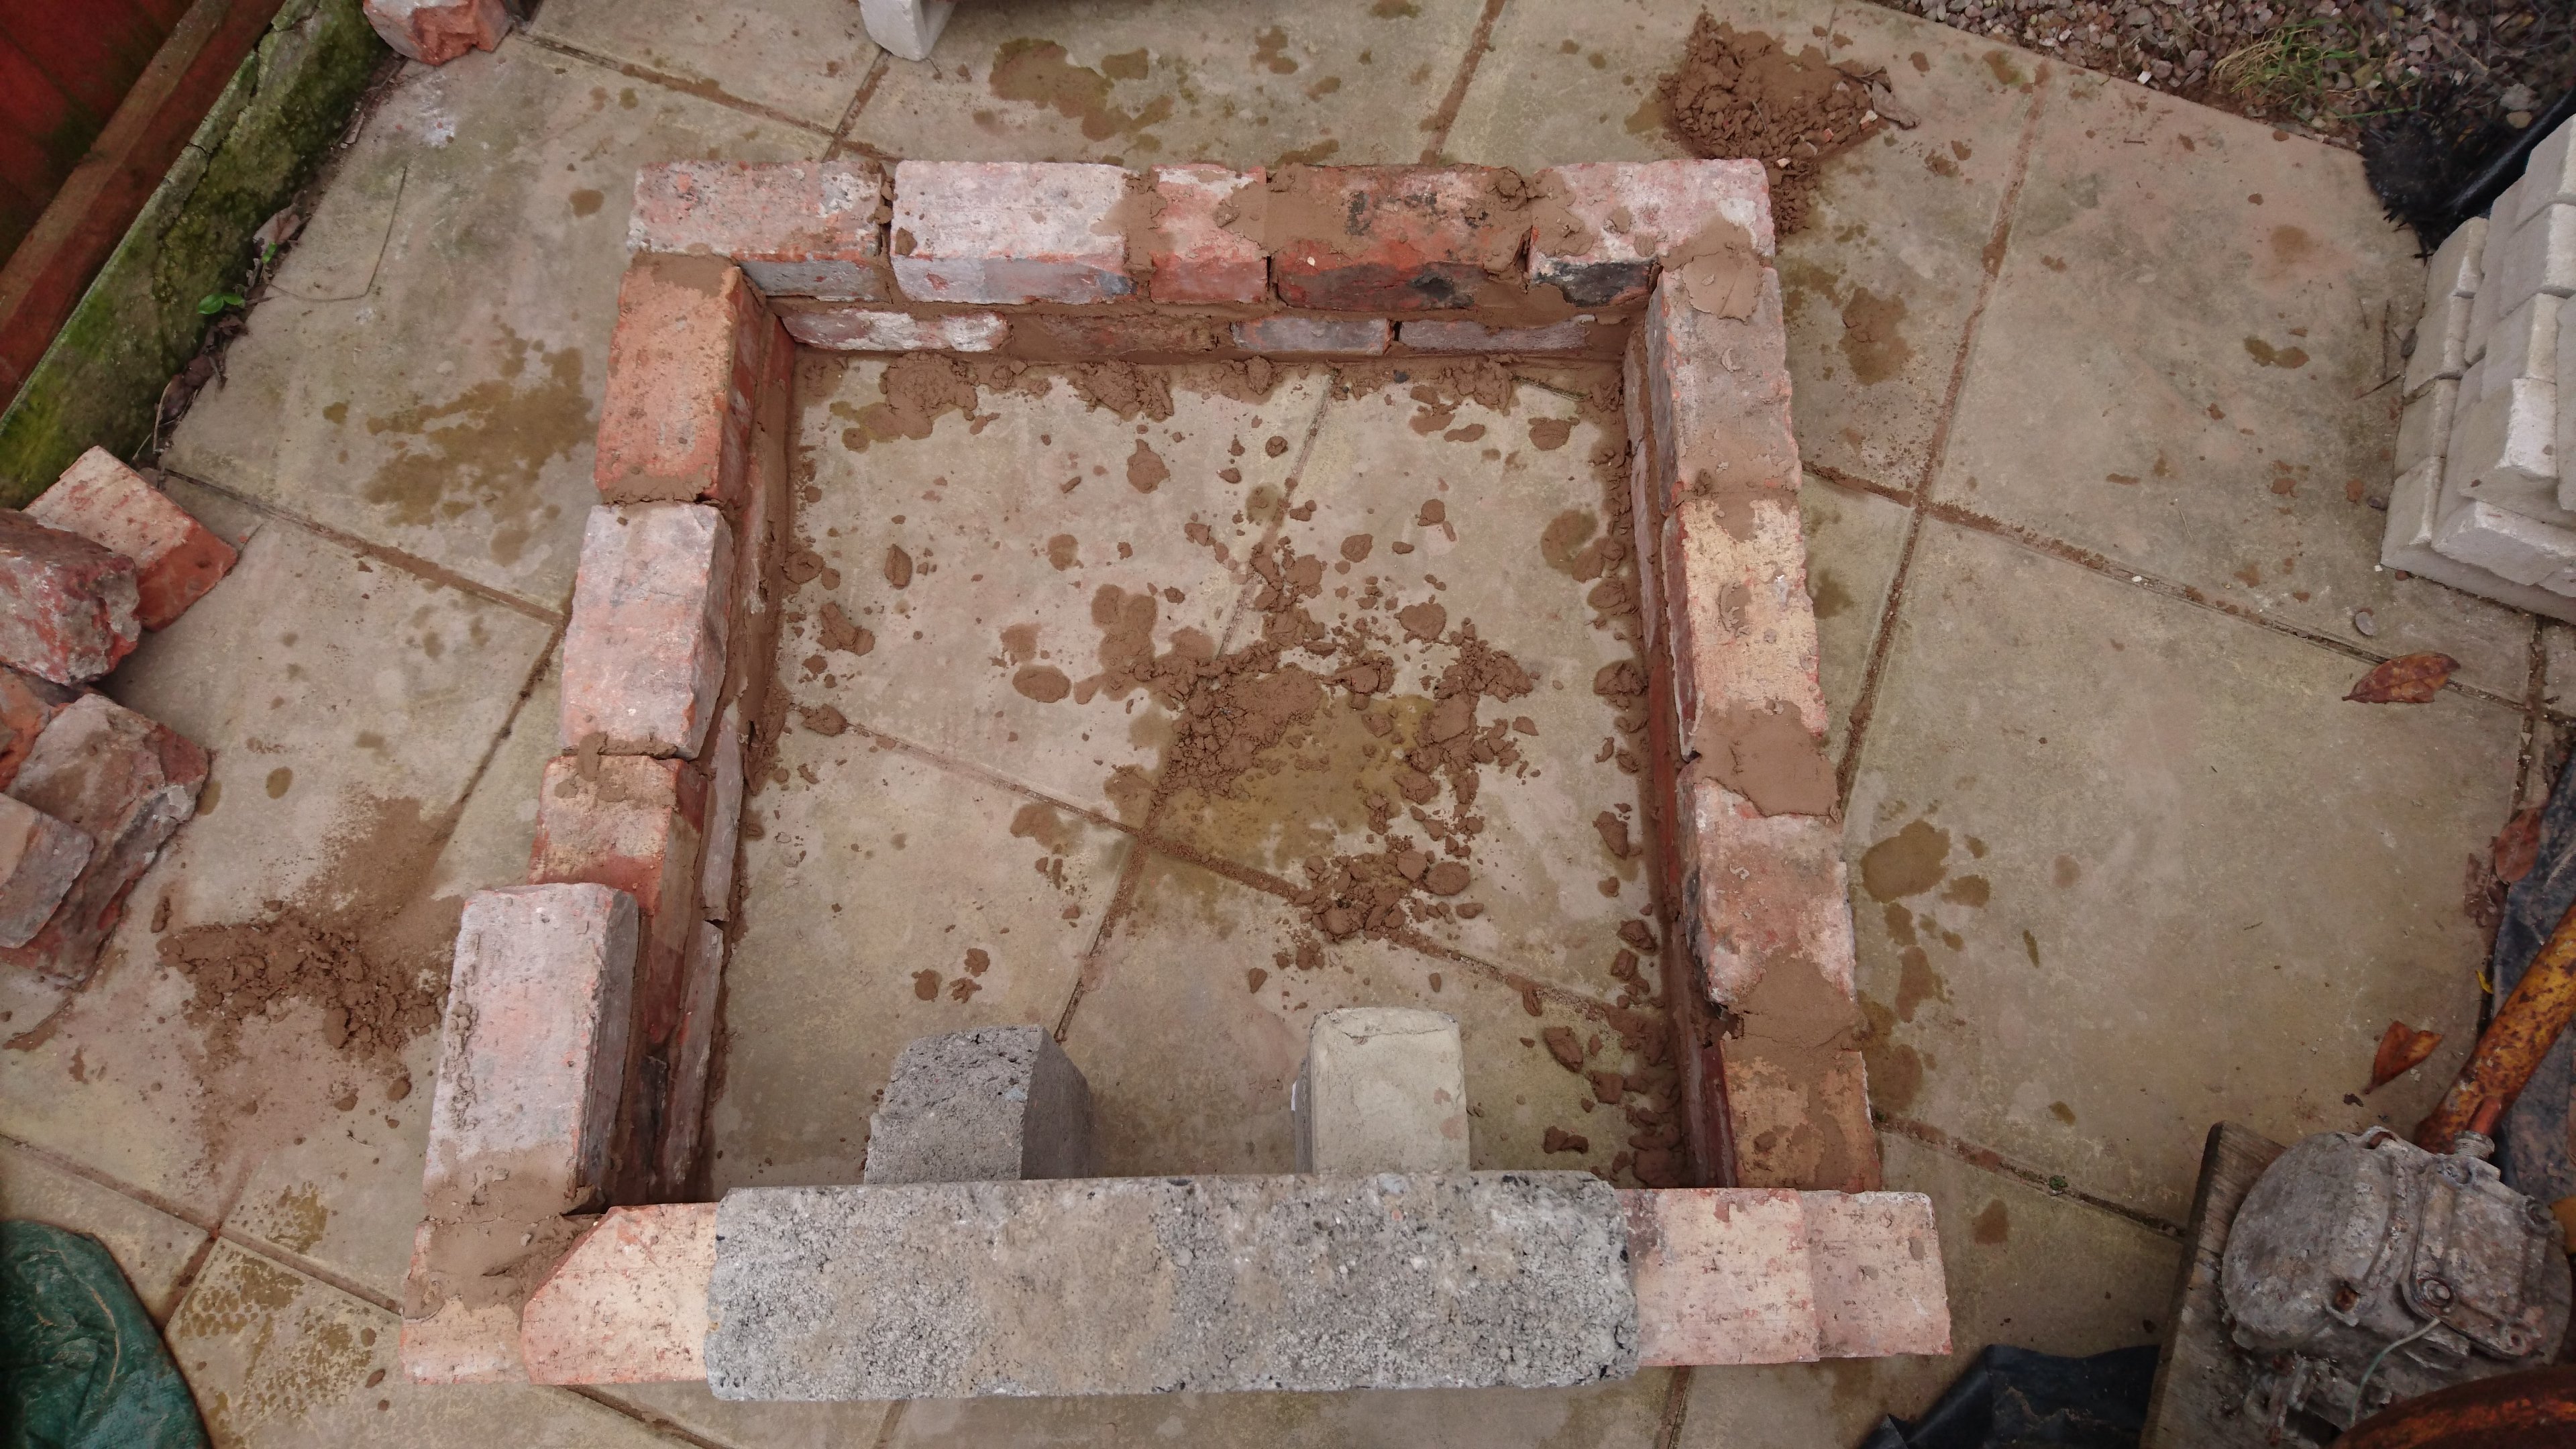
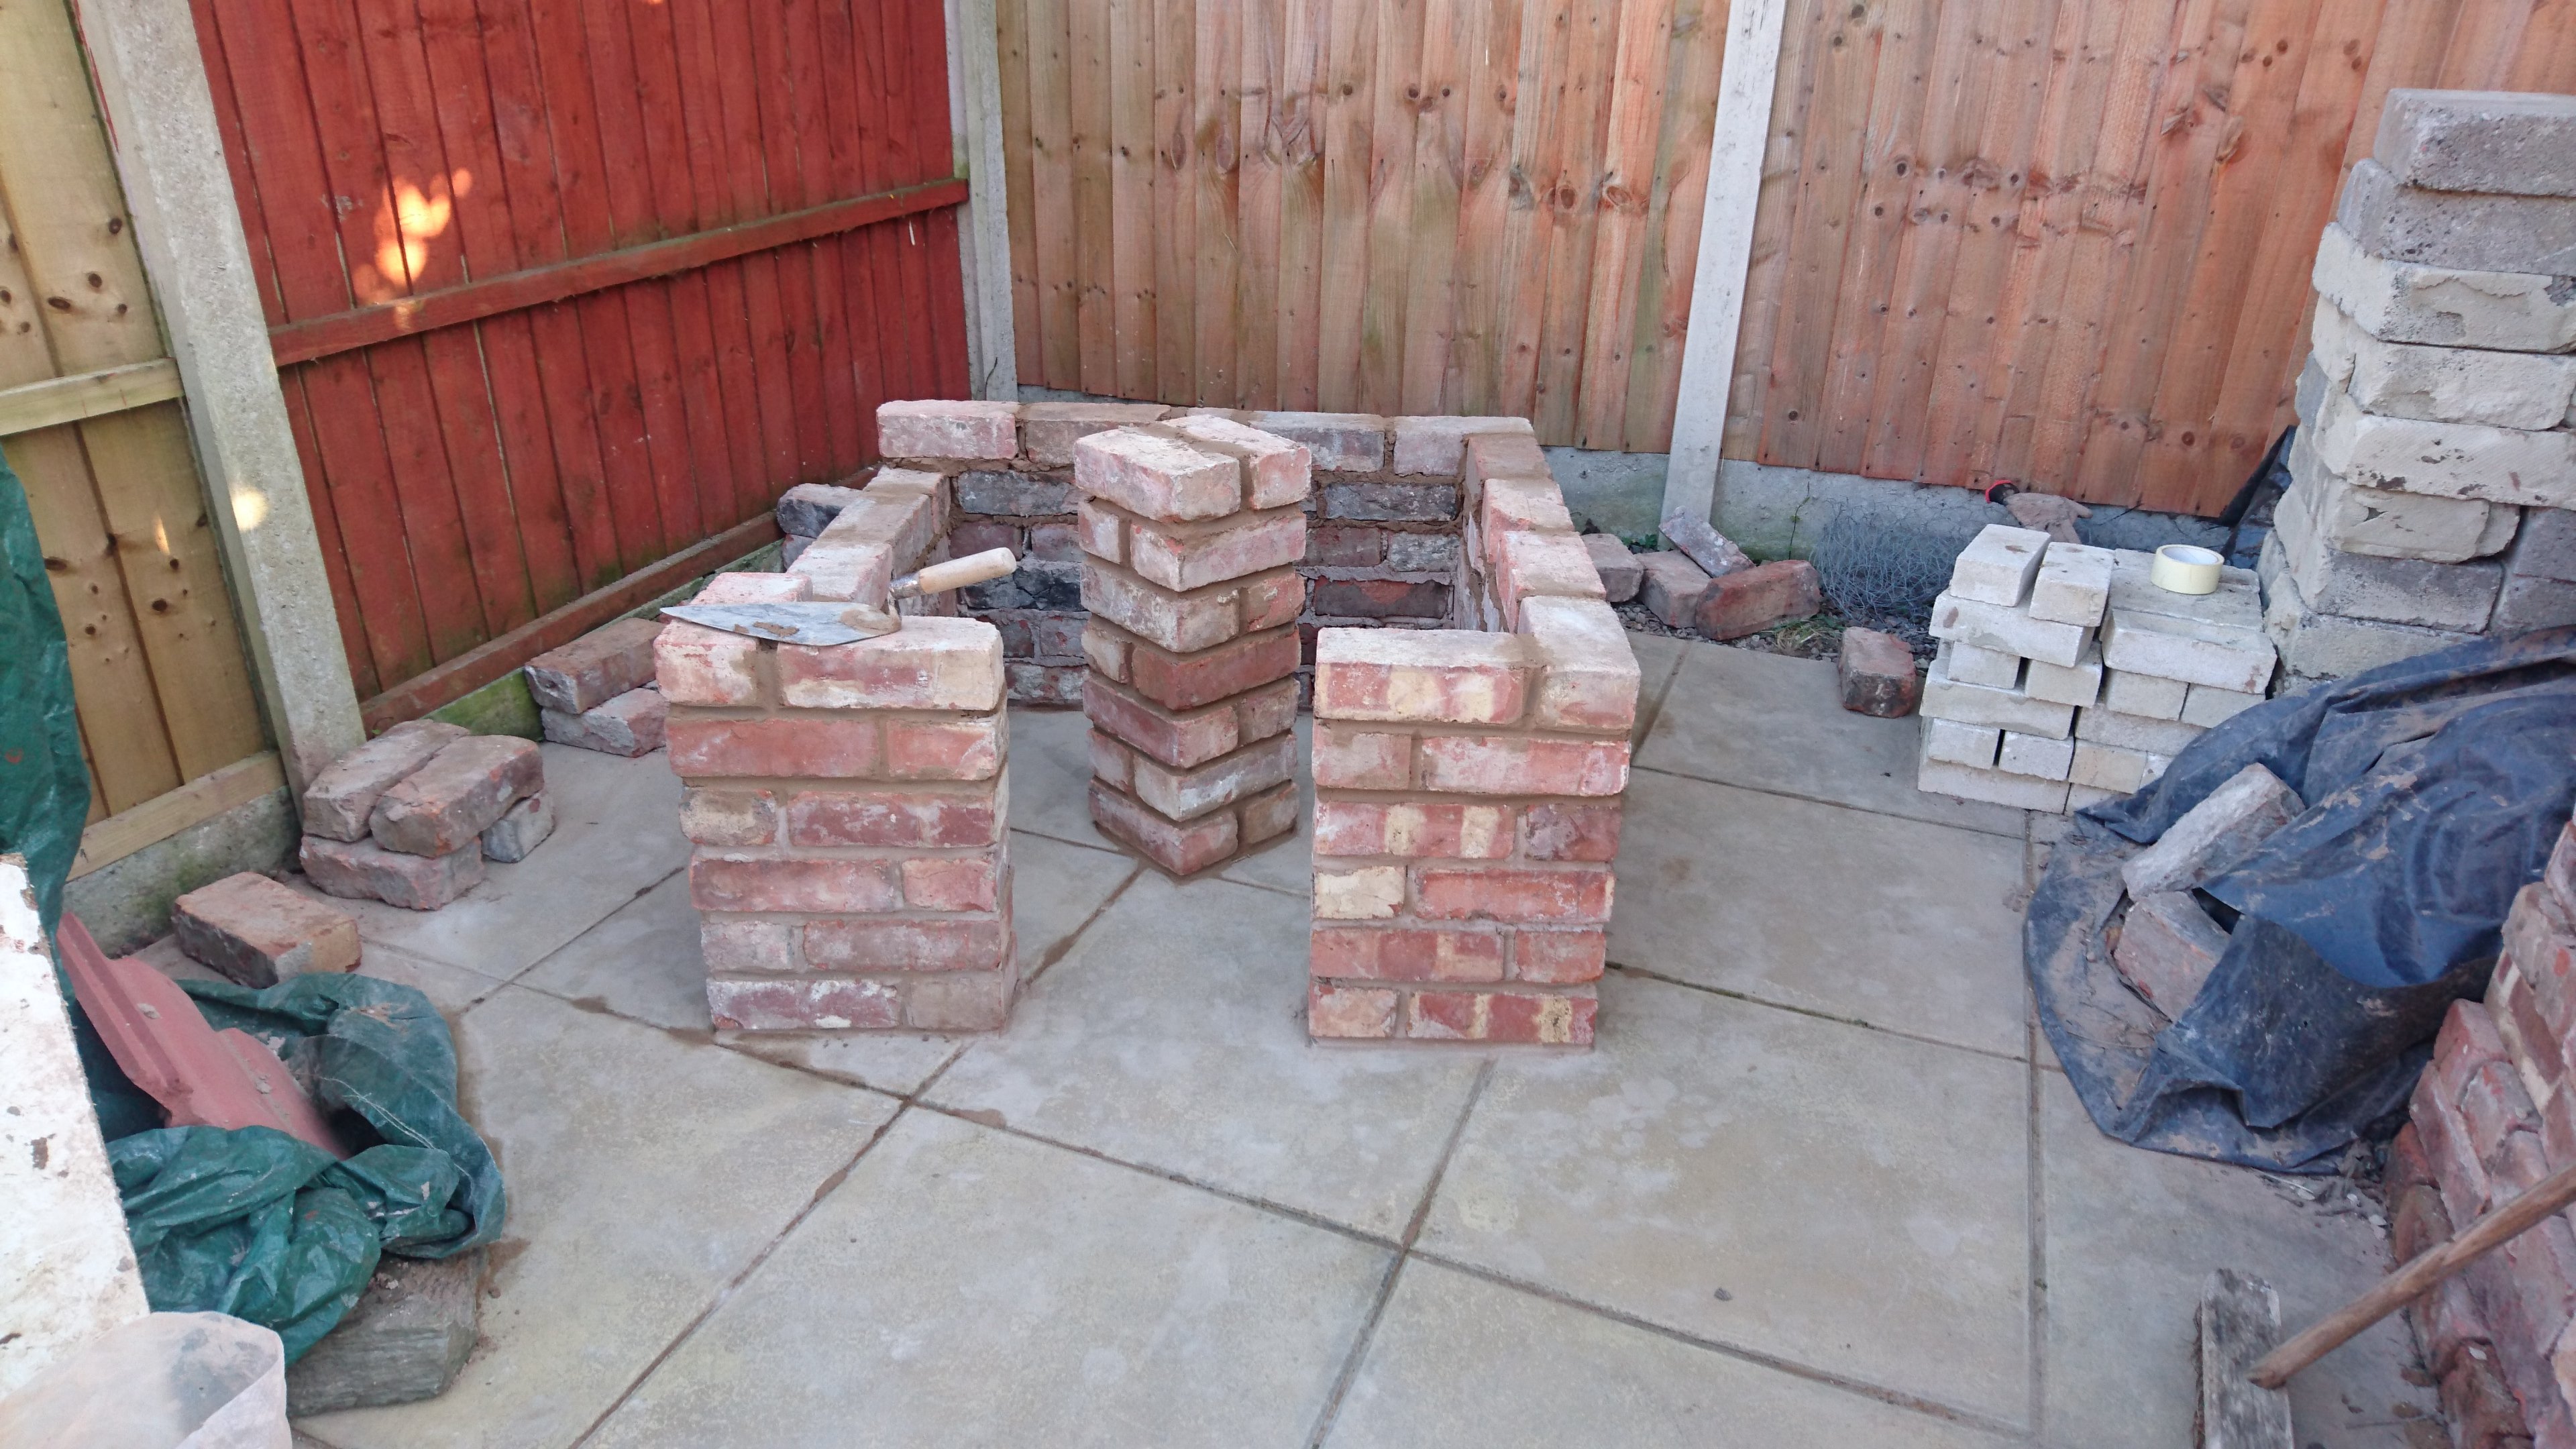
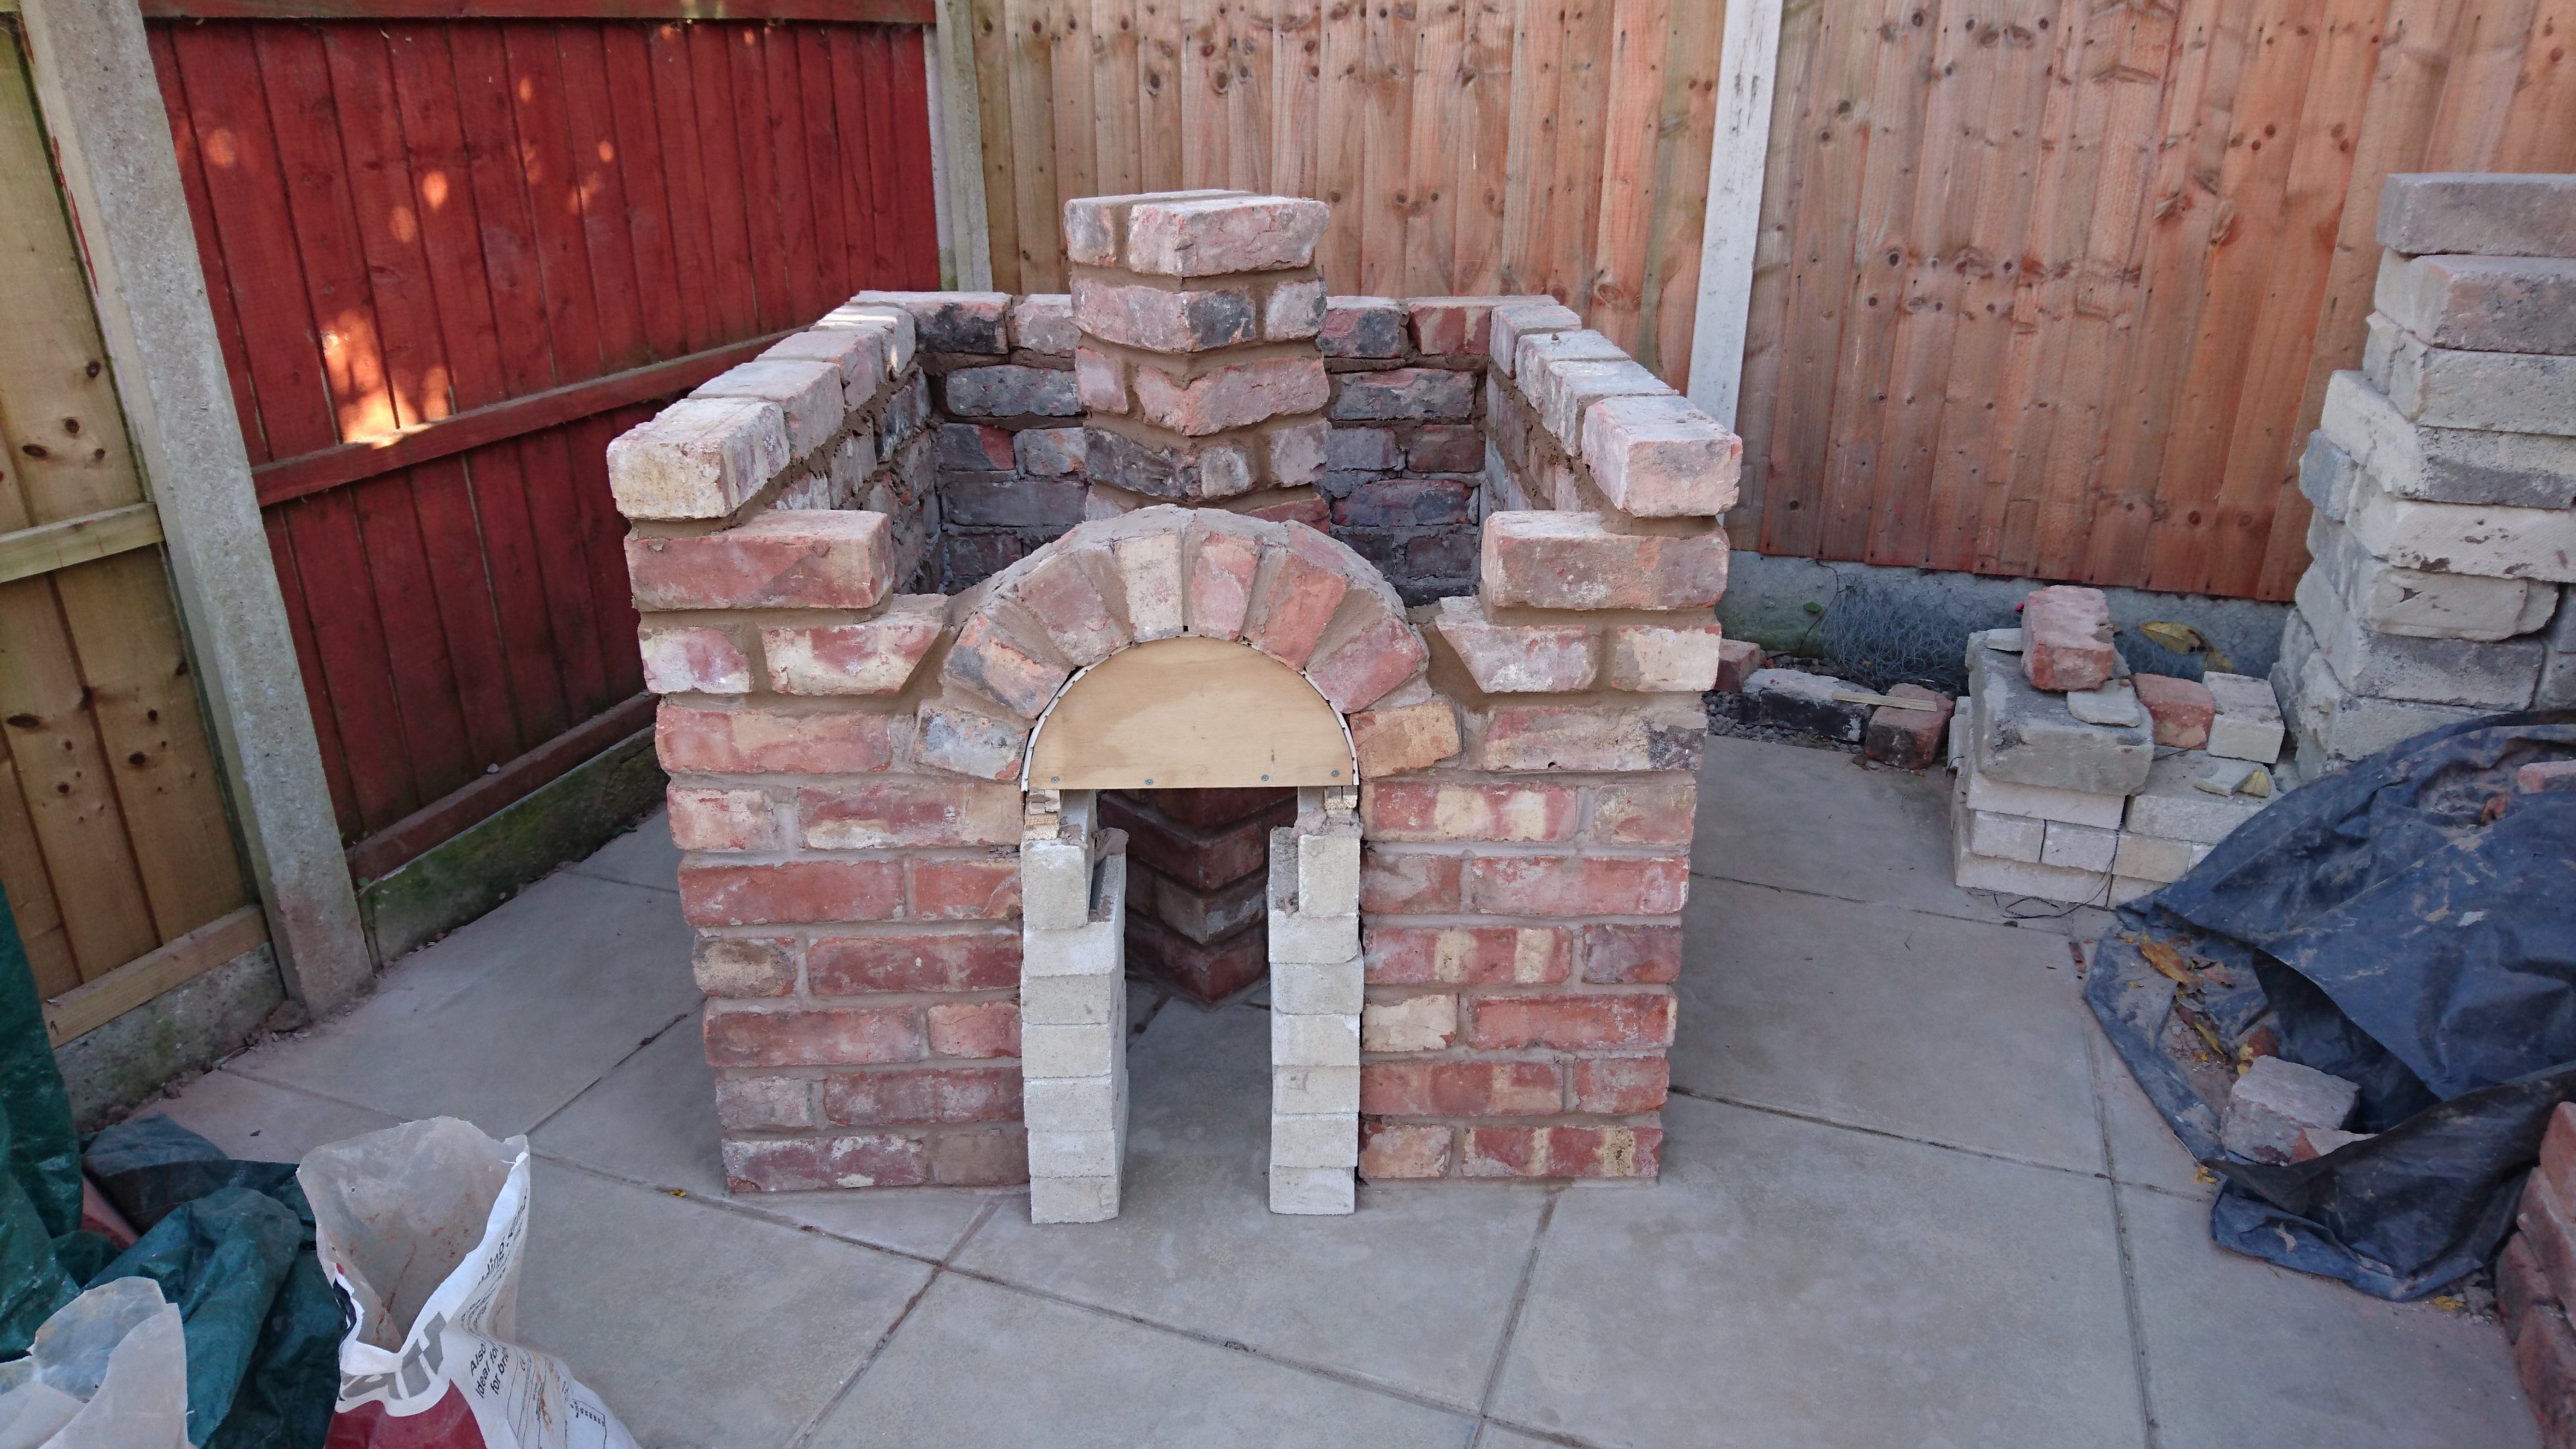
"On my build I wanted to create a feature out of the wood storage/foundation. On the finished oven, you will notice that the bricks corbel out on the last 3 courses. The overall width of the hearth (the section made from 4 paving flags for the oven floor to be founded on) is 47" Each brick corbels out by 1". Each brick is 3" wide. So, 3" deducted from each side gives us a total width of 41". So, I drew out a square 41" wide using a set square, then started laying. It is very important that when you lay brick, to make sure they sit level on the mortar, both horizontally and vertically using the spirit levels. Also, lay the brick to the inside of the line drawn in pencil so the width stays at 41". To ensure the bricks are straight, place the large spirit level across the face of the bricks and tap them into position if needed."
36
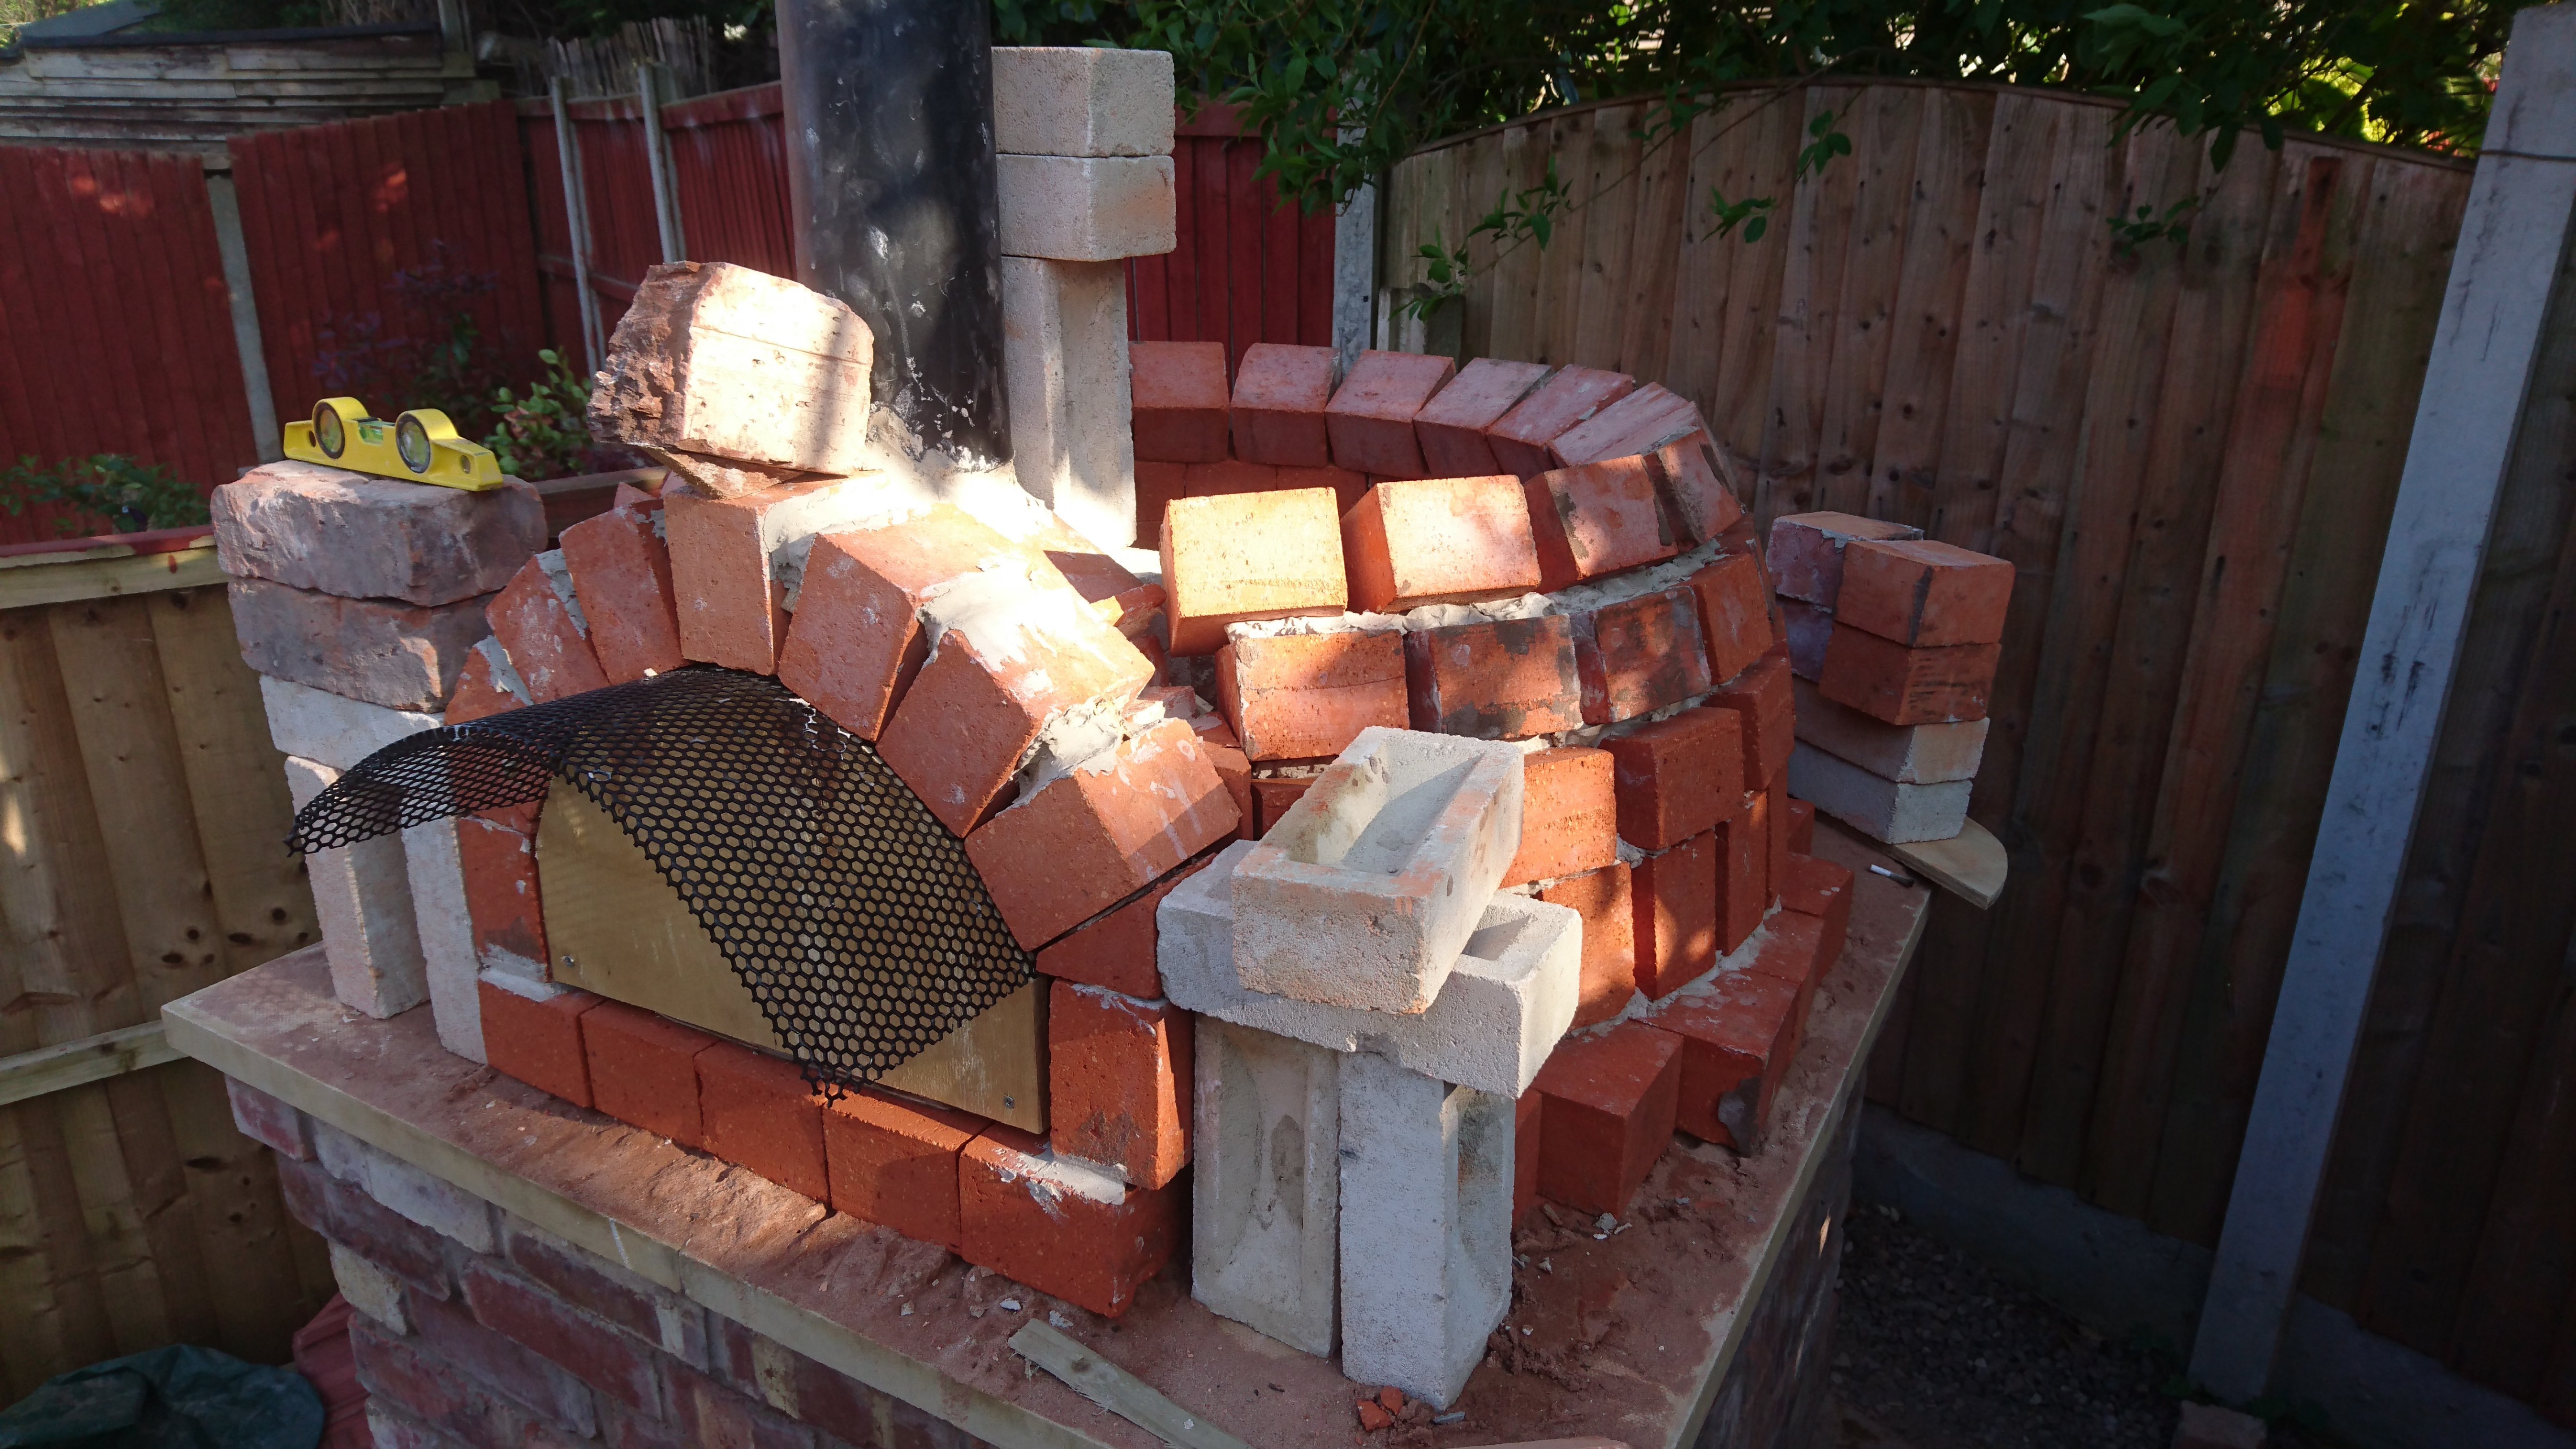
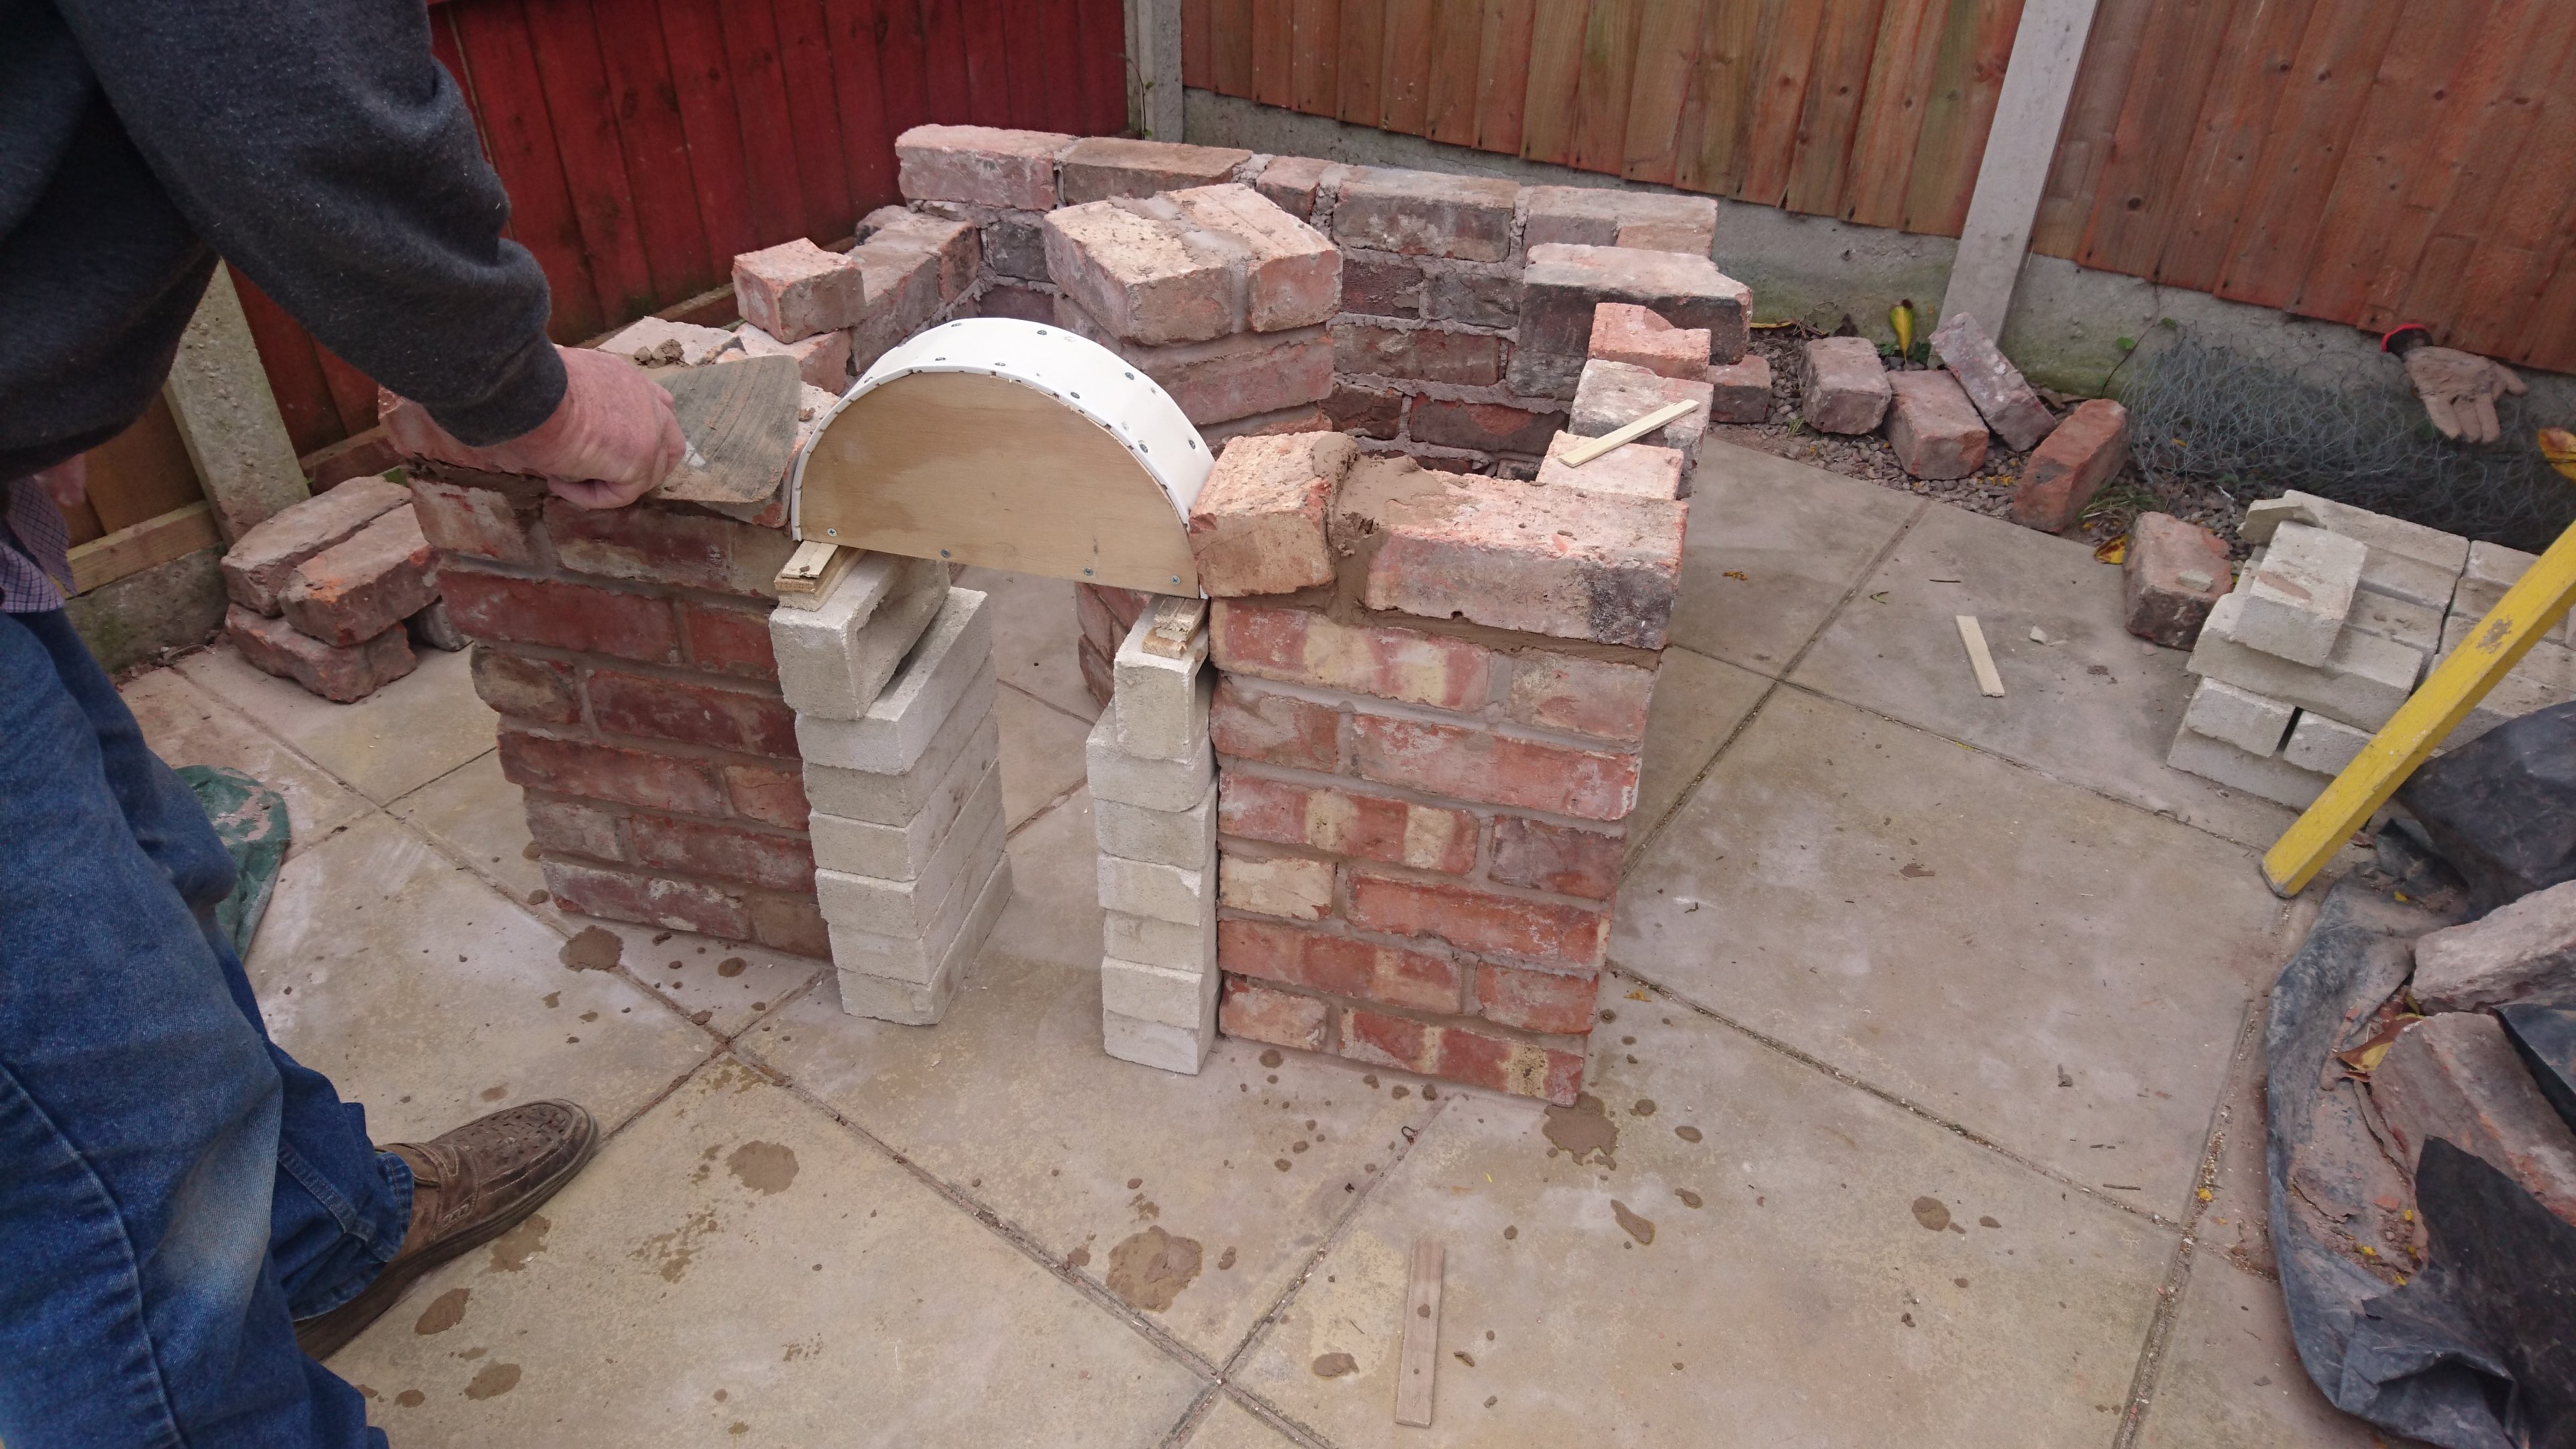
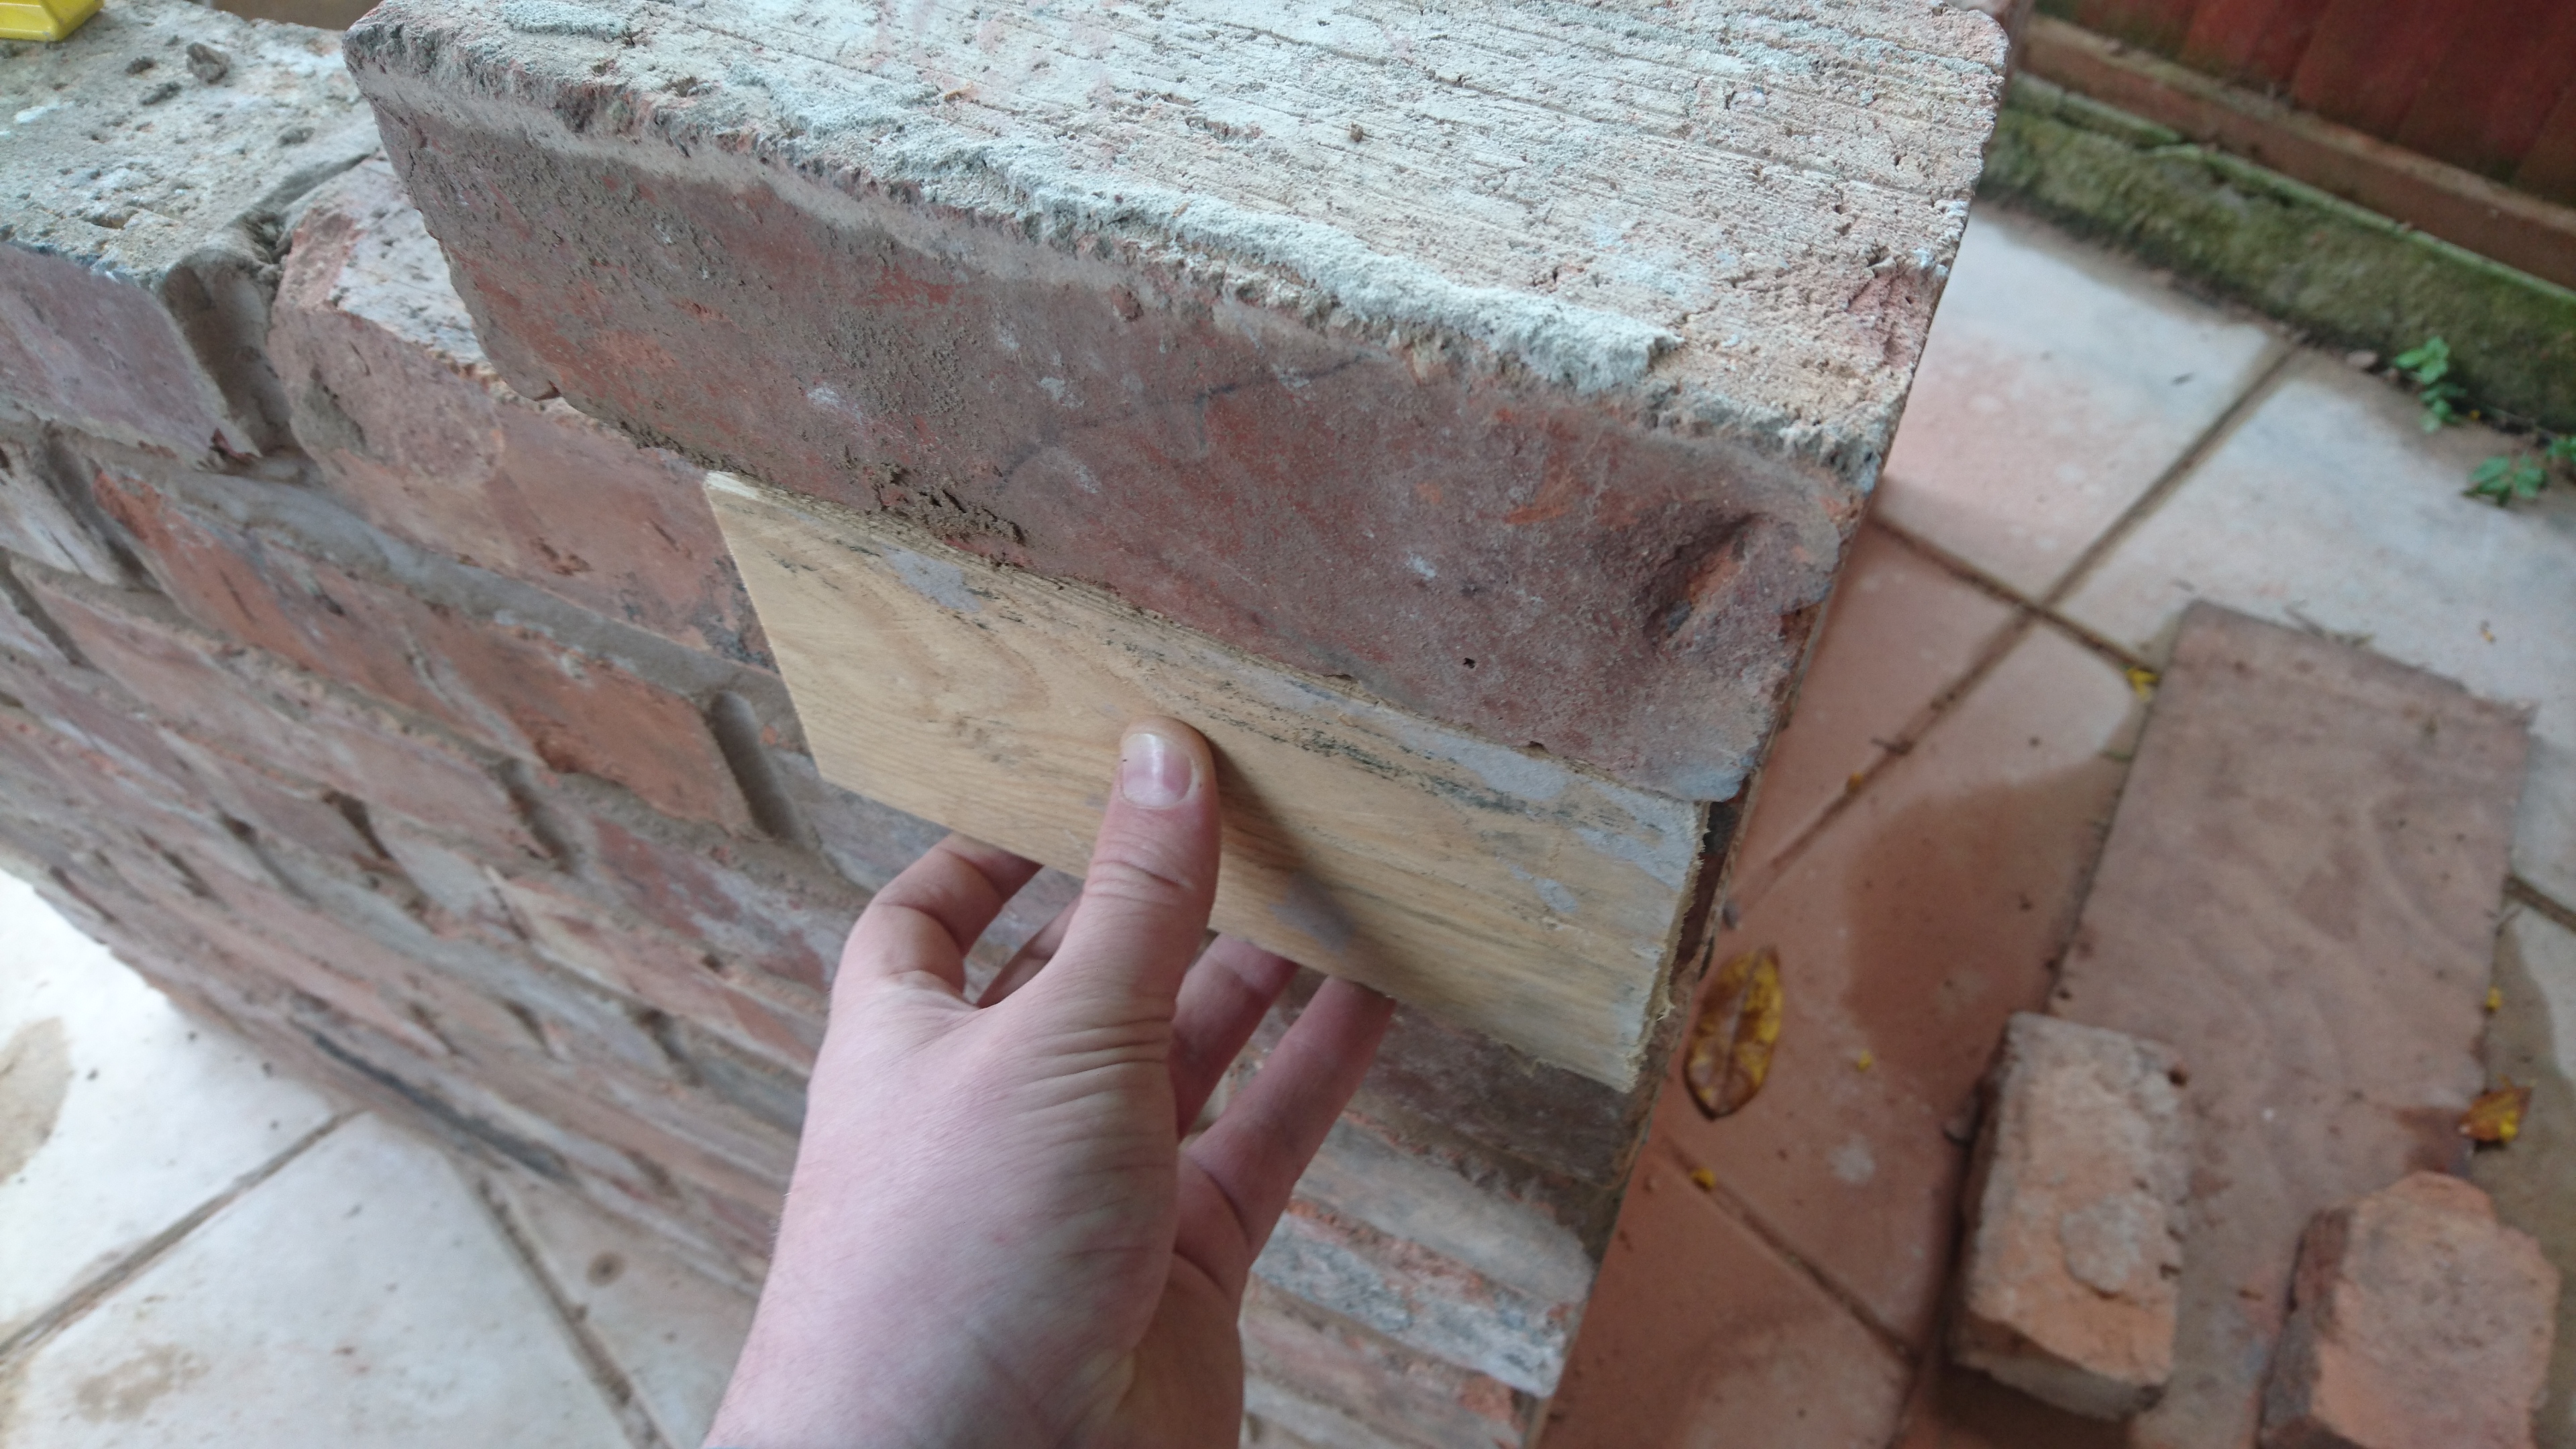
"Now for the door arch. Here's my dad showing me how to create the arch. First, you need an arch template. These are pretty simple to create. The doorway is 18" wide. To form a perfect arch you can use a large protractor and mark it onto some 1" thick wood. Cut the template out twice, then screw supports in between them. Then, cover with plastic/metal grate to form the arch. I have since discovered it is much easier to create using an old metal grille from an old guitar amp. You shall see later."
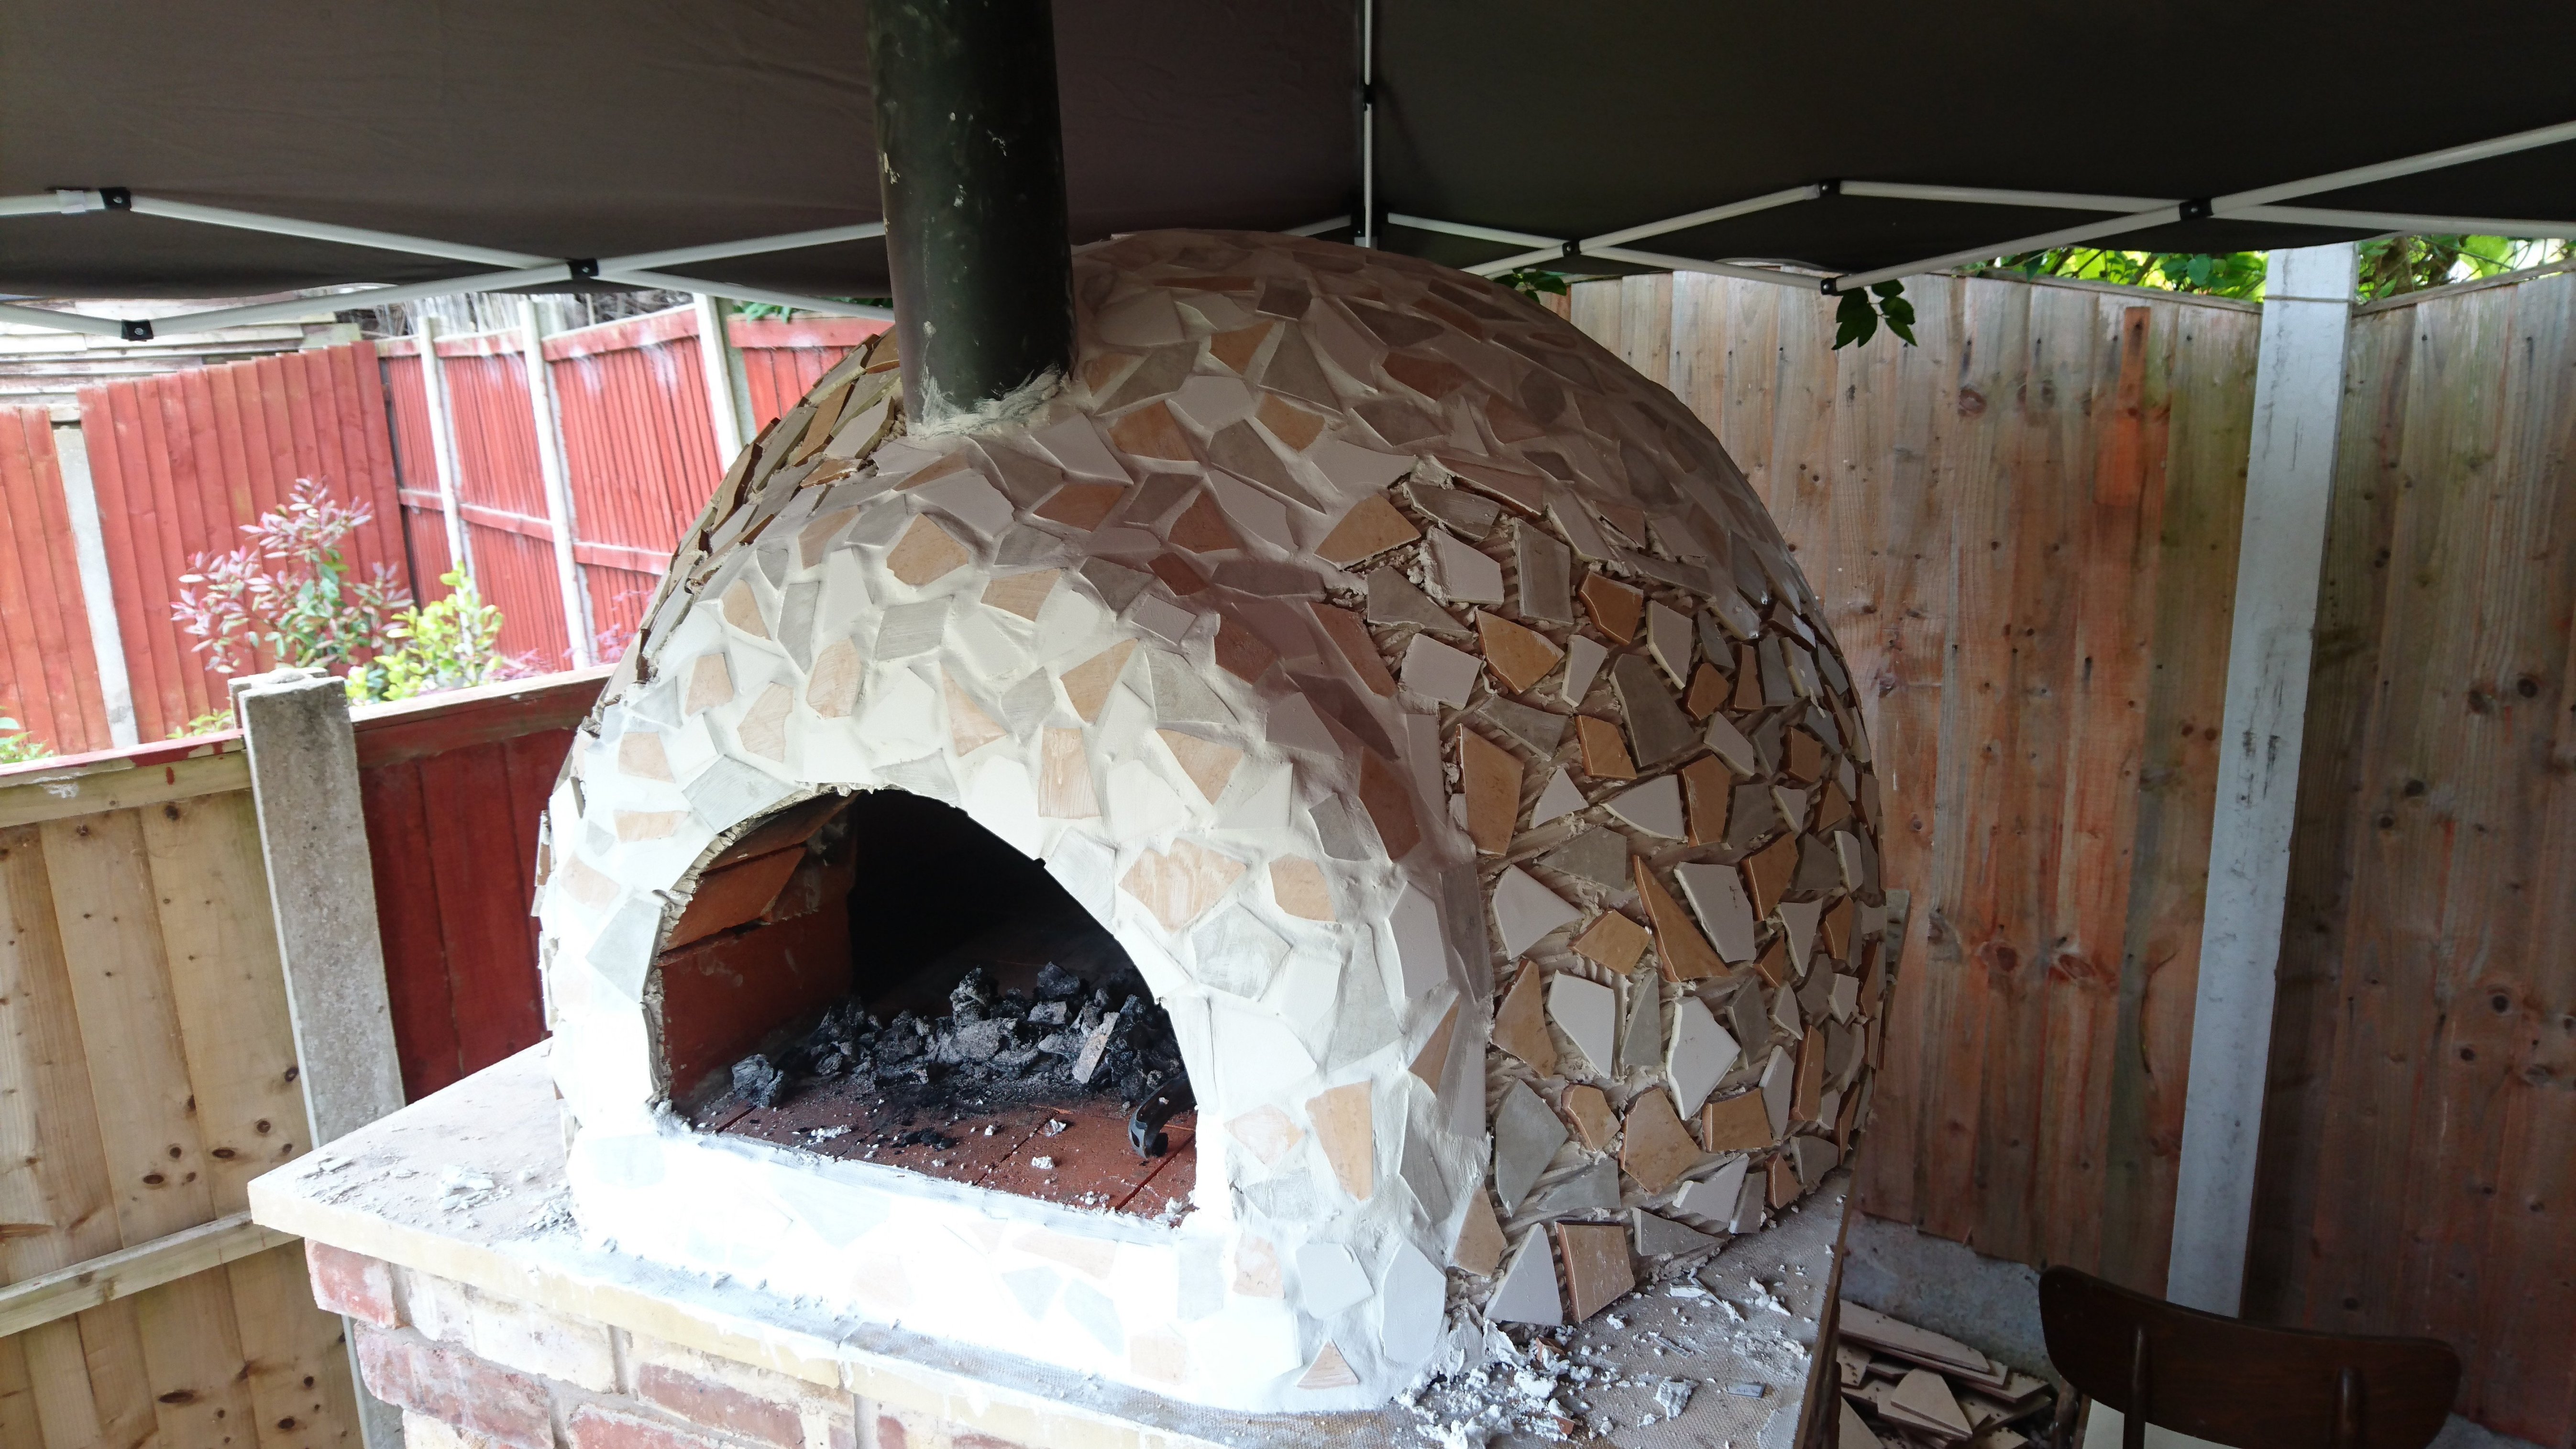
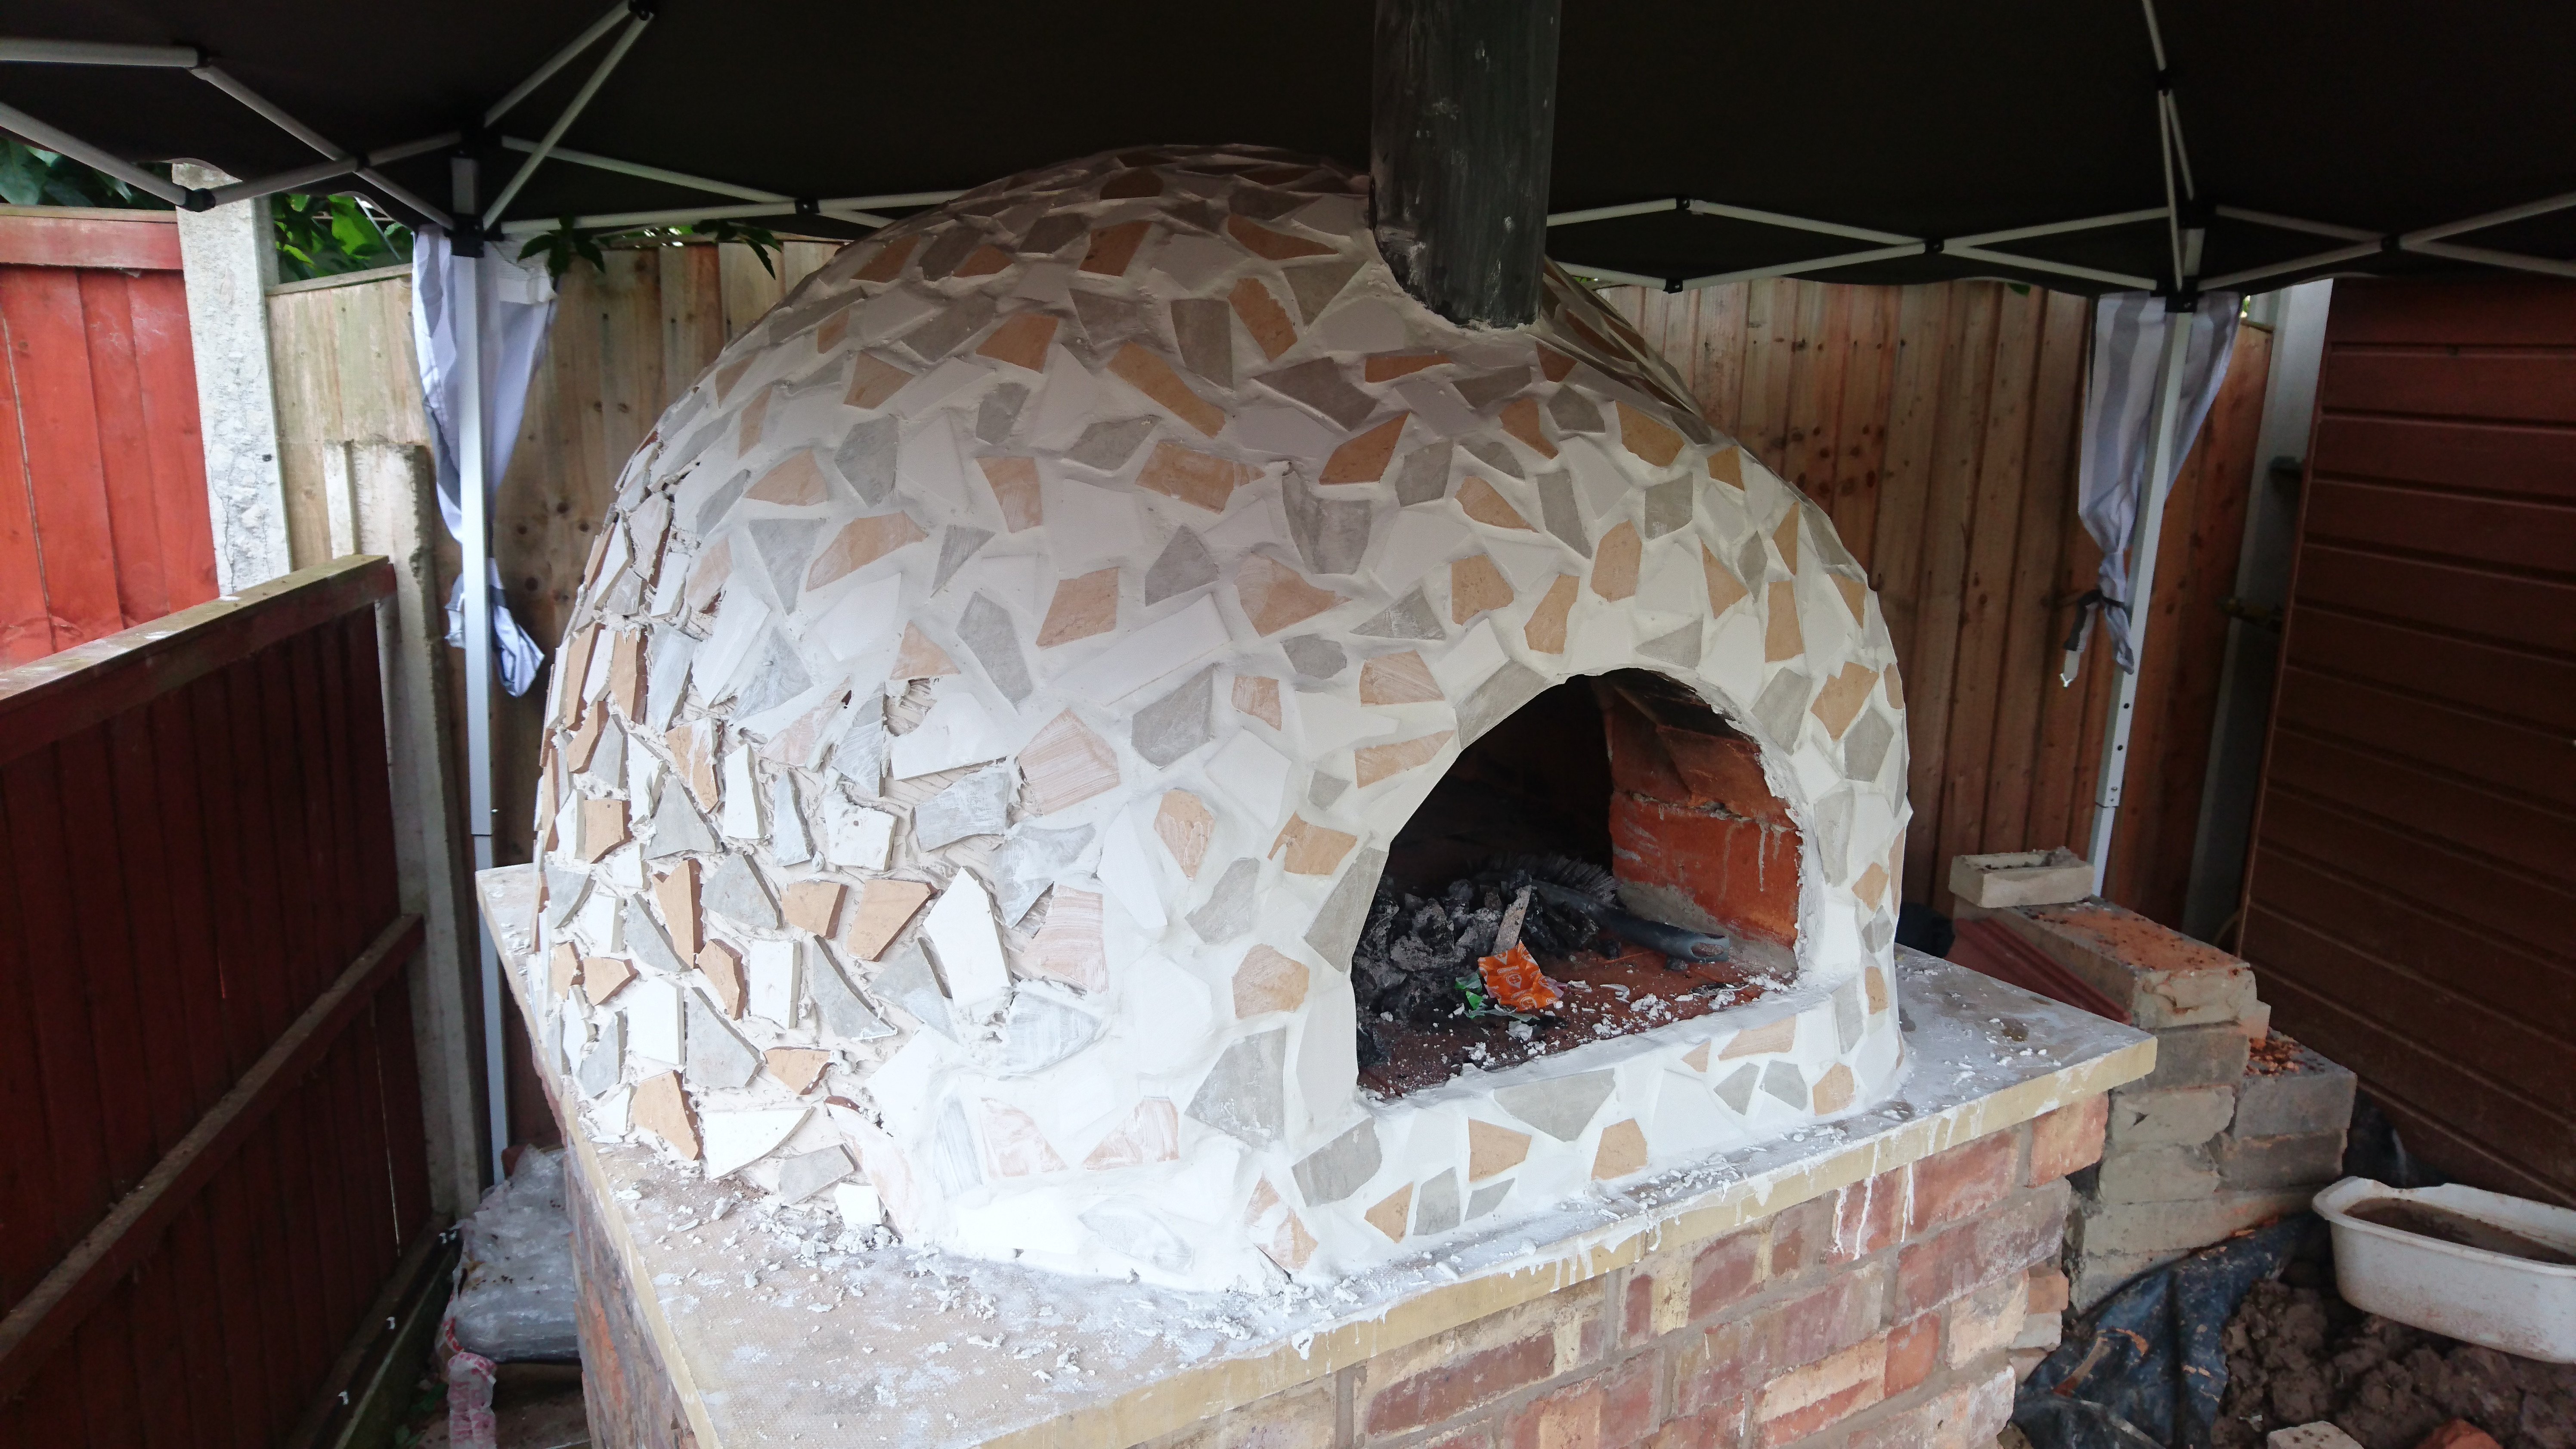
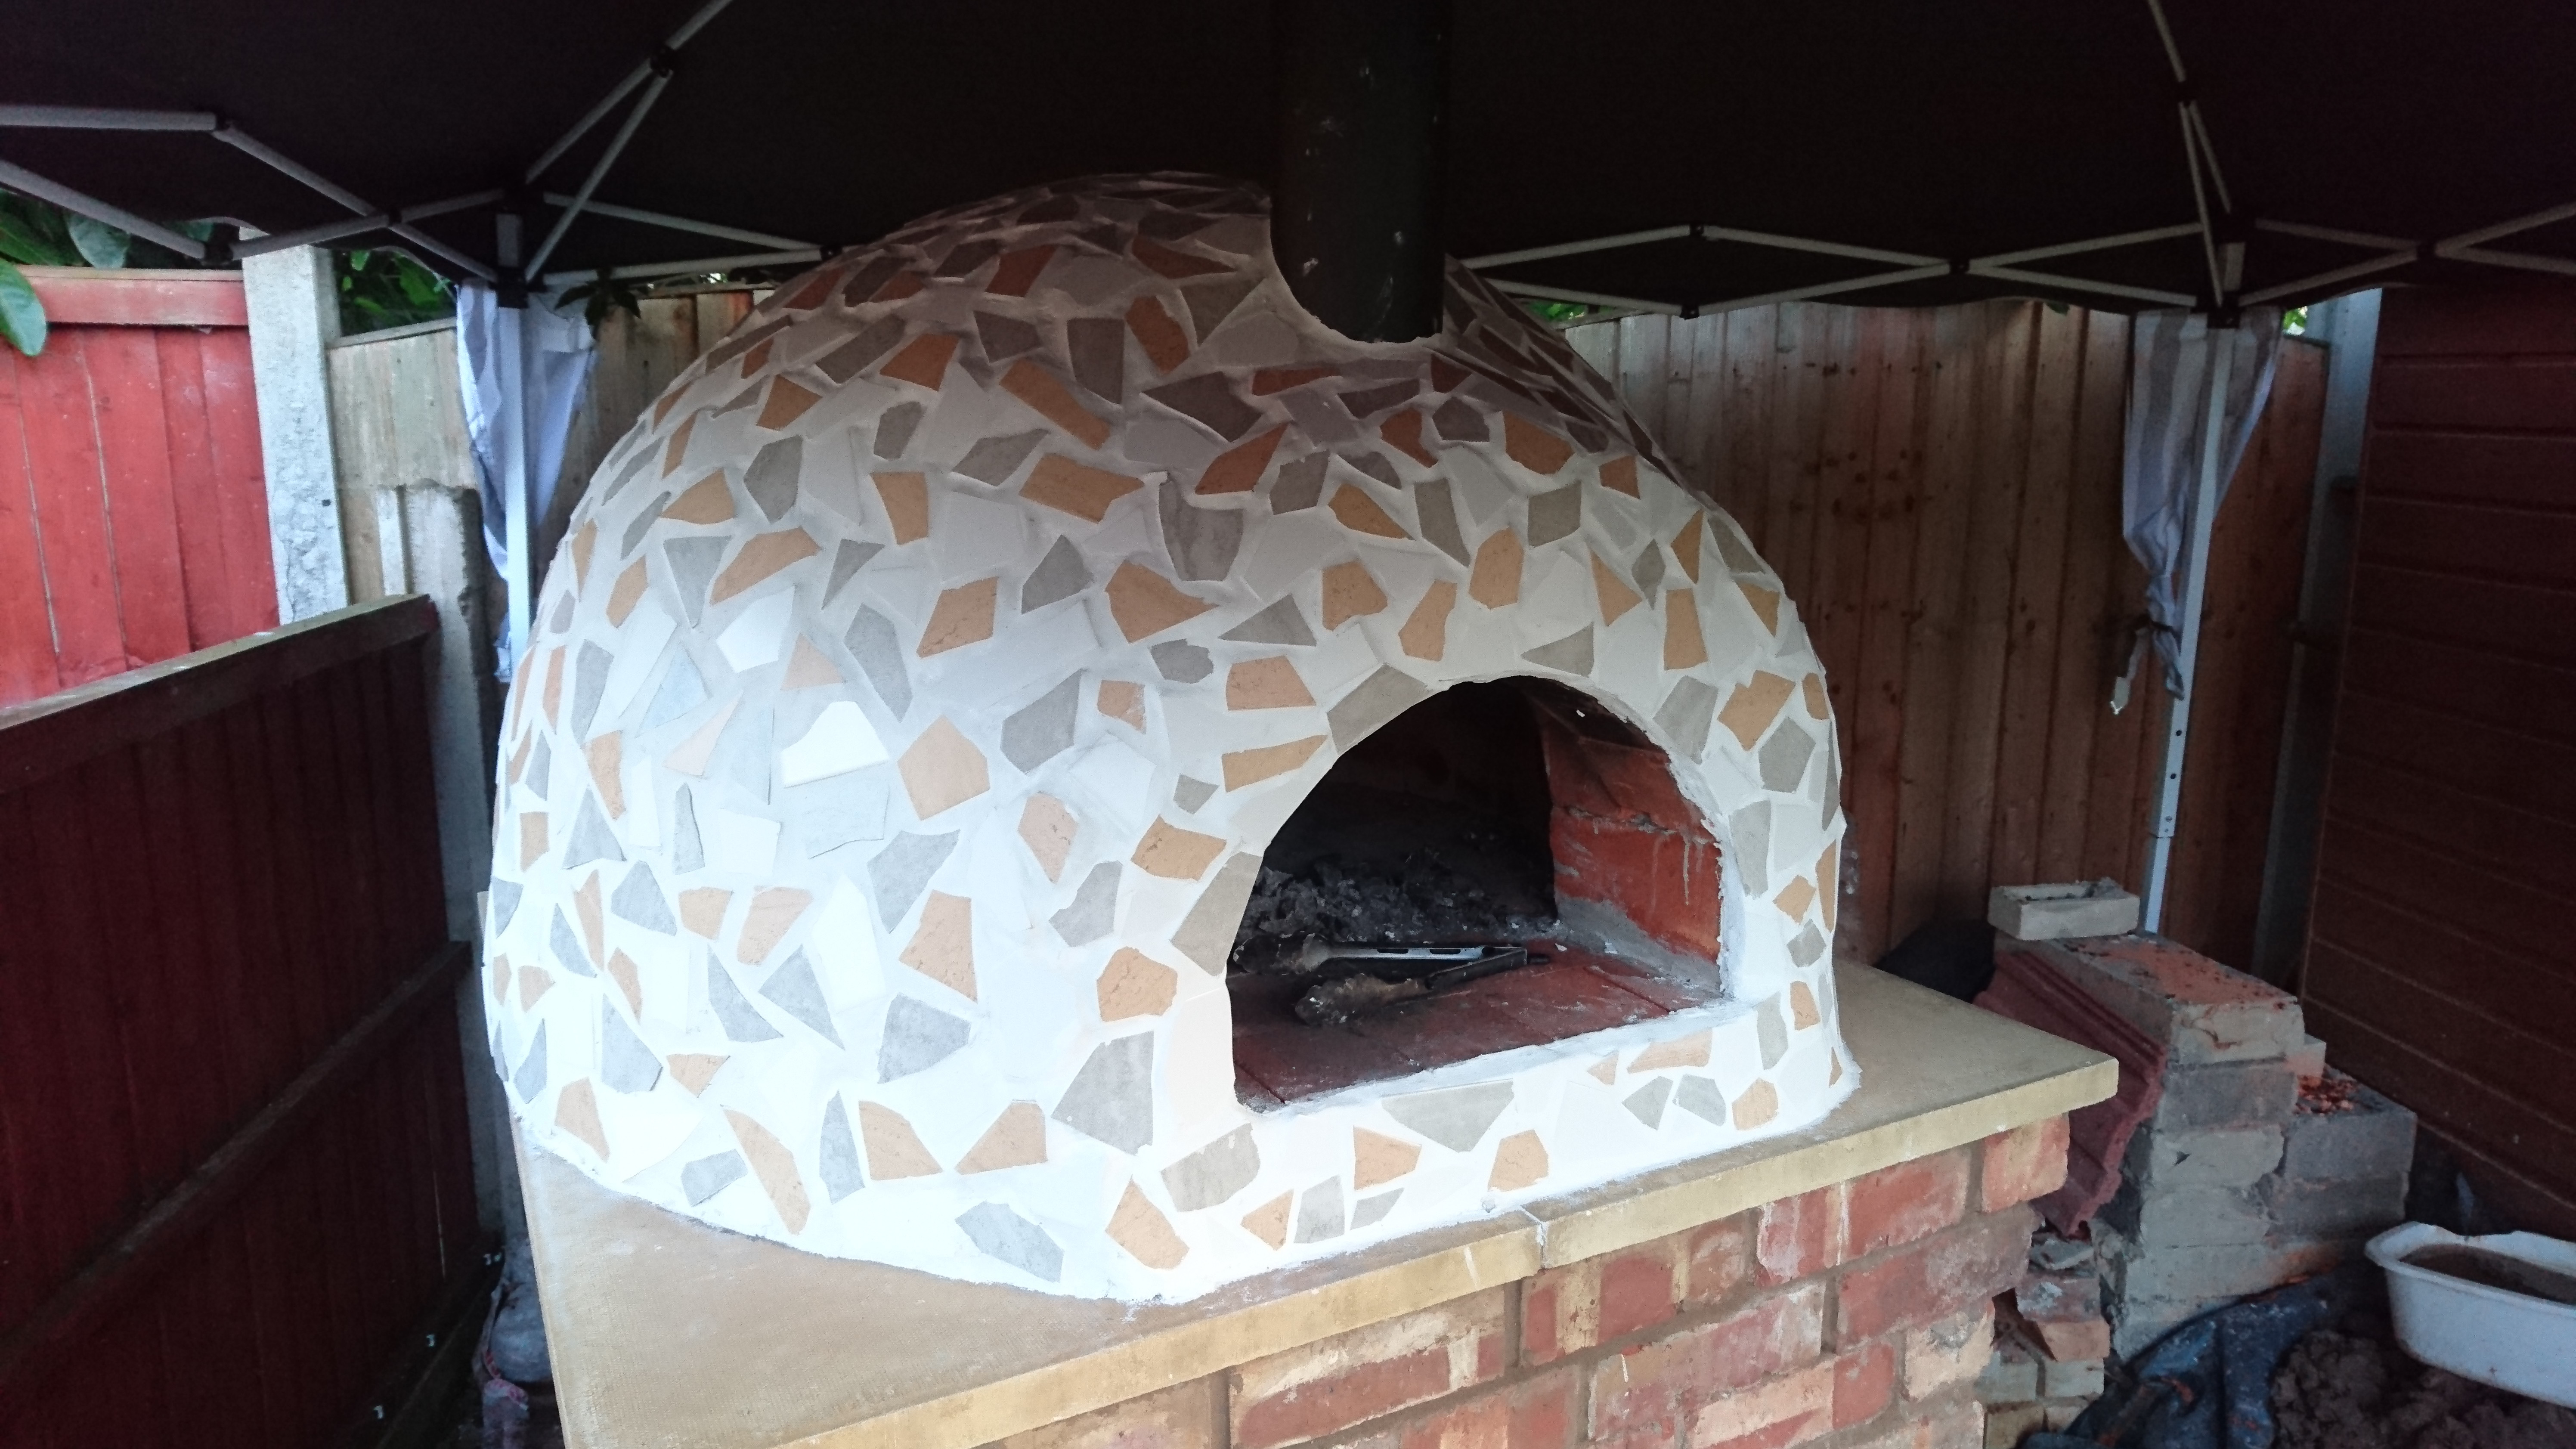
40
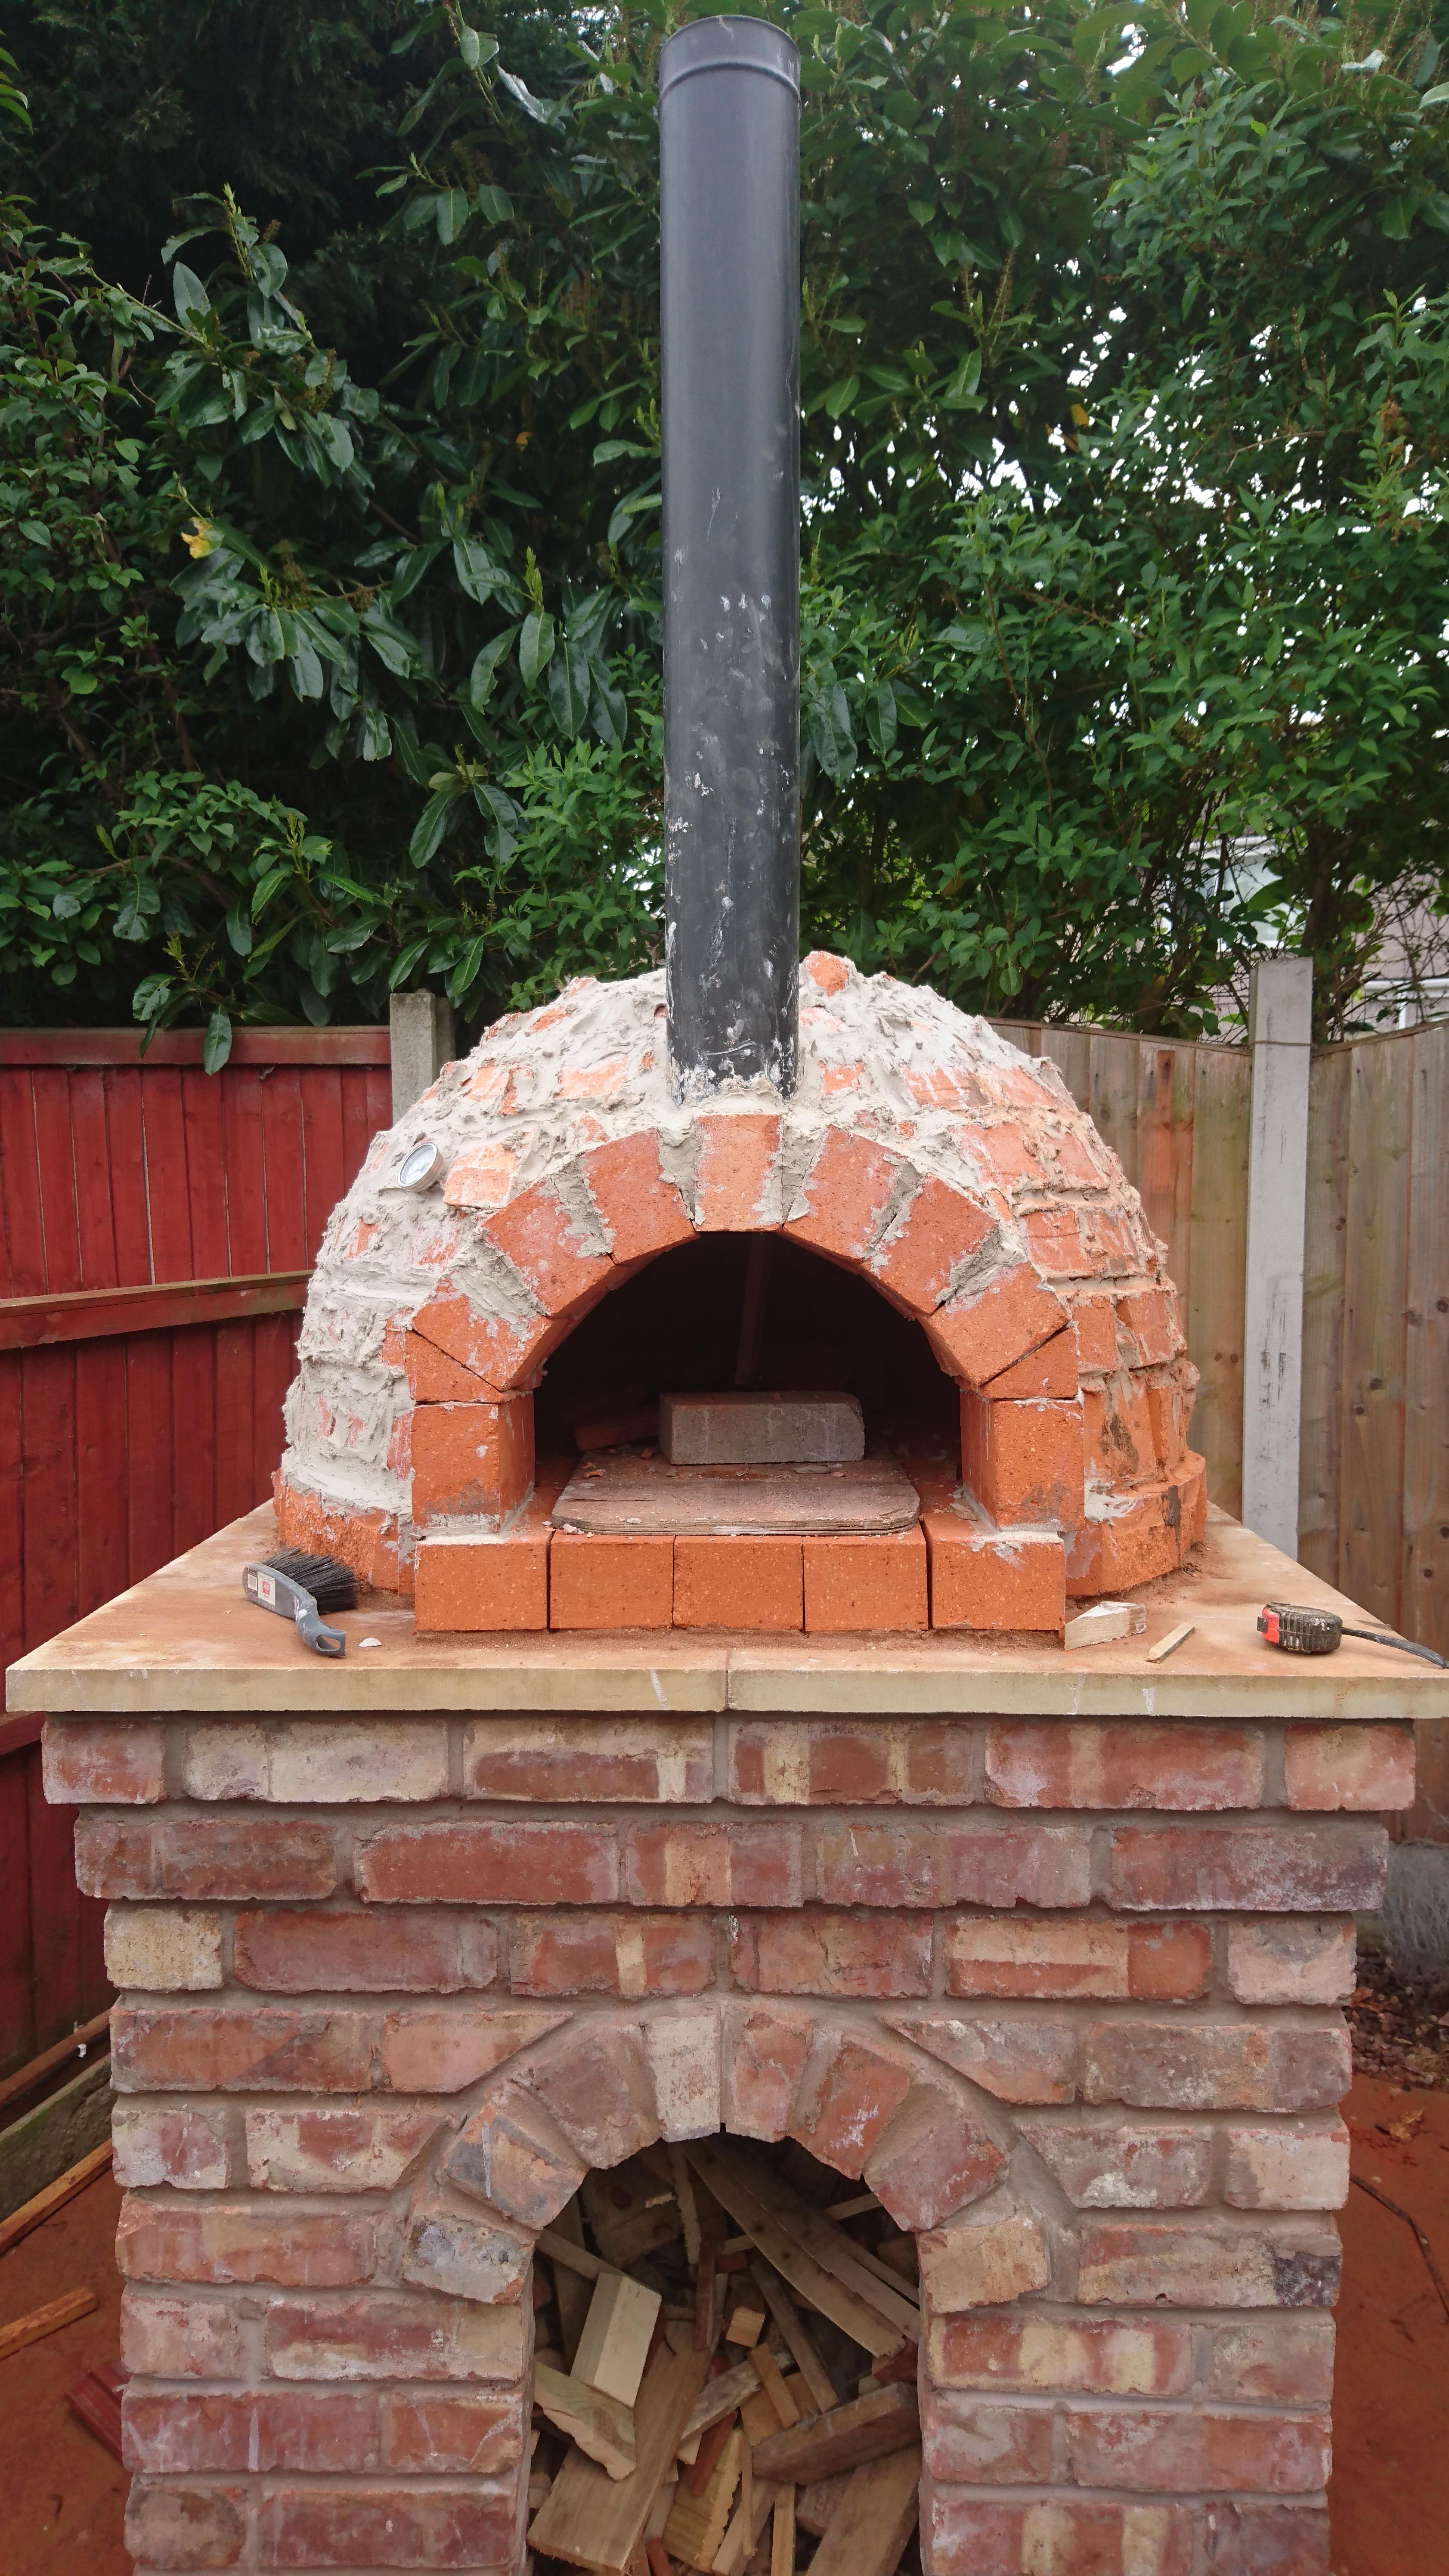
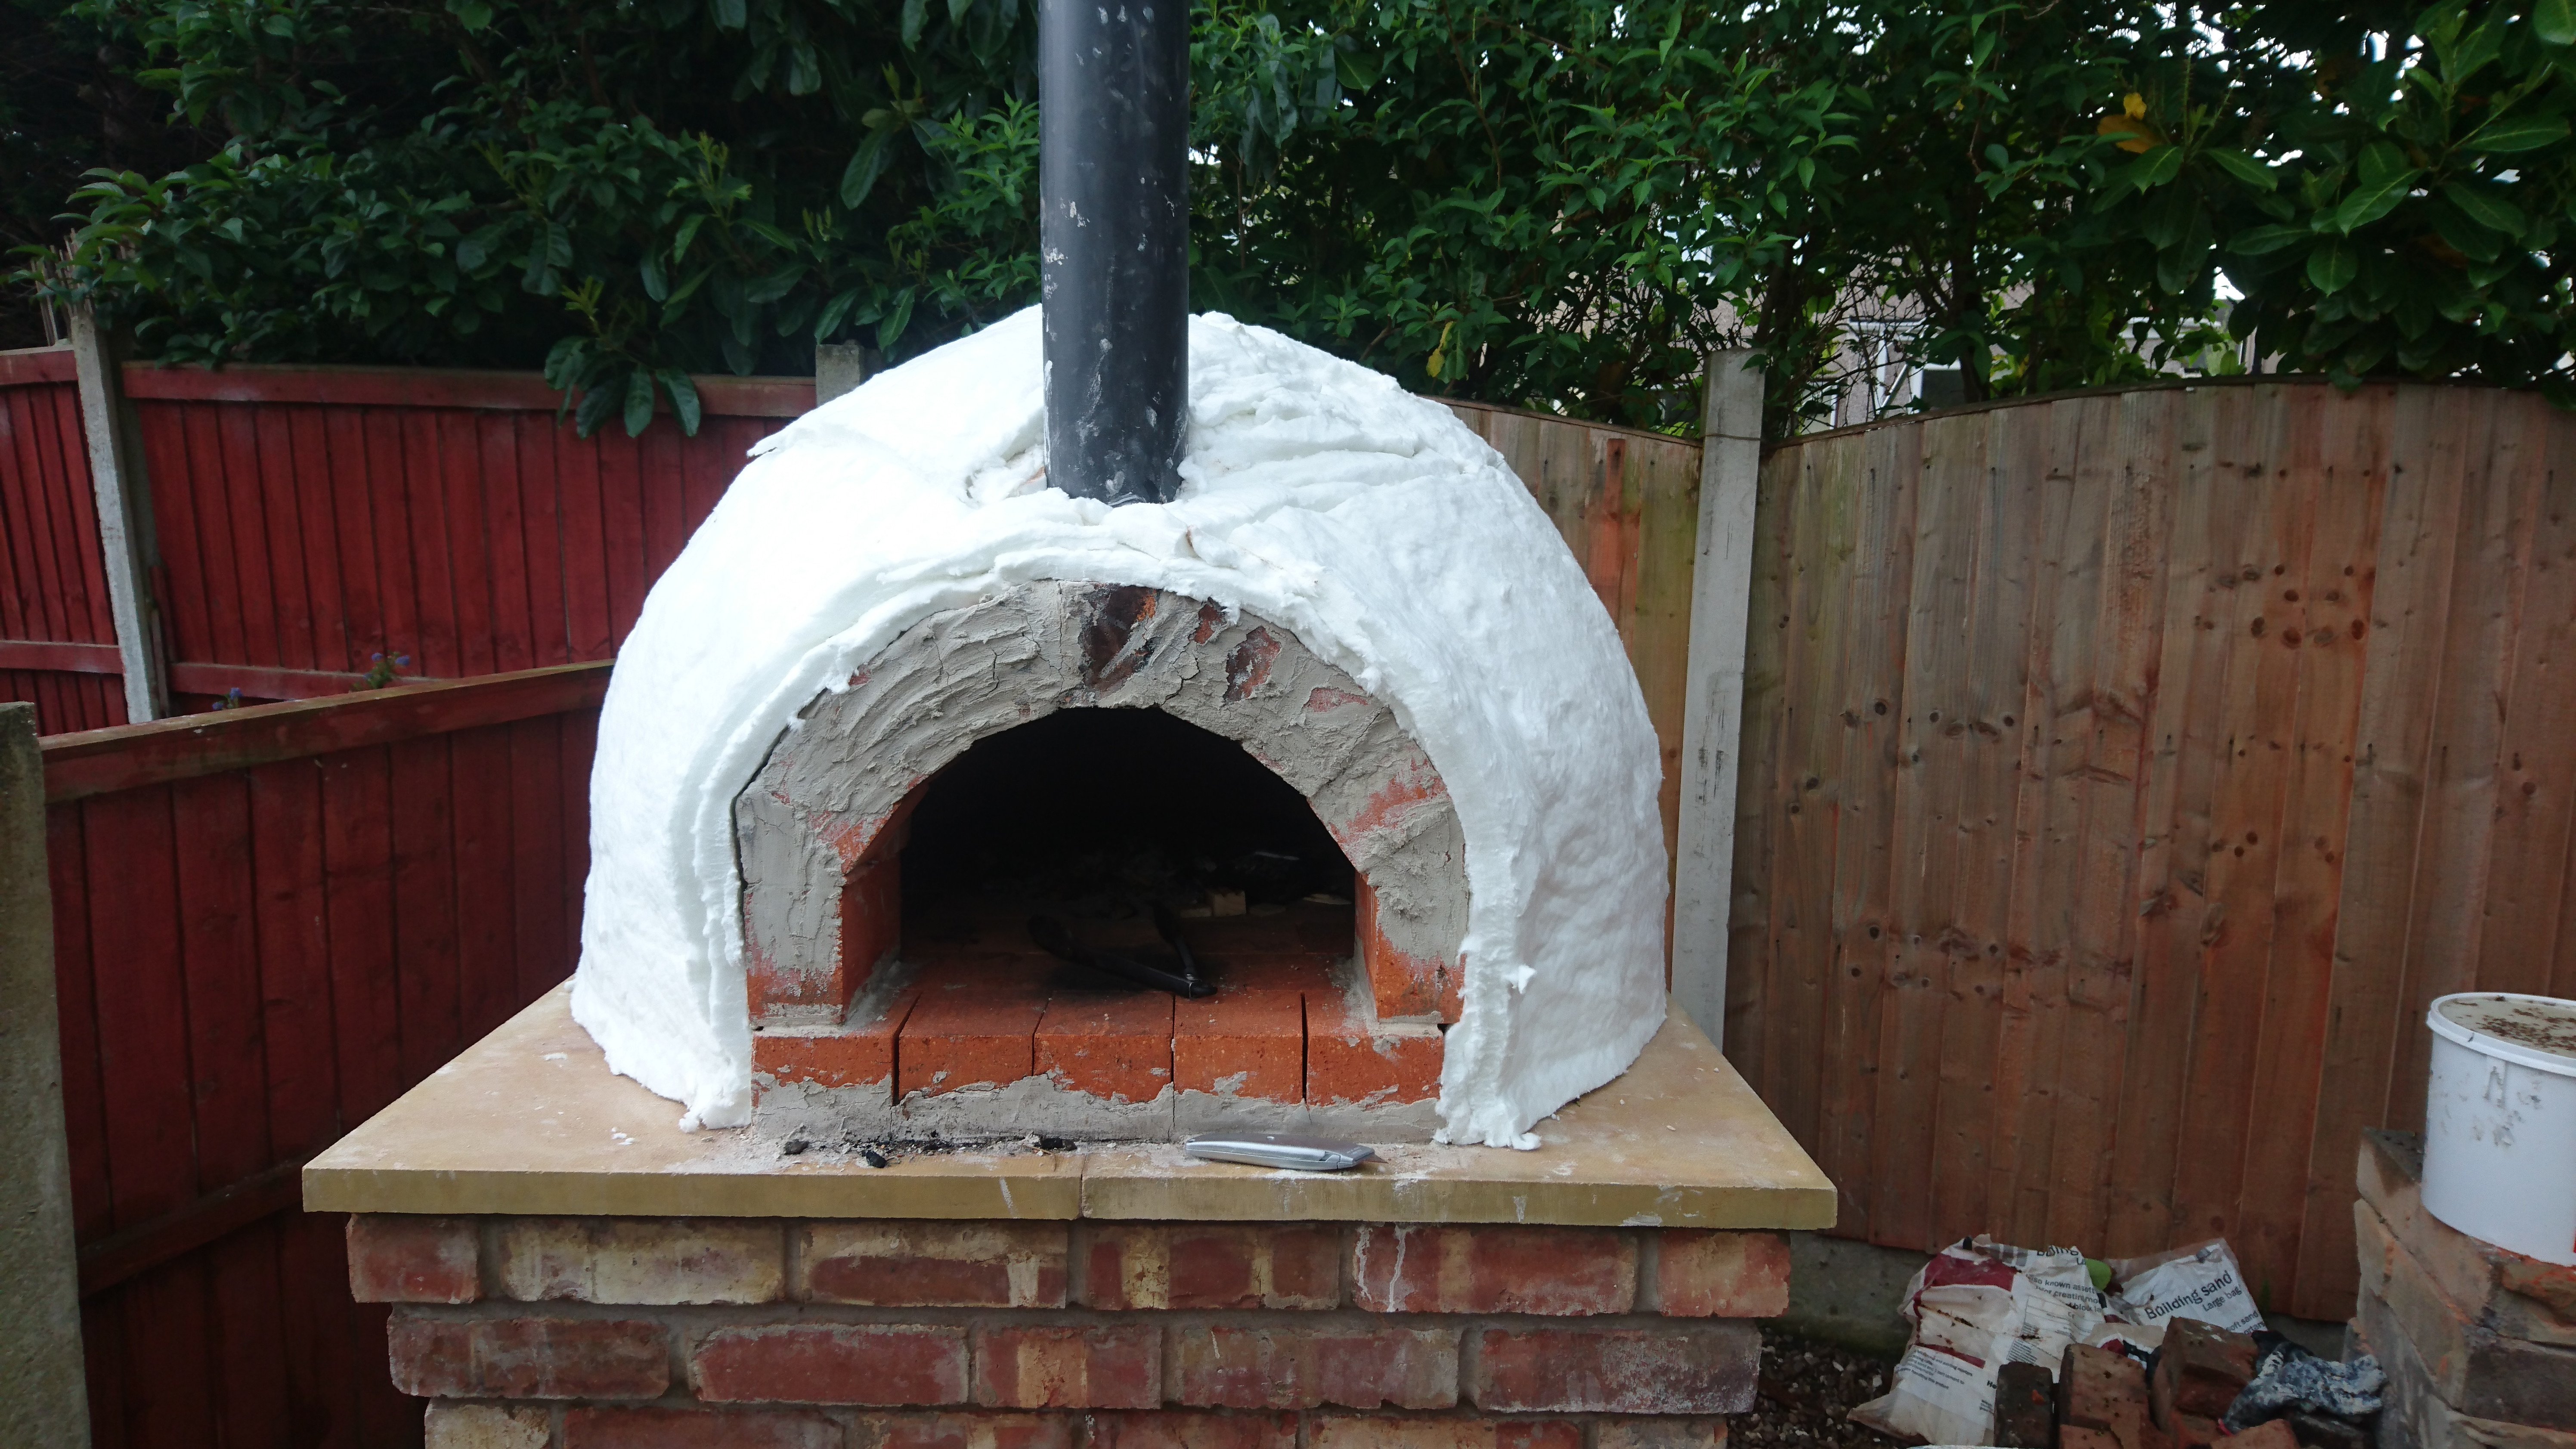
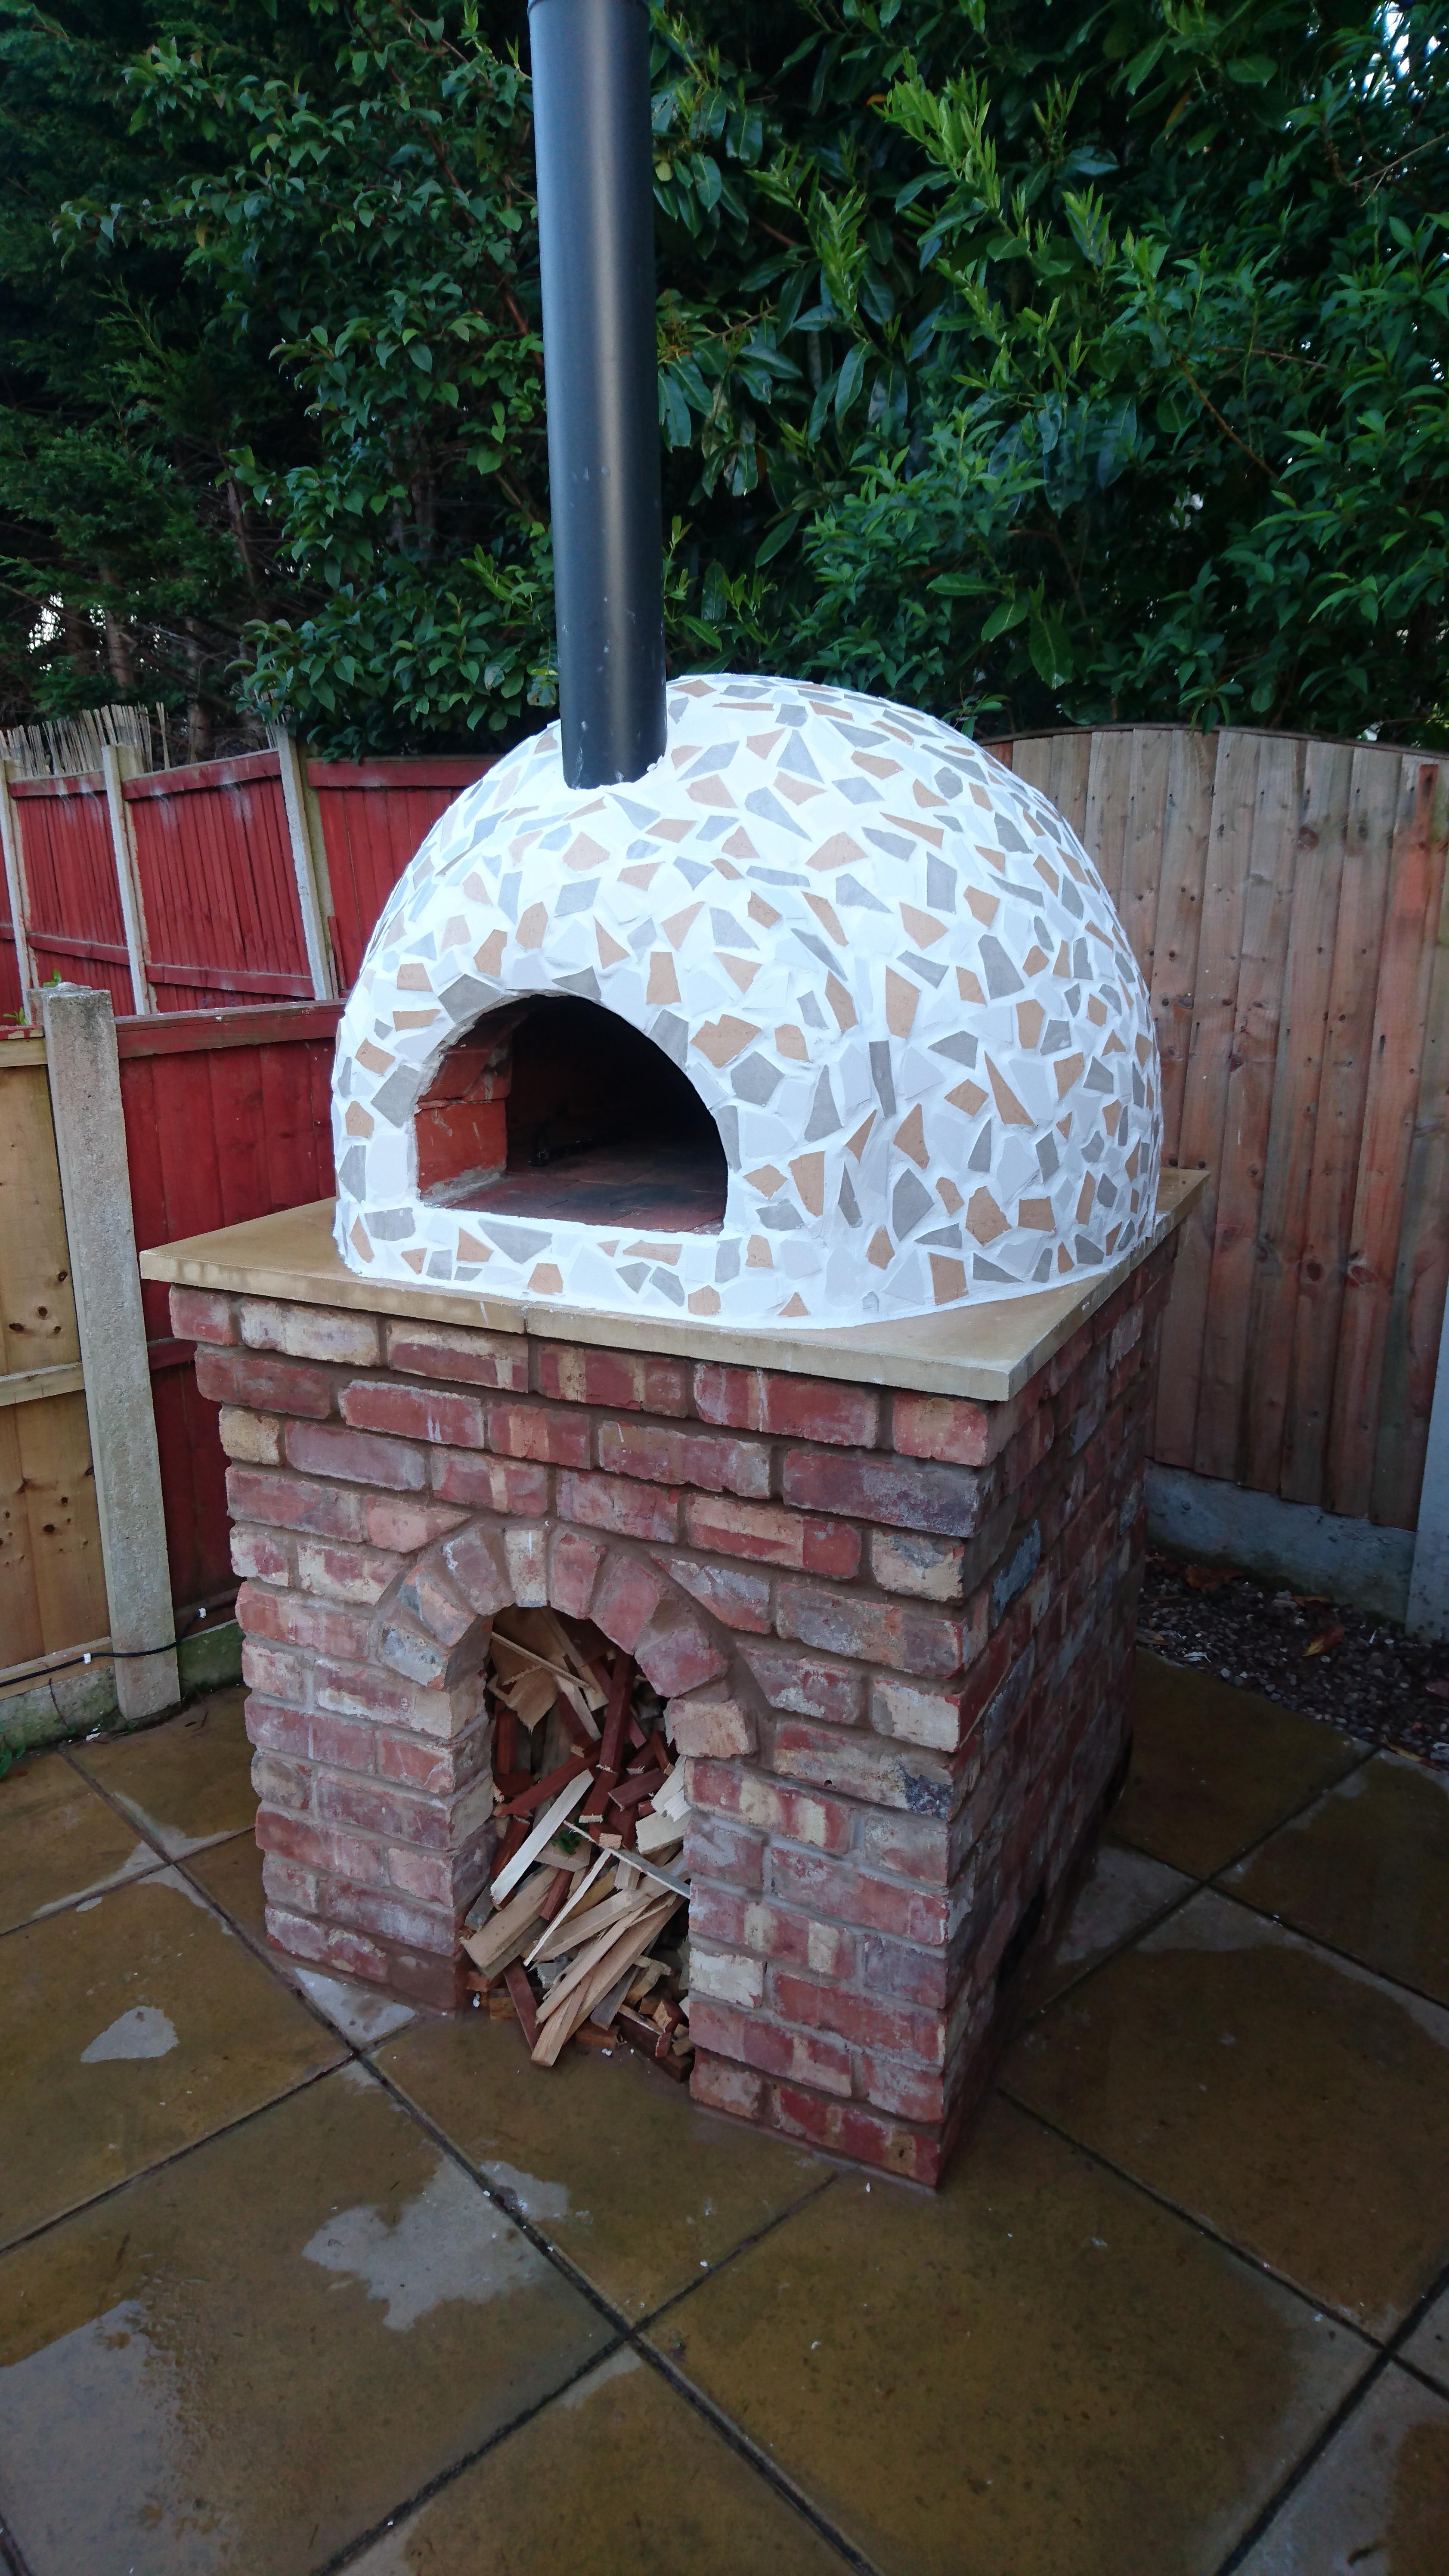
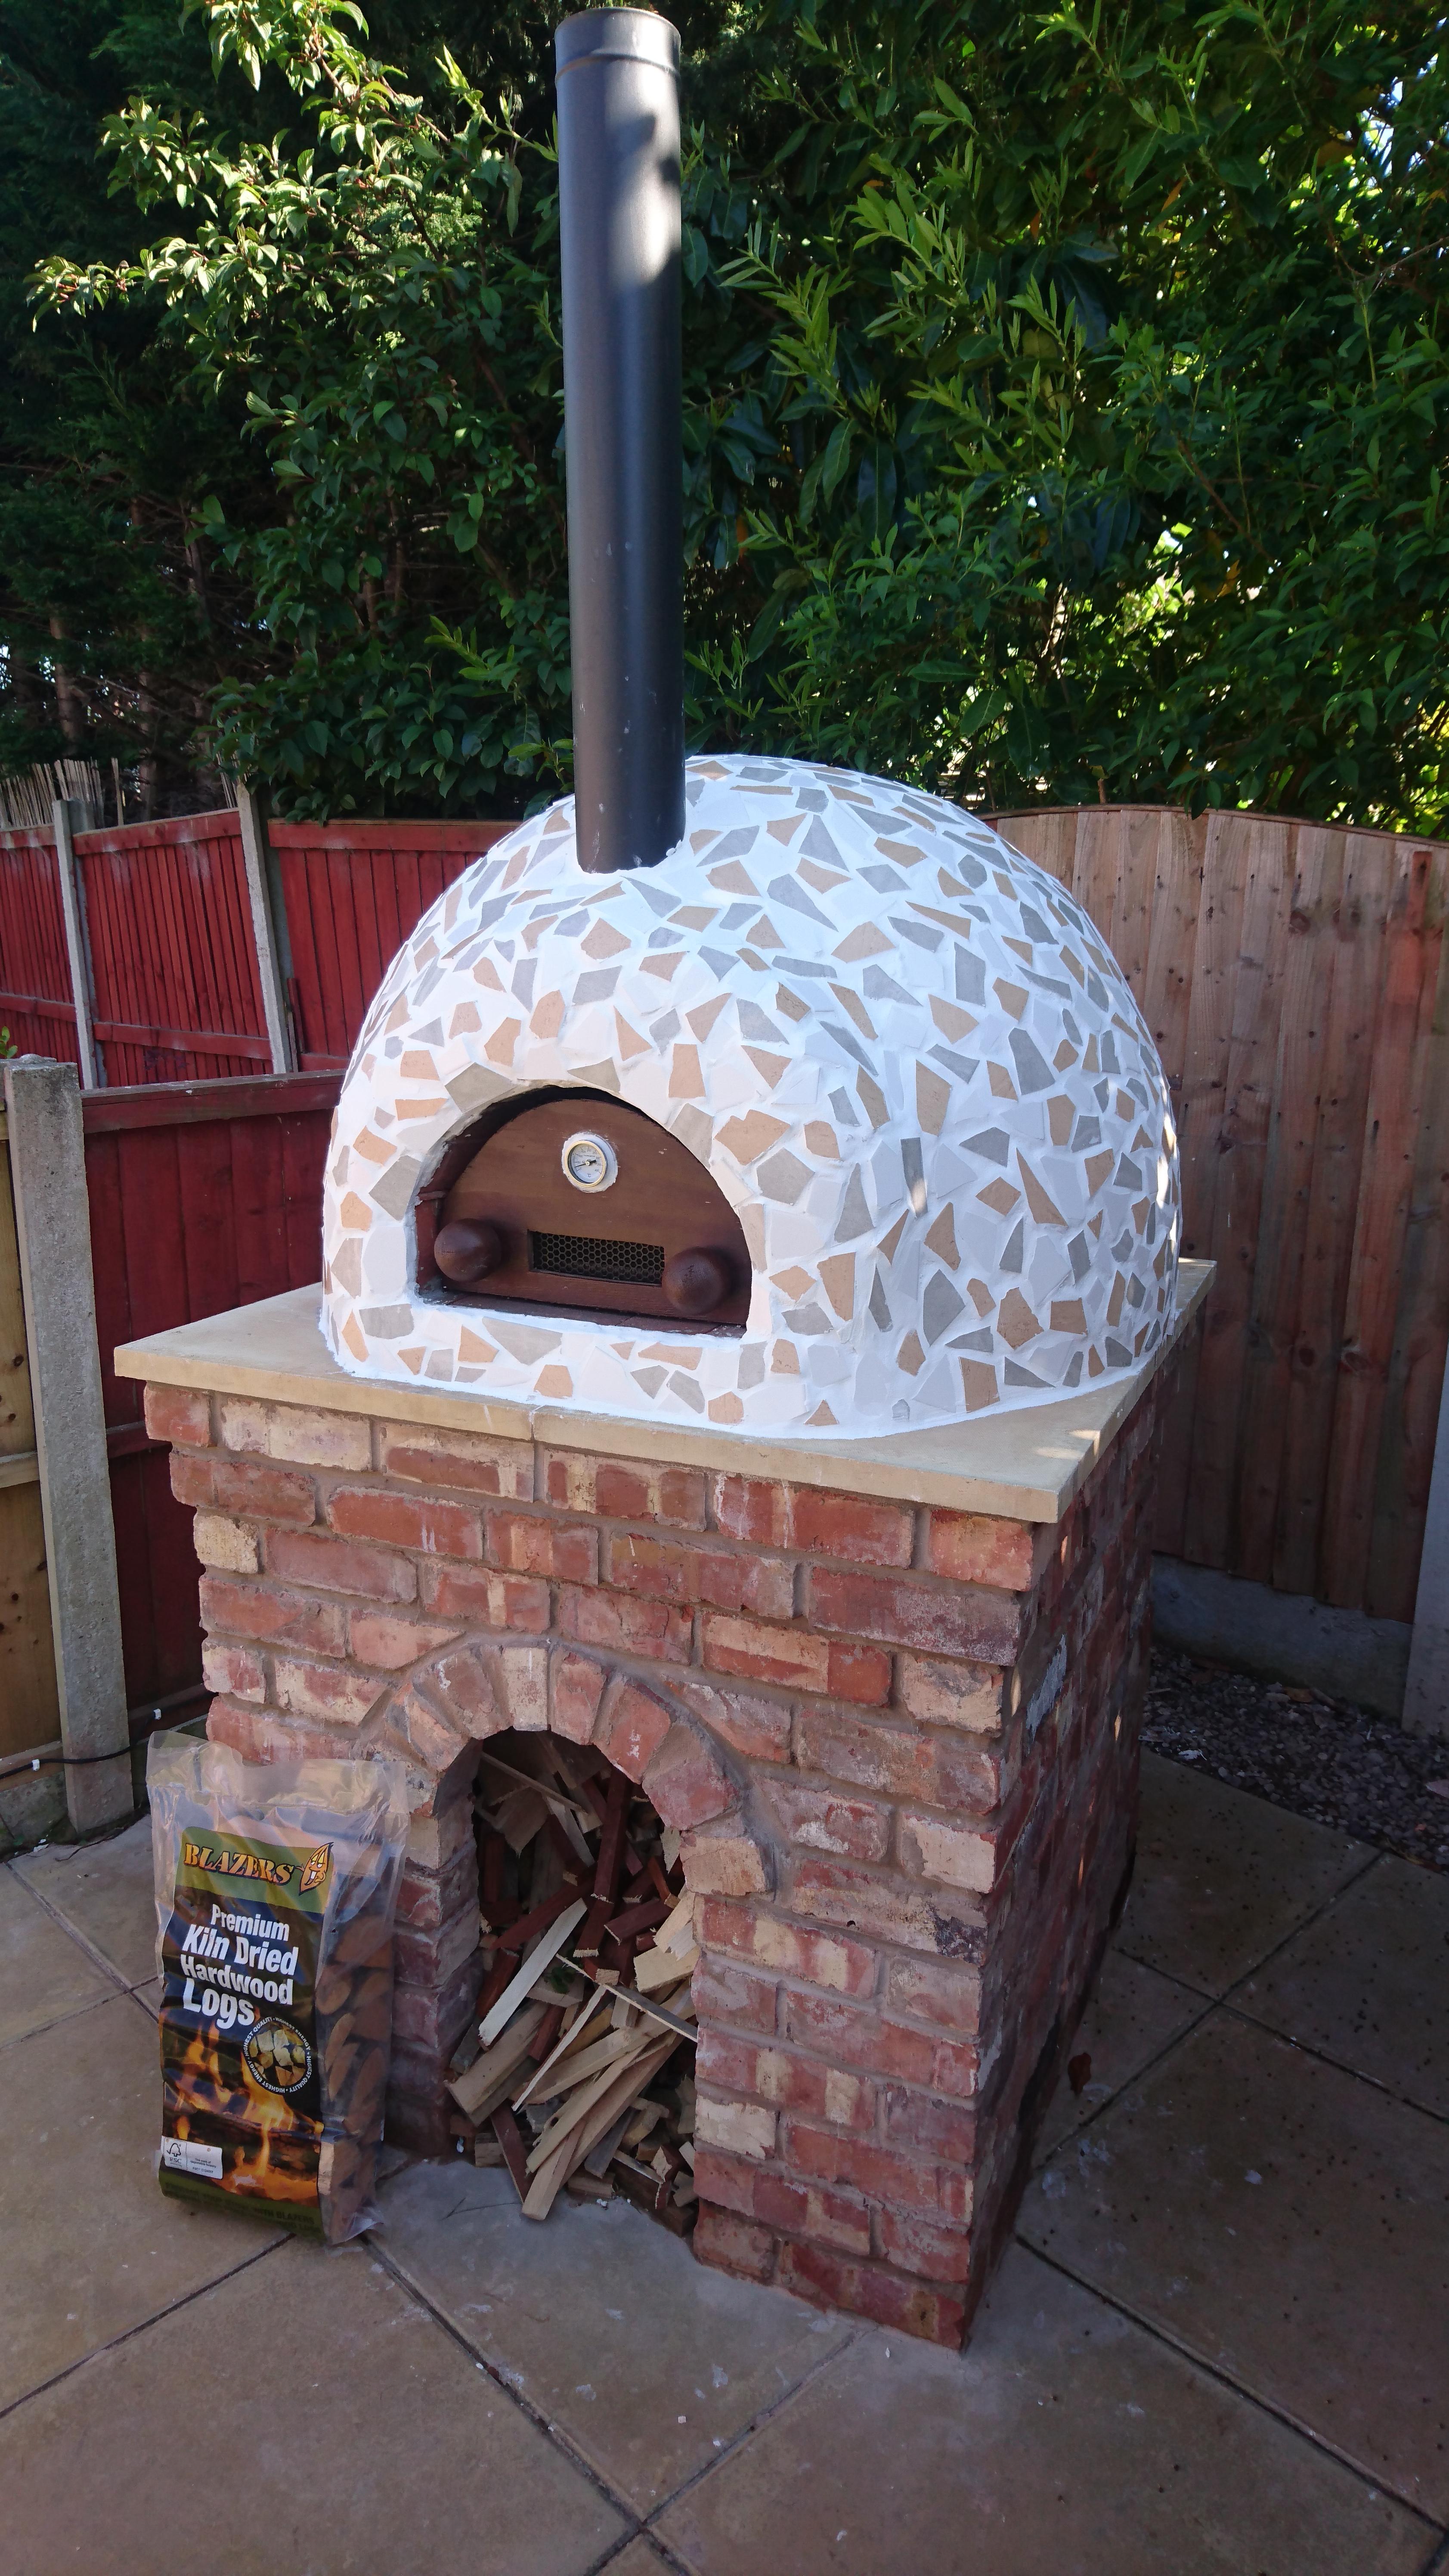
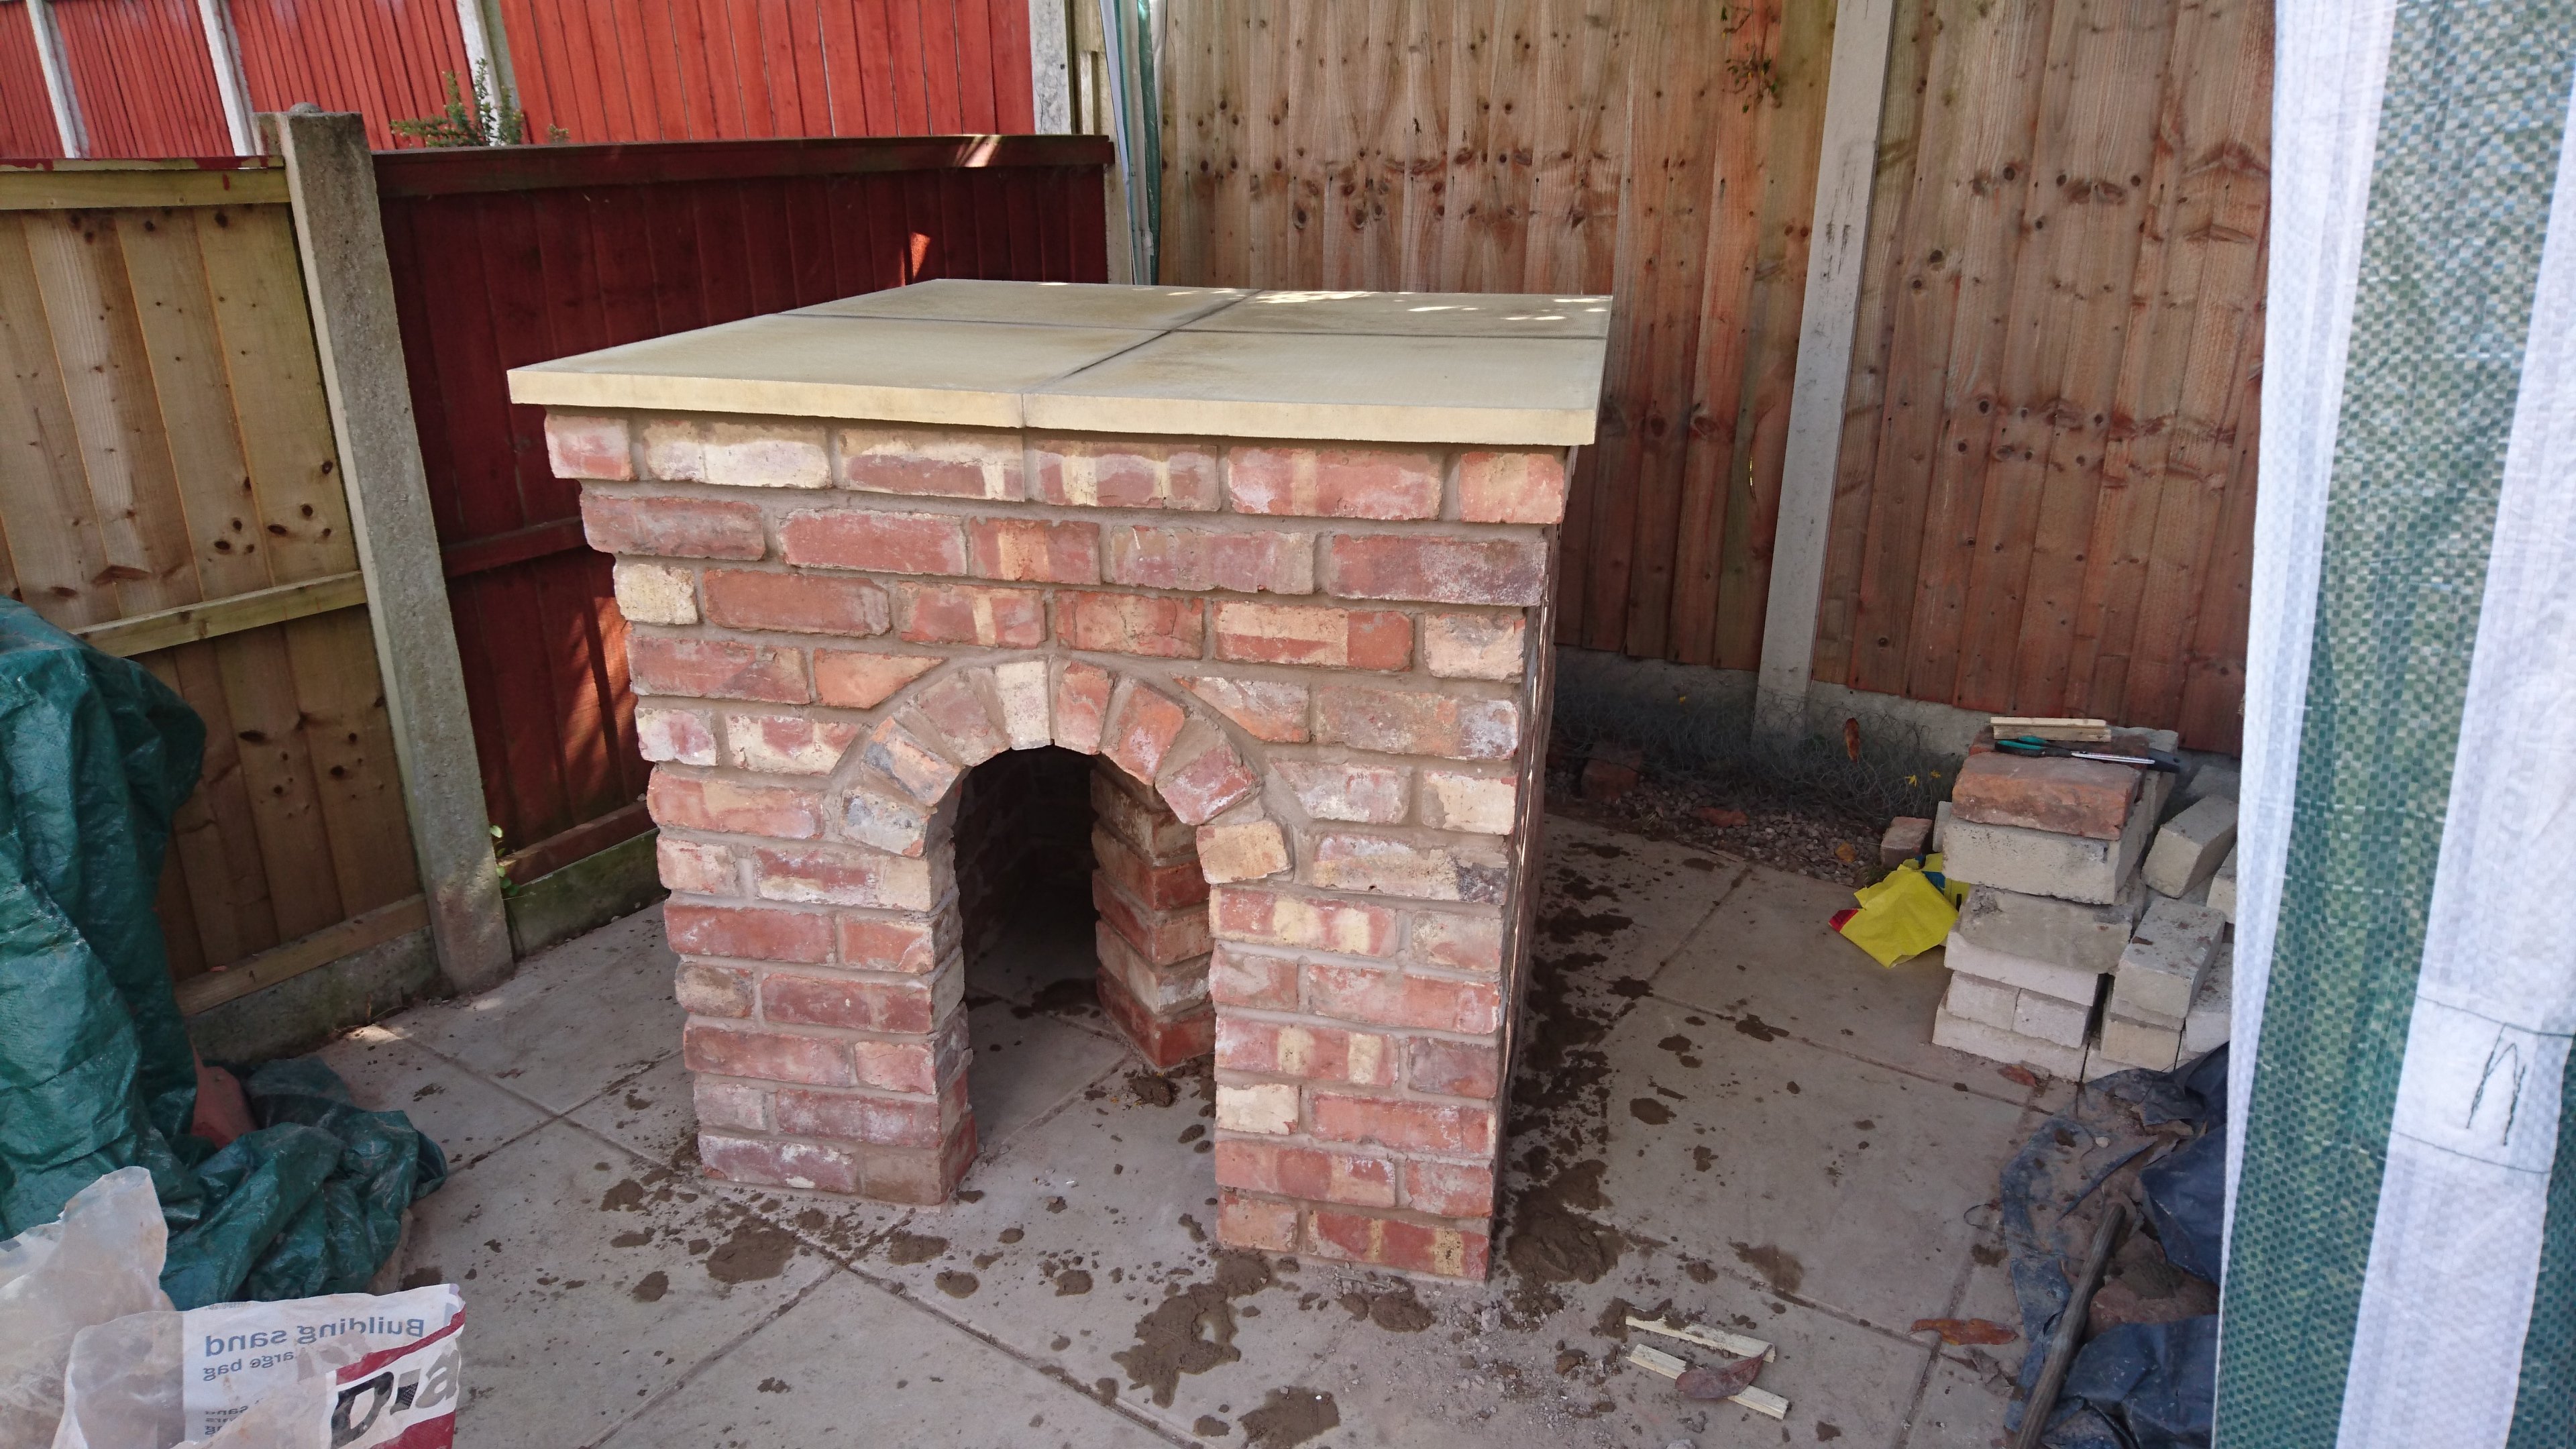
You see this oven? It was build from zero by a man with little experience as an anniversary gift. Why? "A little back story; we visited Italy for our honeymoon and stayed along the Amalfi Coast. We tried many pizzas there but I have to confess that we weren't impressed. We searched high and low for authentic Italian pizza, but mostly it was disappointing. This was when I first got the idea [...] This is the finished product and it took me approx. 7/8 weeks to build. Worth it!"
42
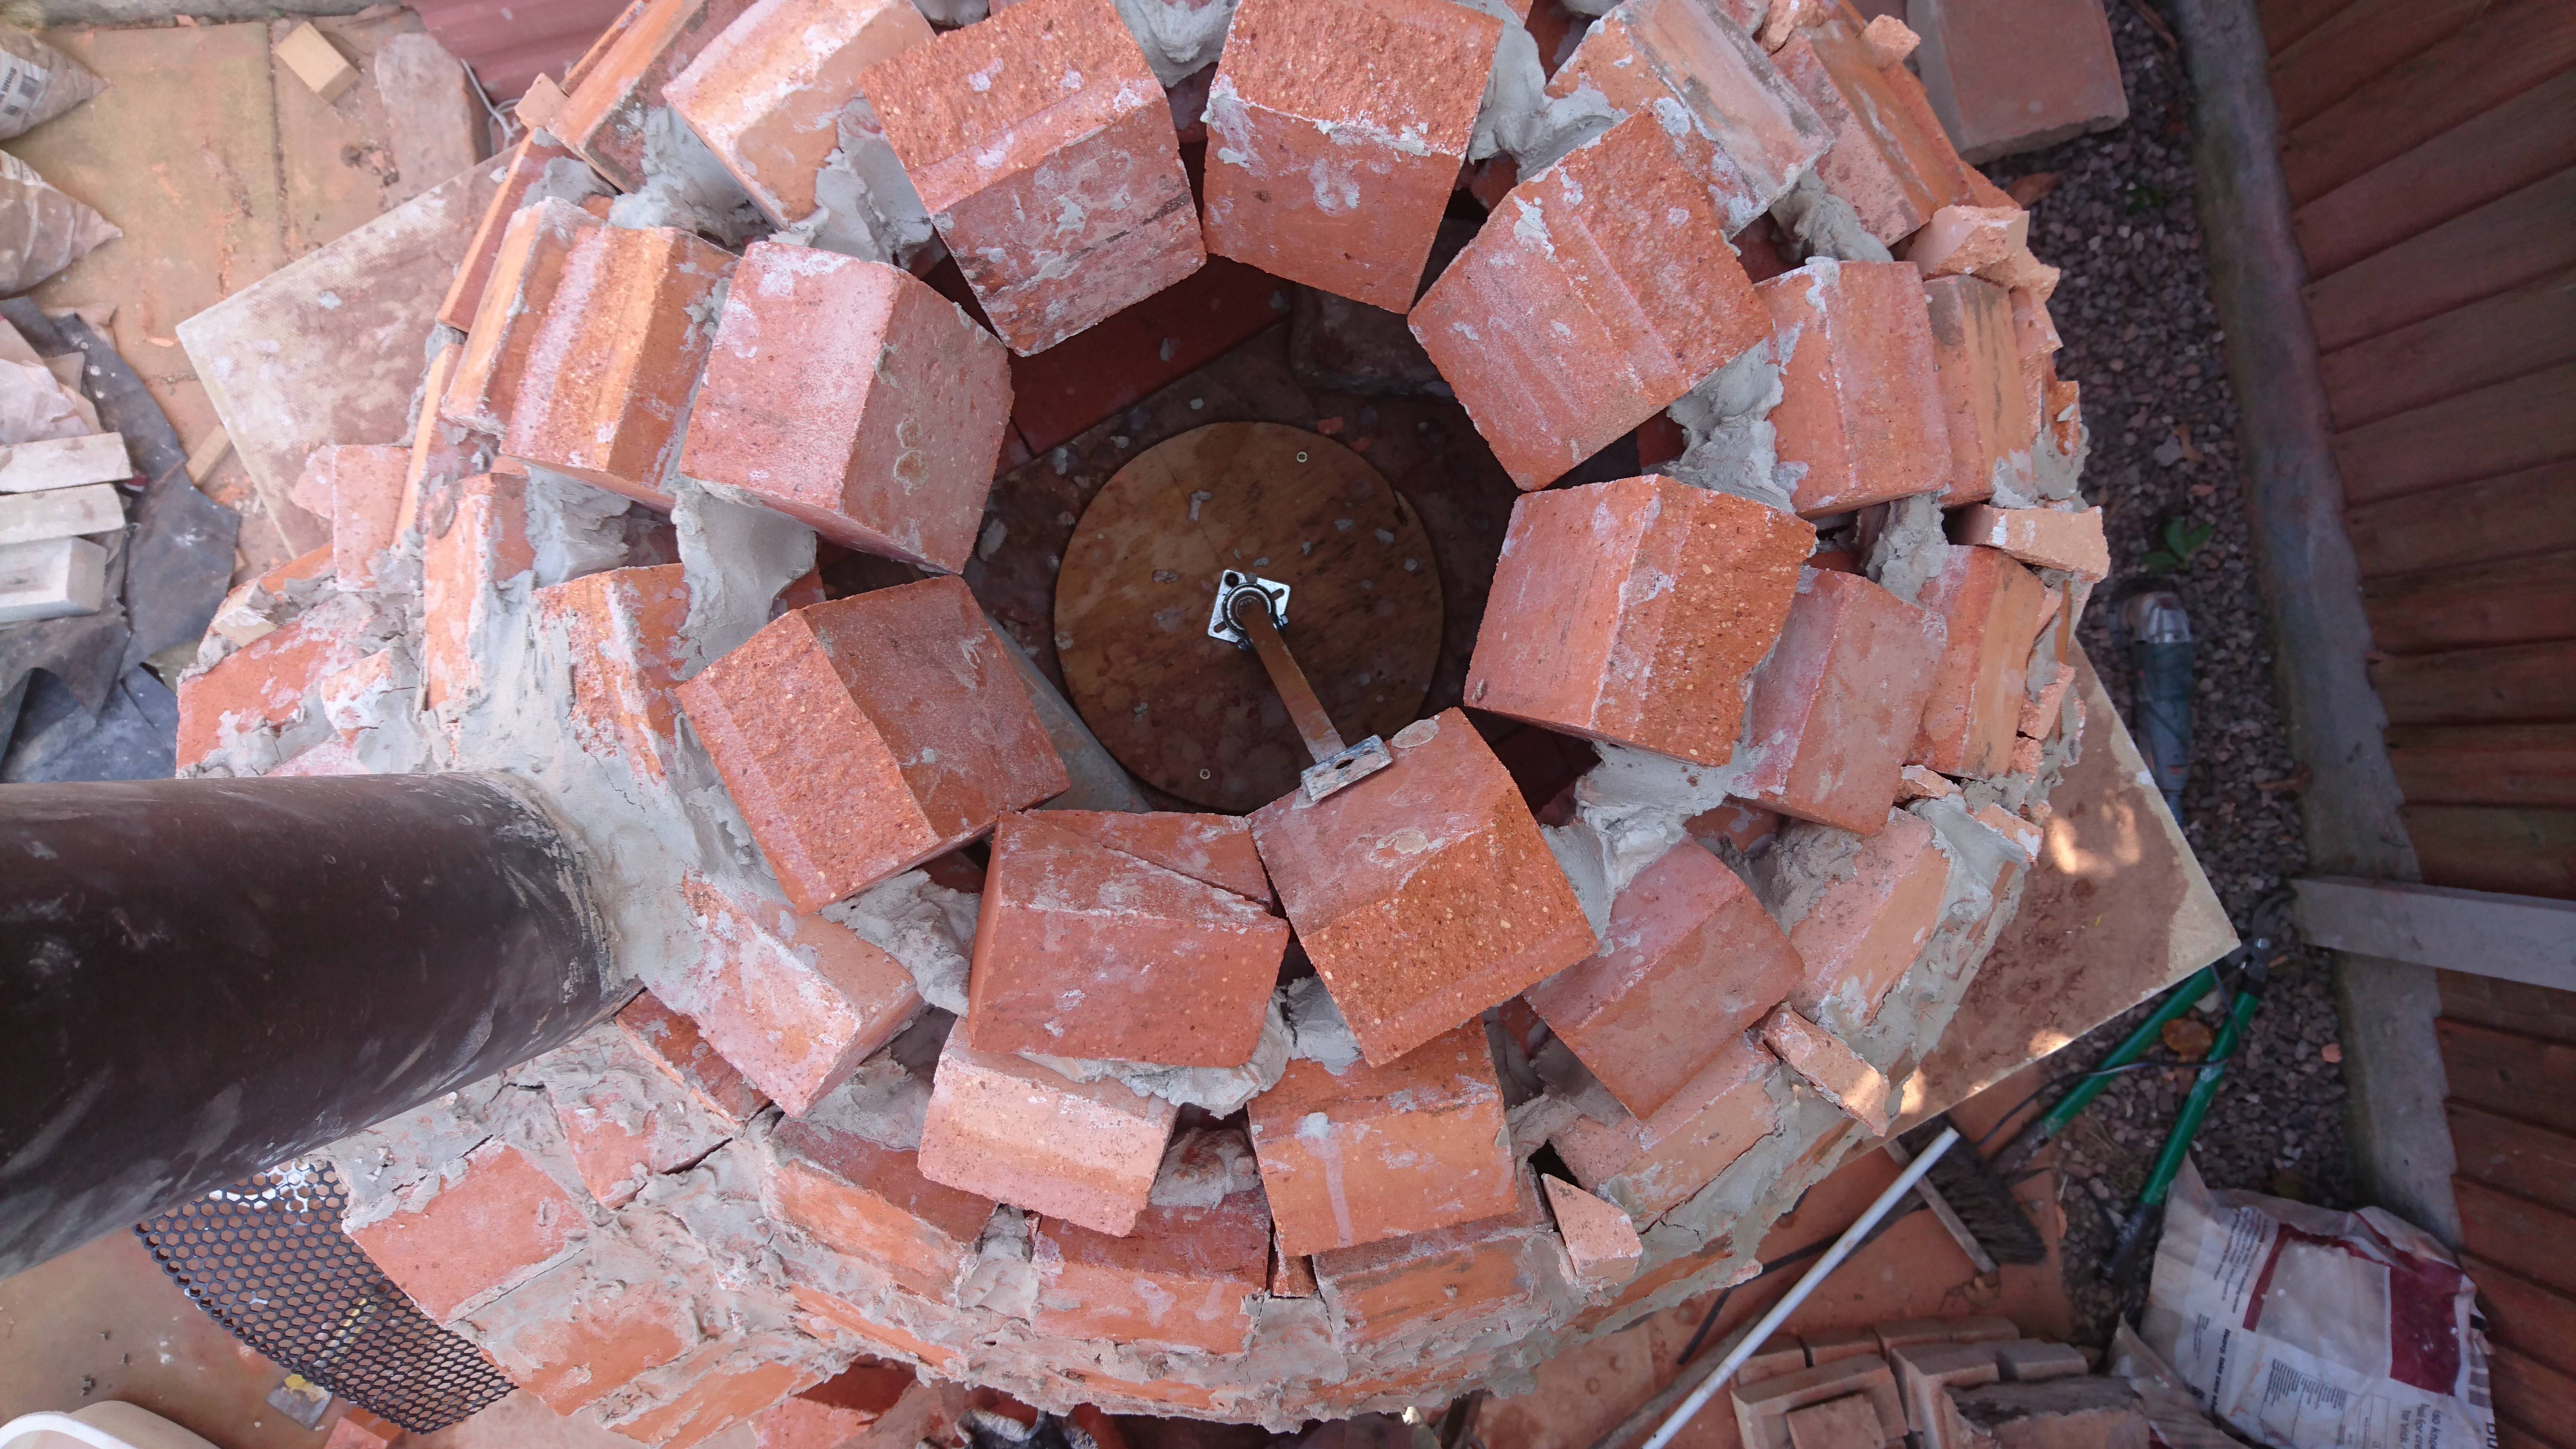
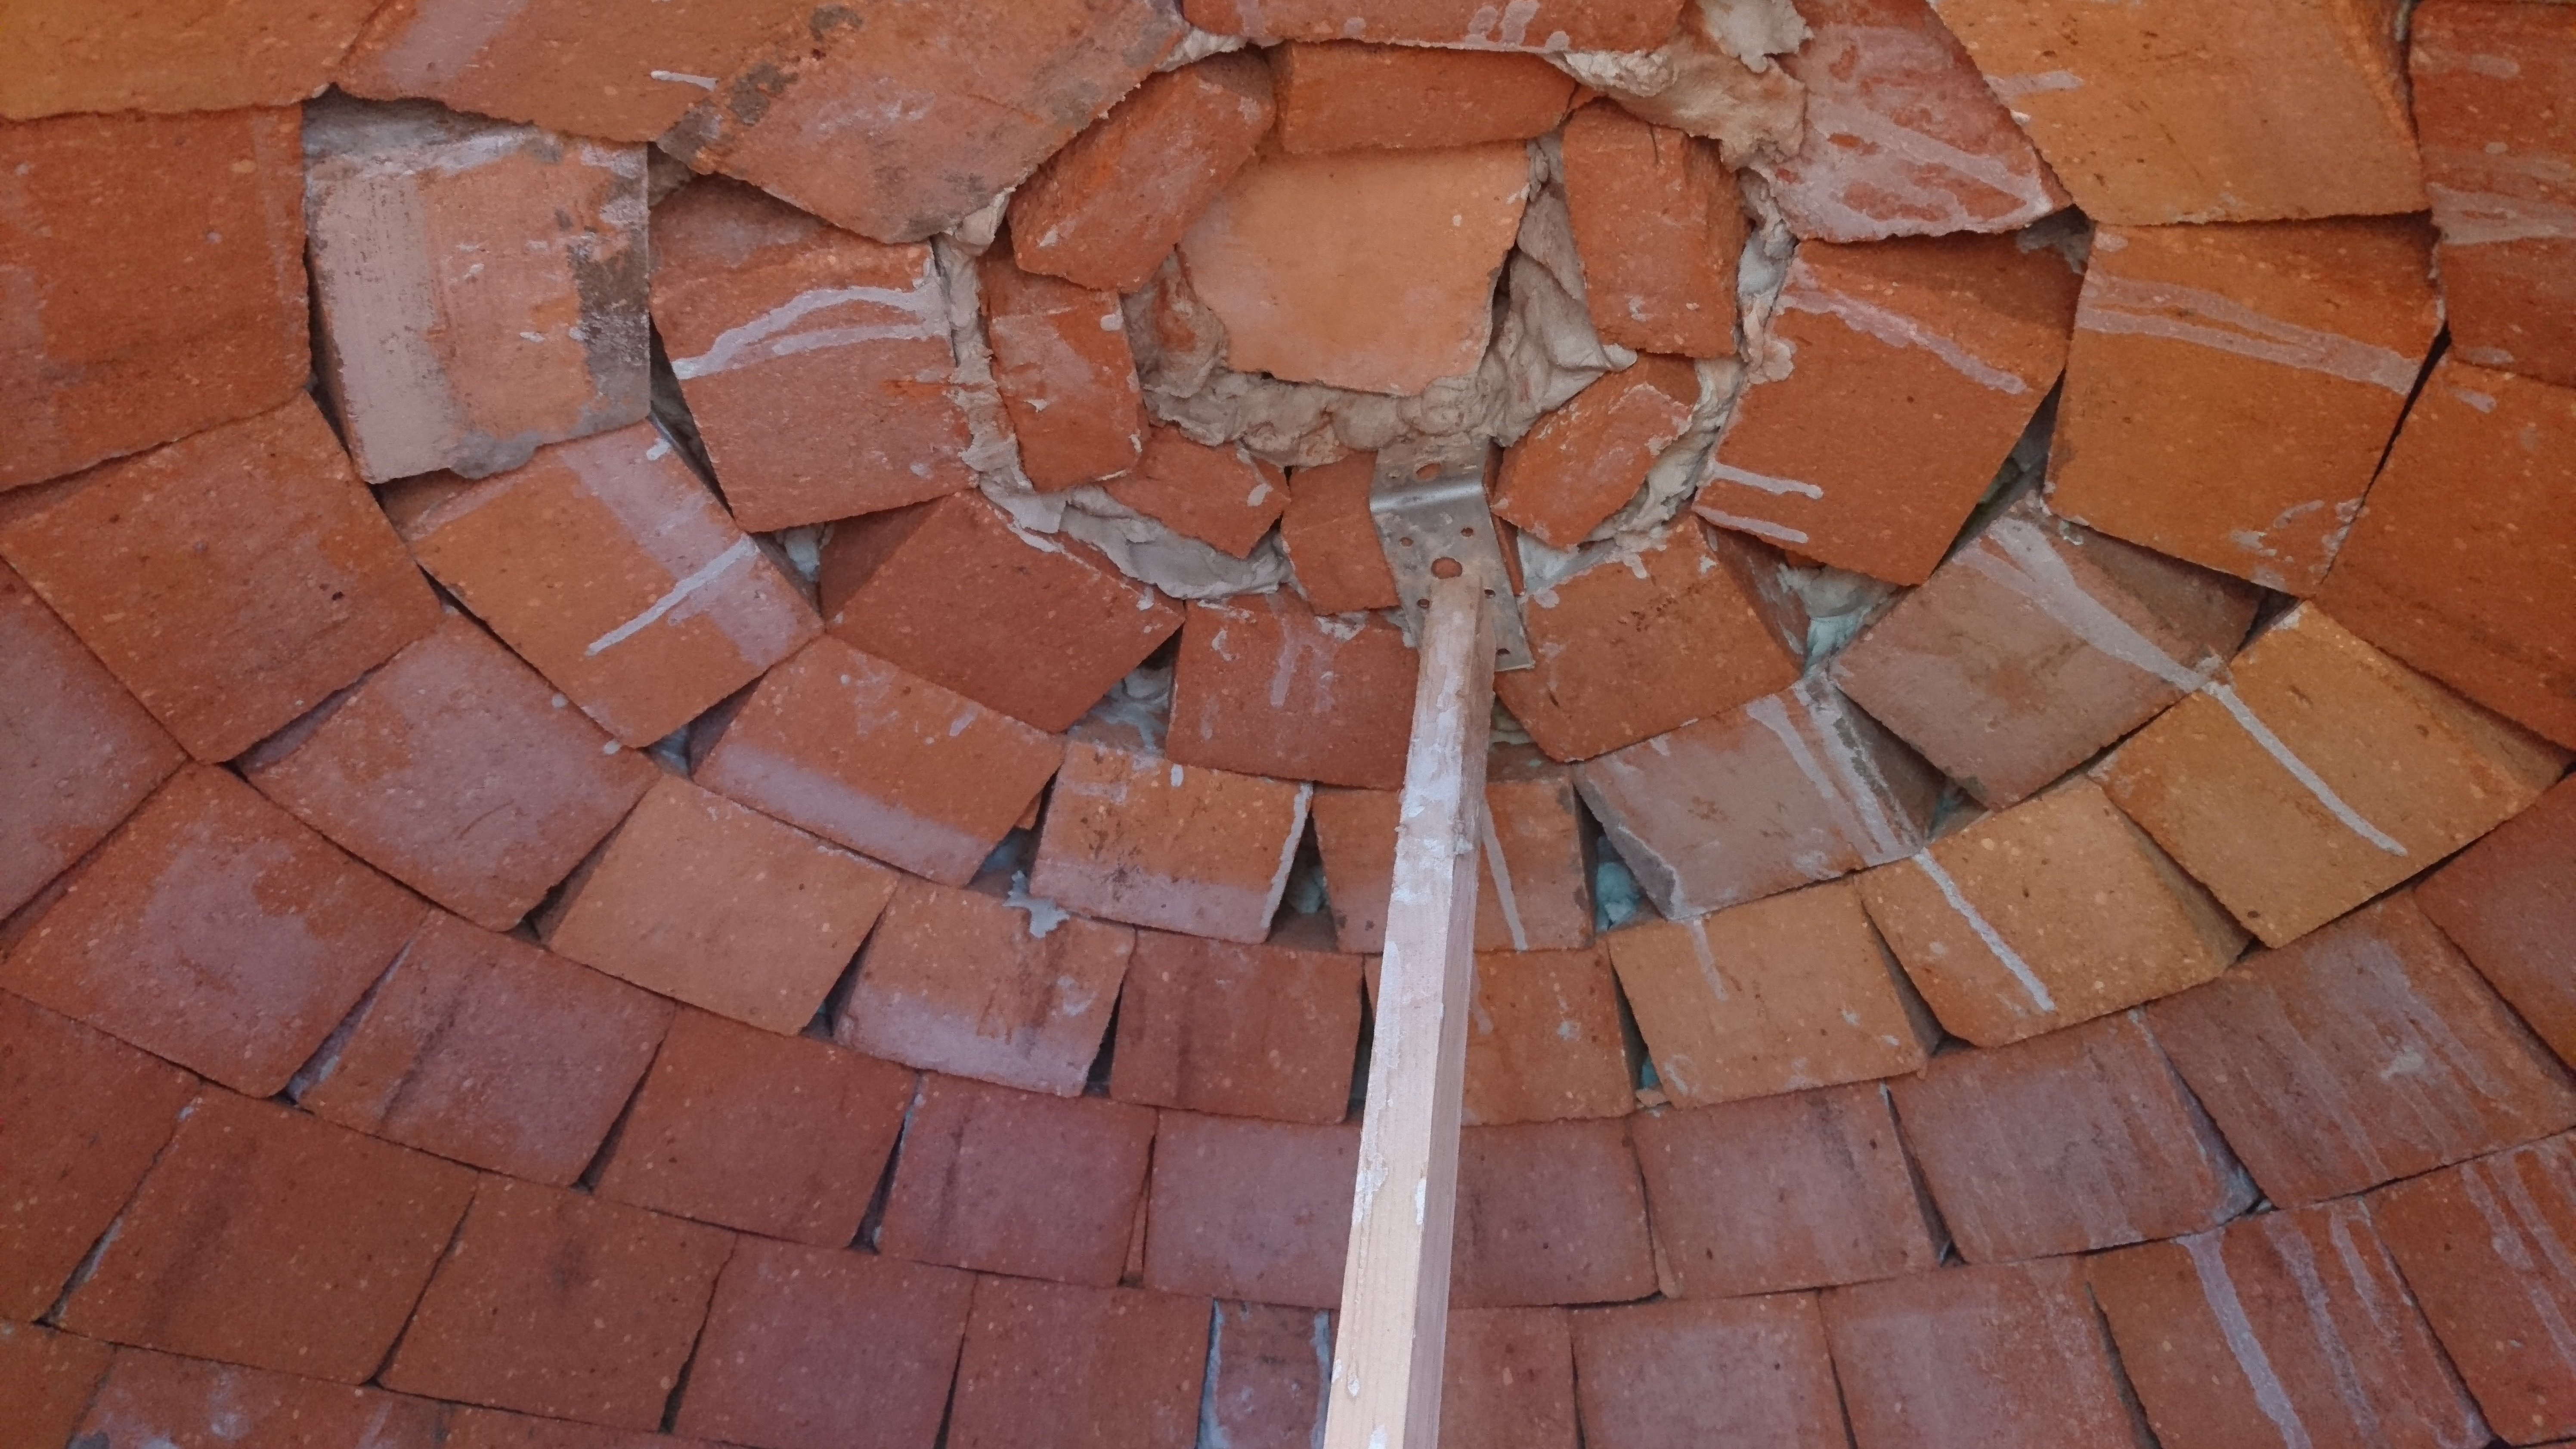
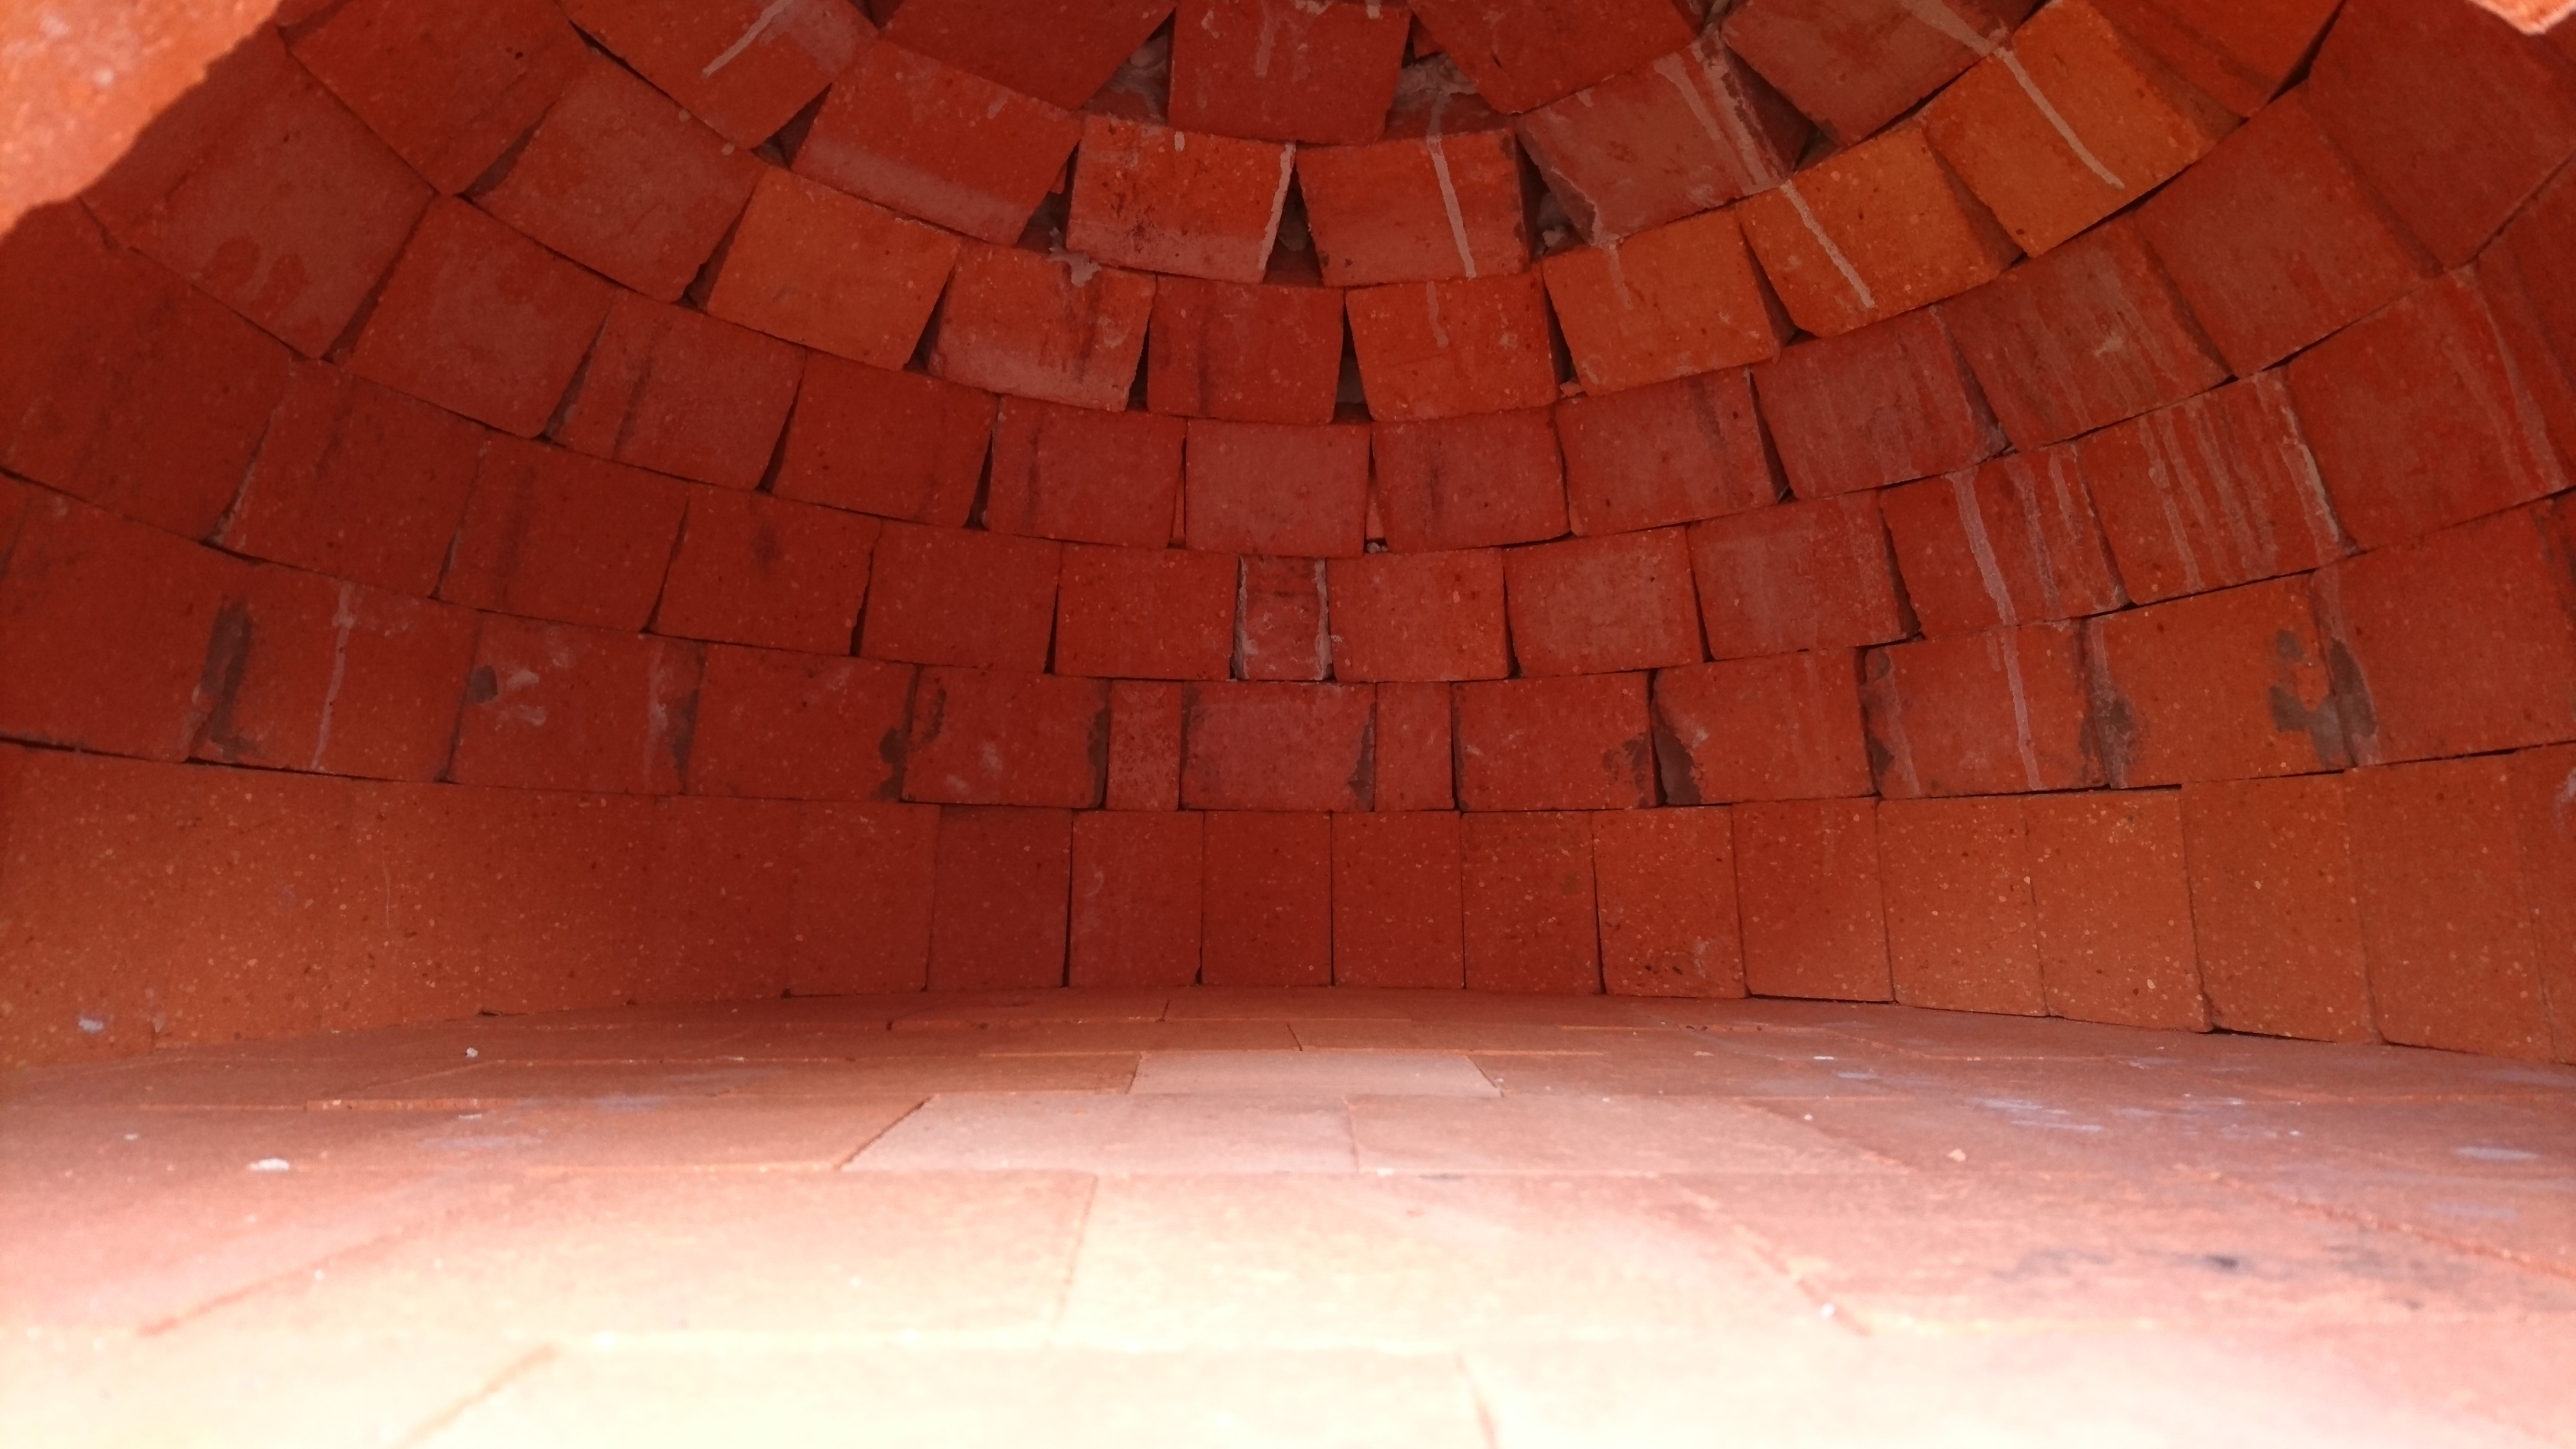
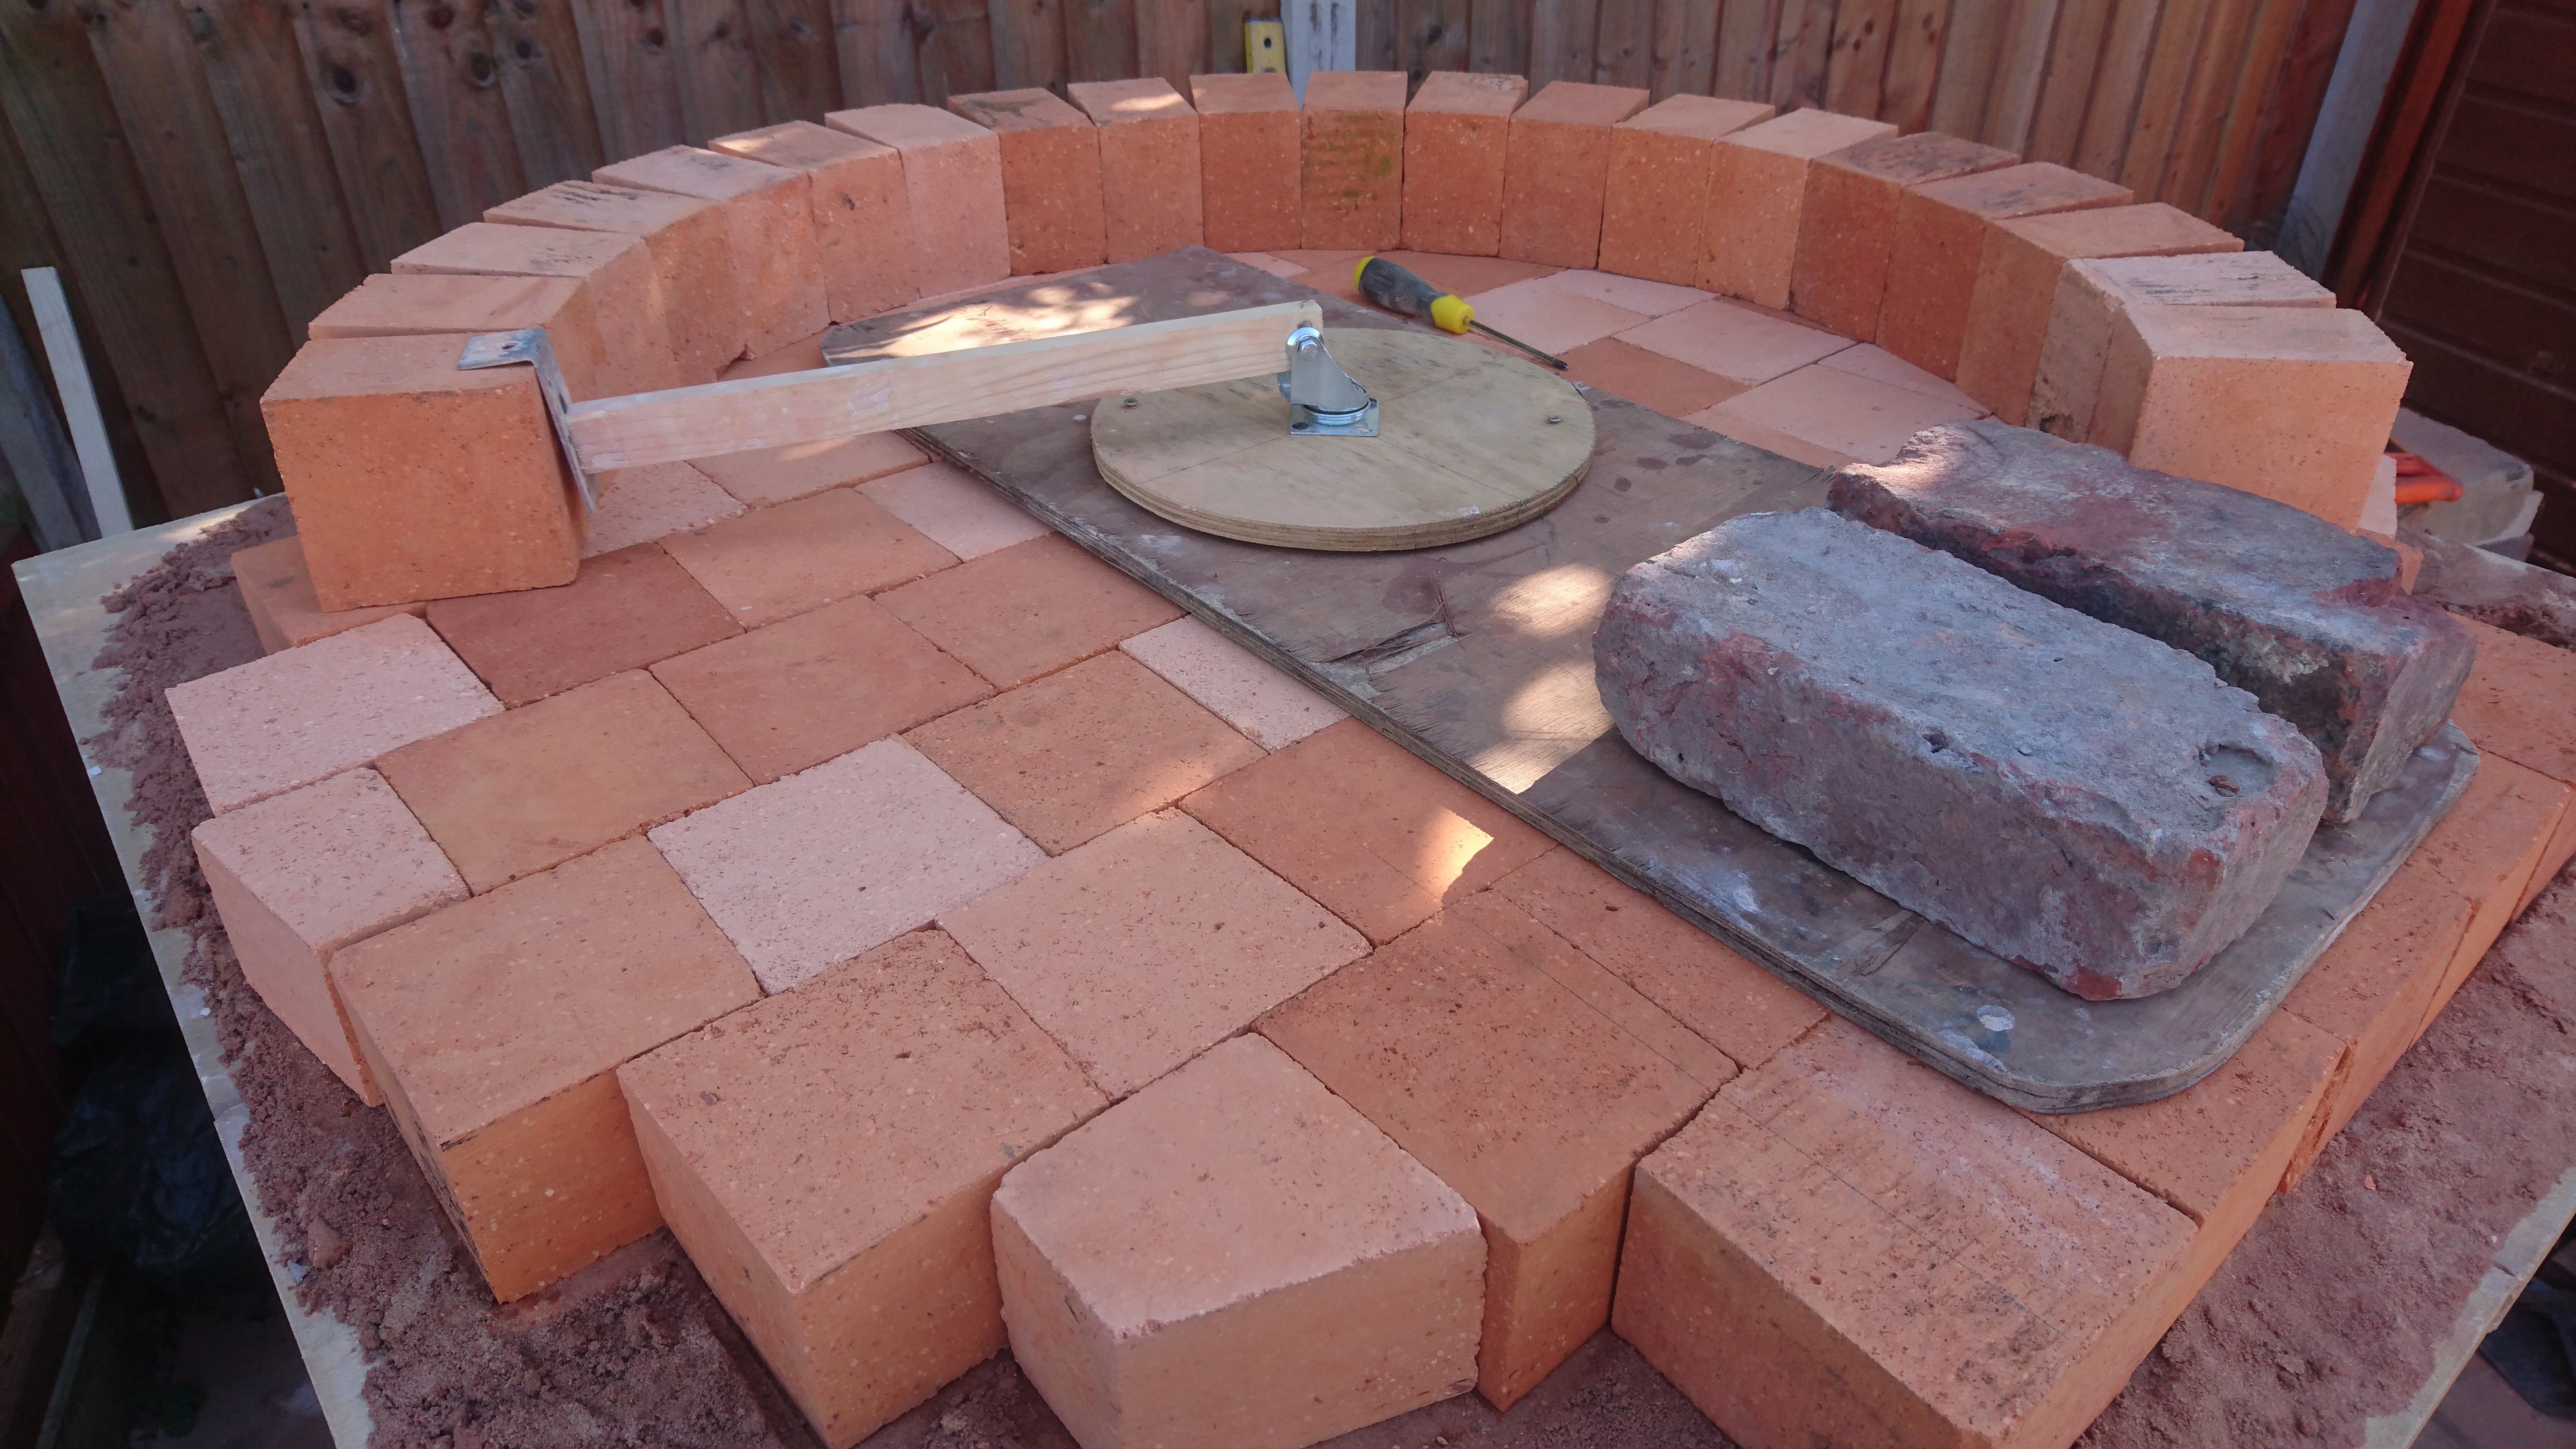
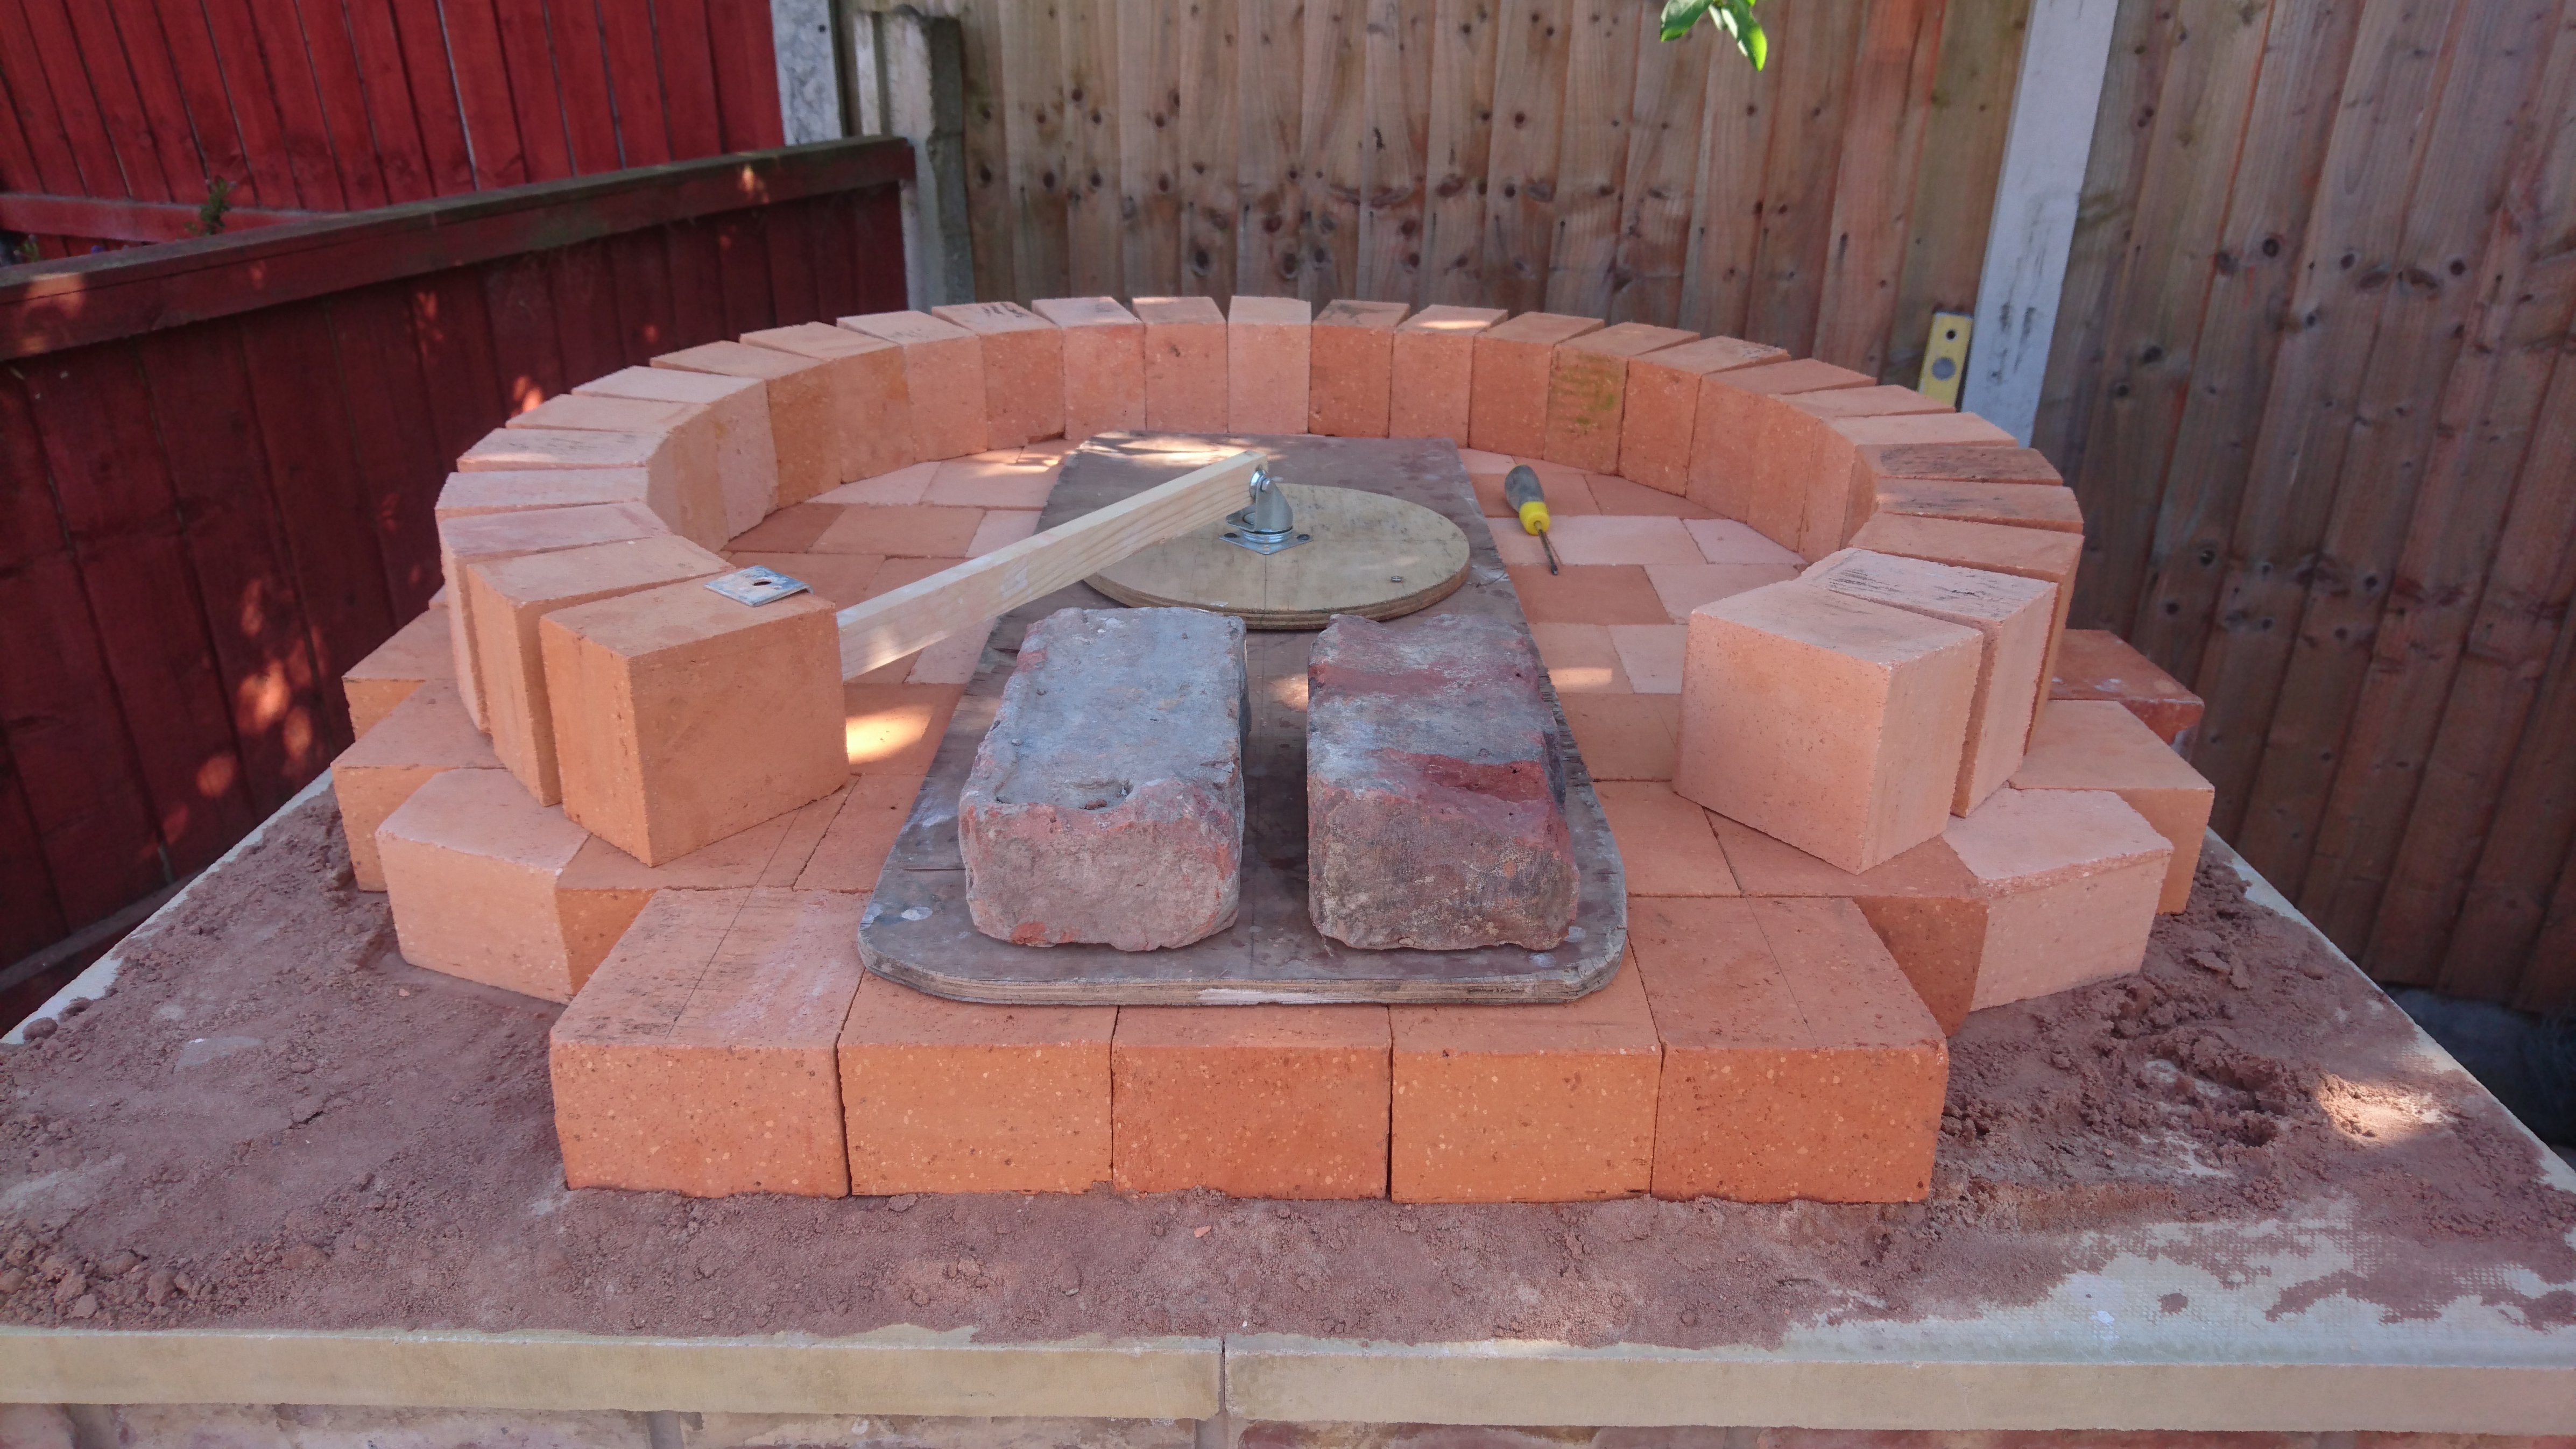
"This contraption is my home made trammel/radius tool. This helps to ensure the dome is perfectly circular, and will help to determine the angle I need to set the bricks at to give me the curve of the dome. To make one is very easy, have a look on a popular video hosting website to find out more about them. Basically, as I wanted a 34" internal diameter for the oven, 17" is the radius. To make the trammel tool, a castor wheel was taken apart and a length of 1" thick wood was used in its place. The end of the tool has a metal bracket for the bricks to sit in. It's crucial that when making the tool, the bracket and wood must be central to the face of the brick, otherwise we would have some problems later on!"
43
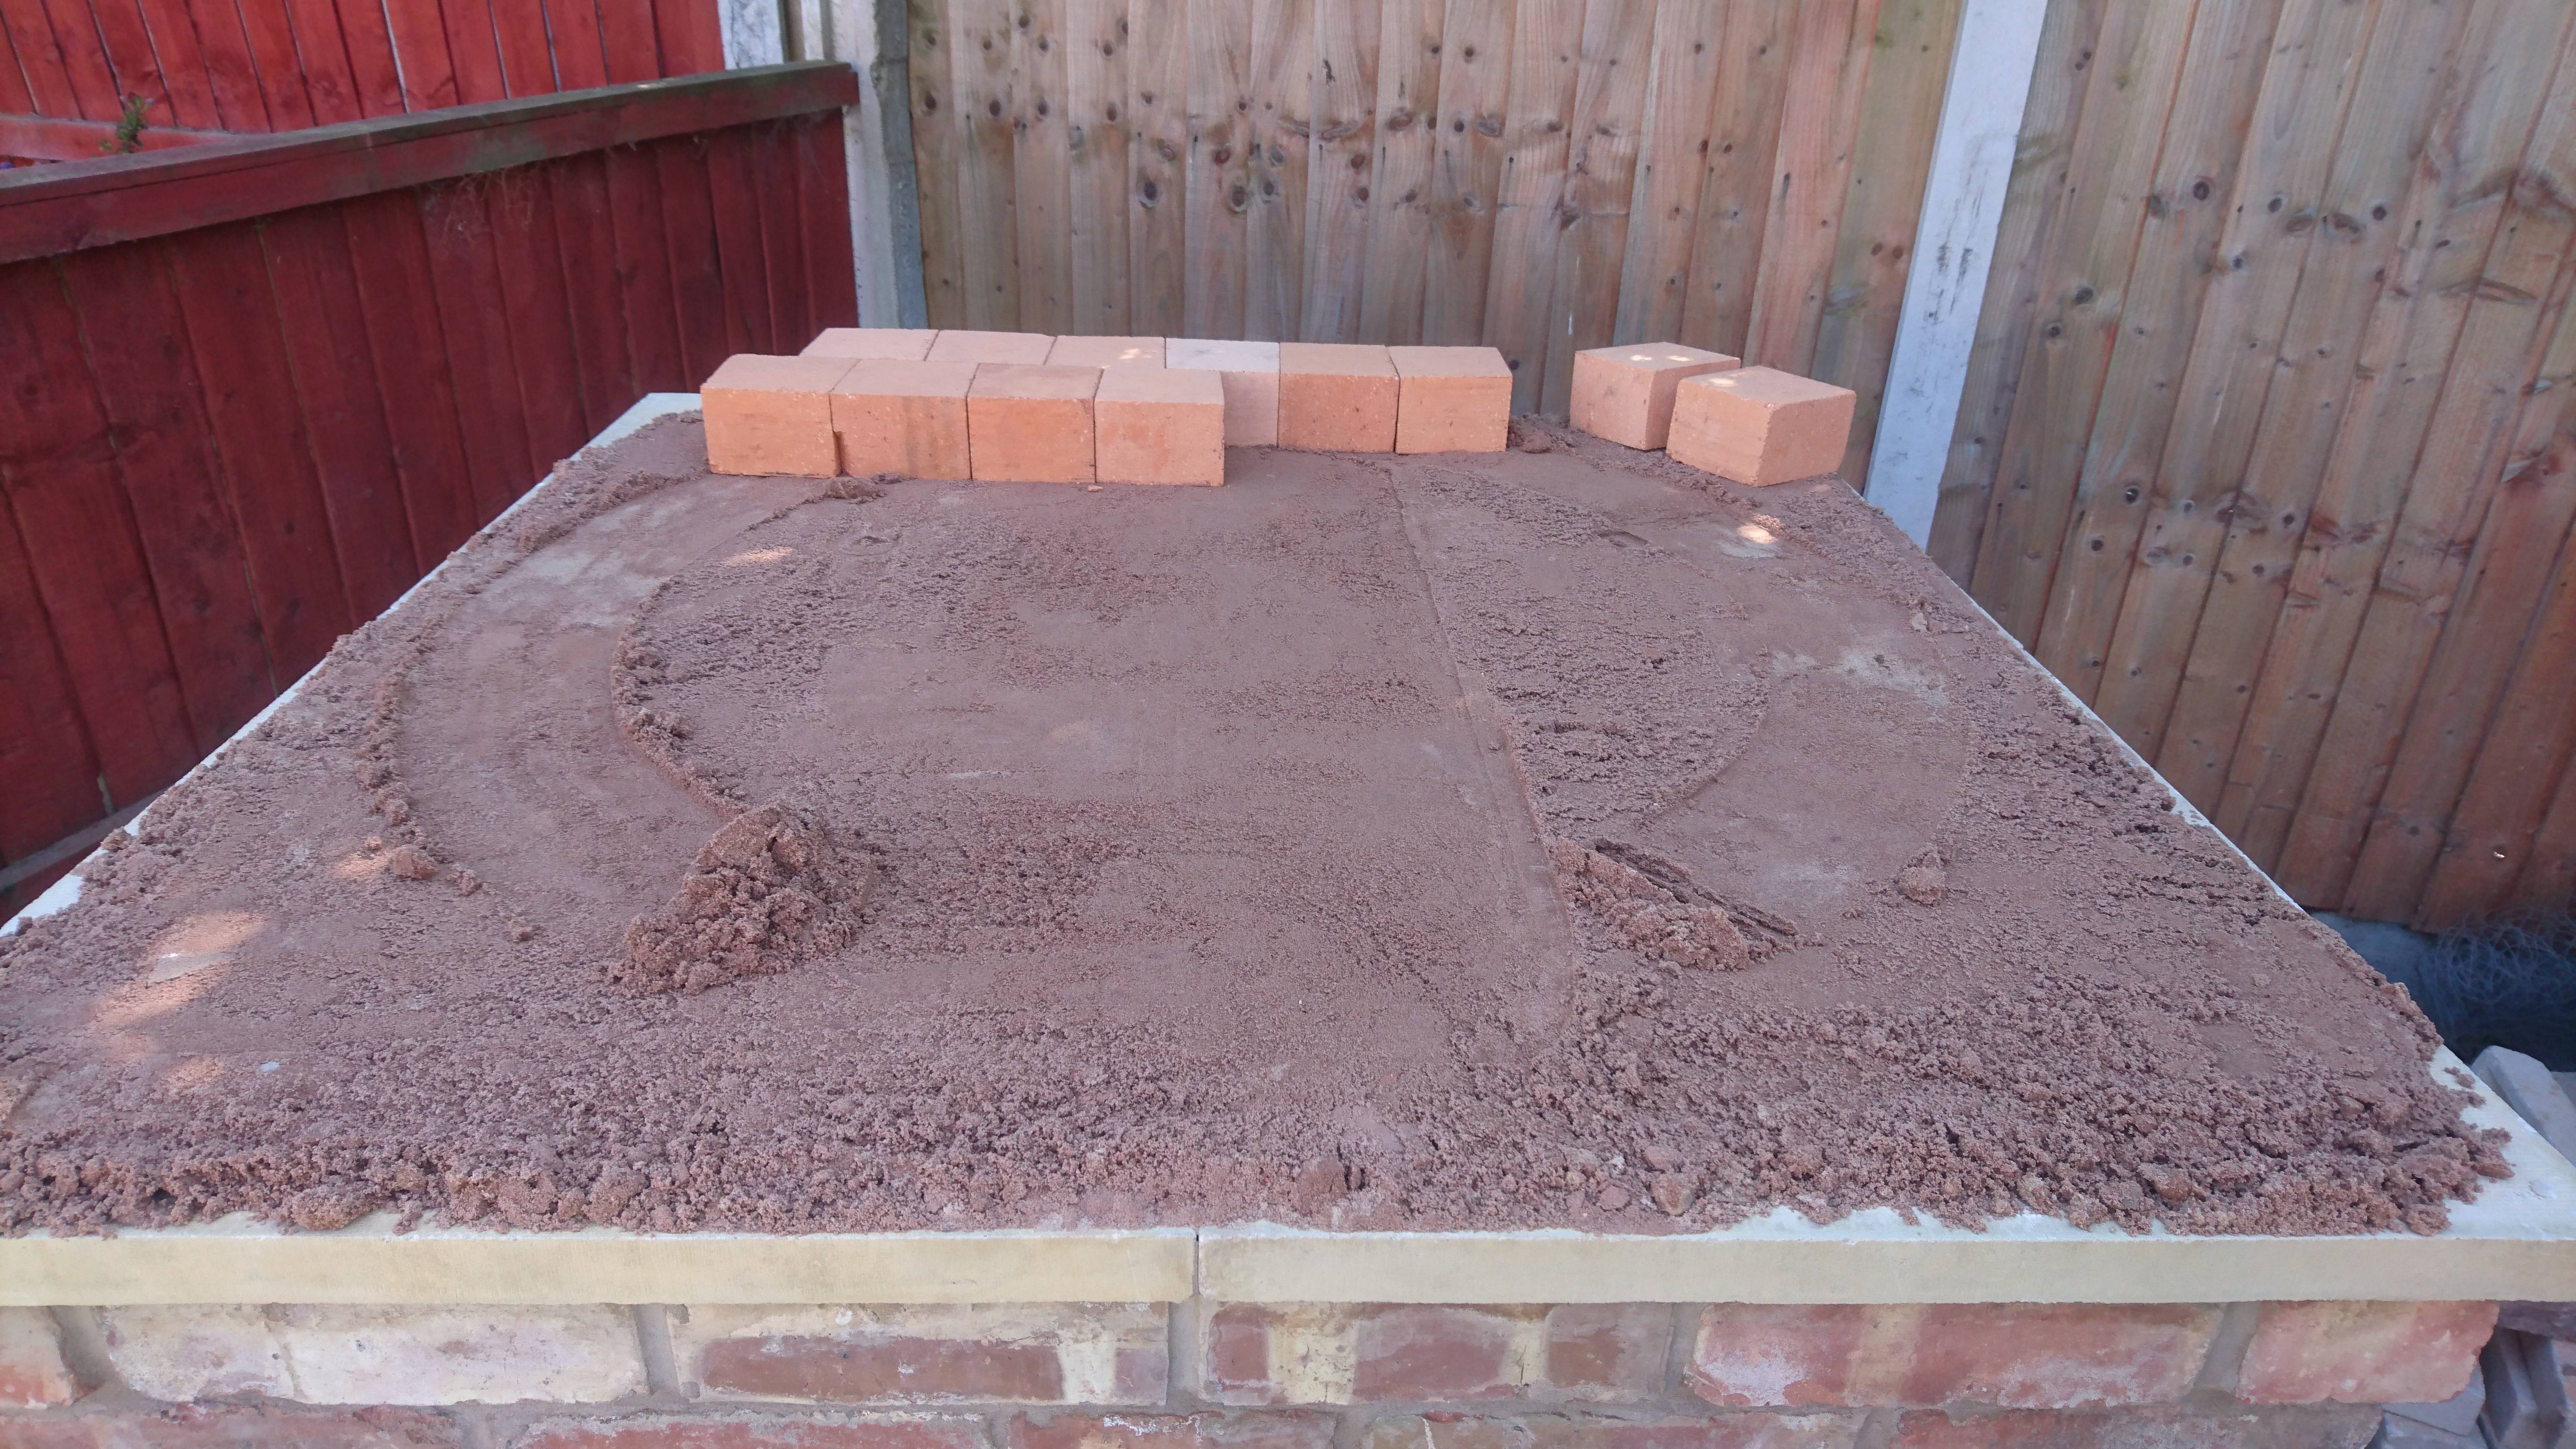
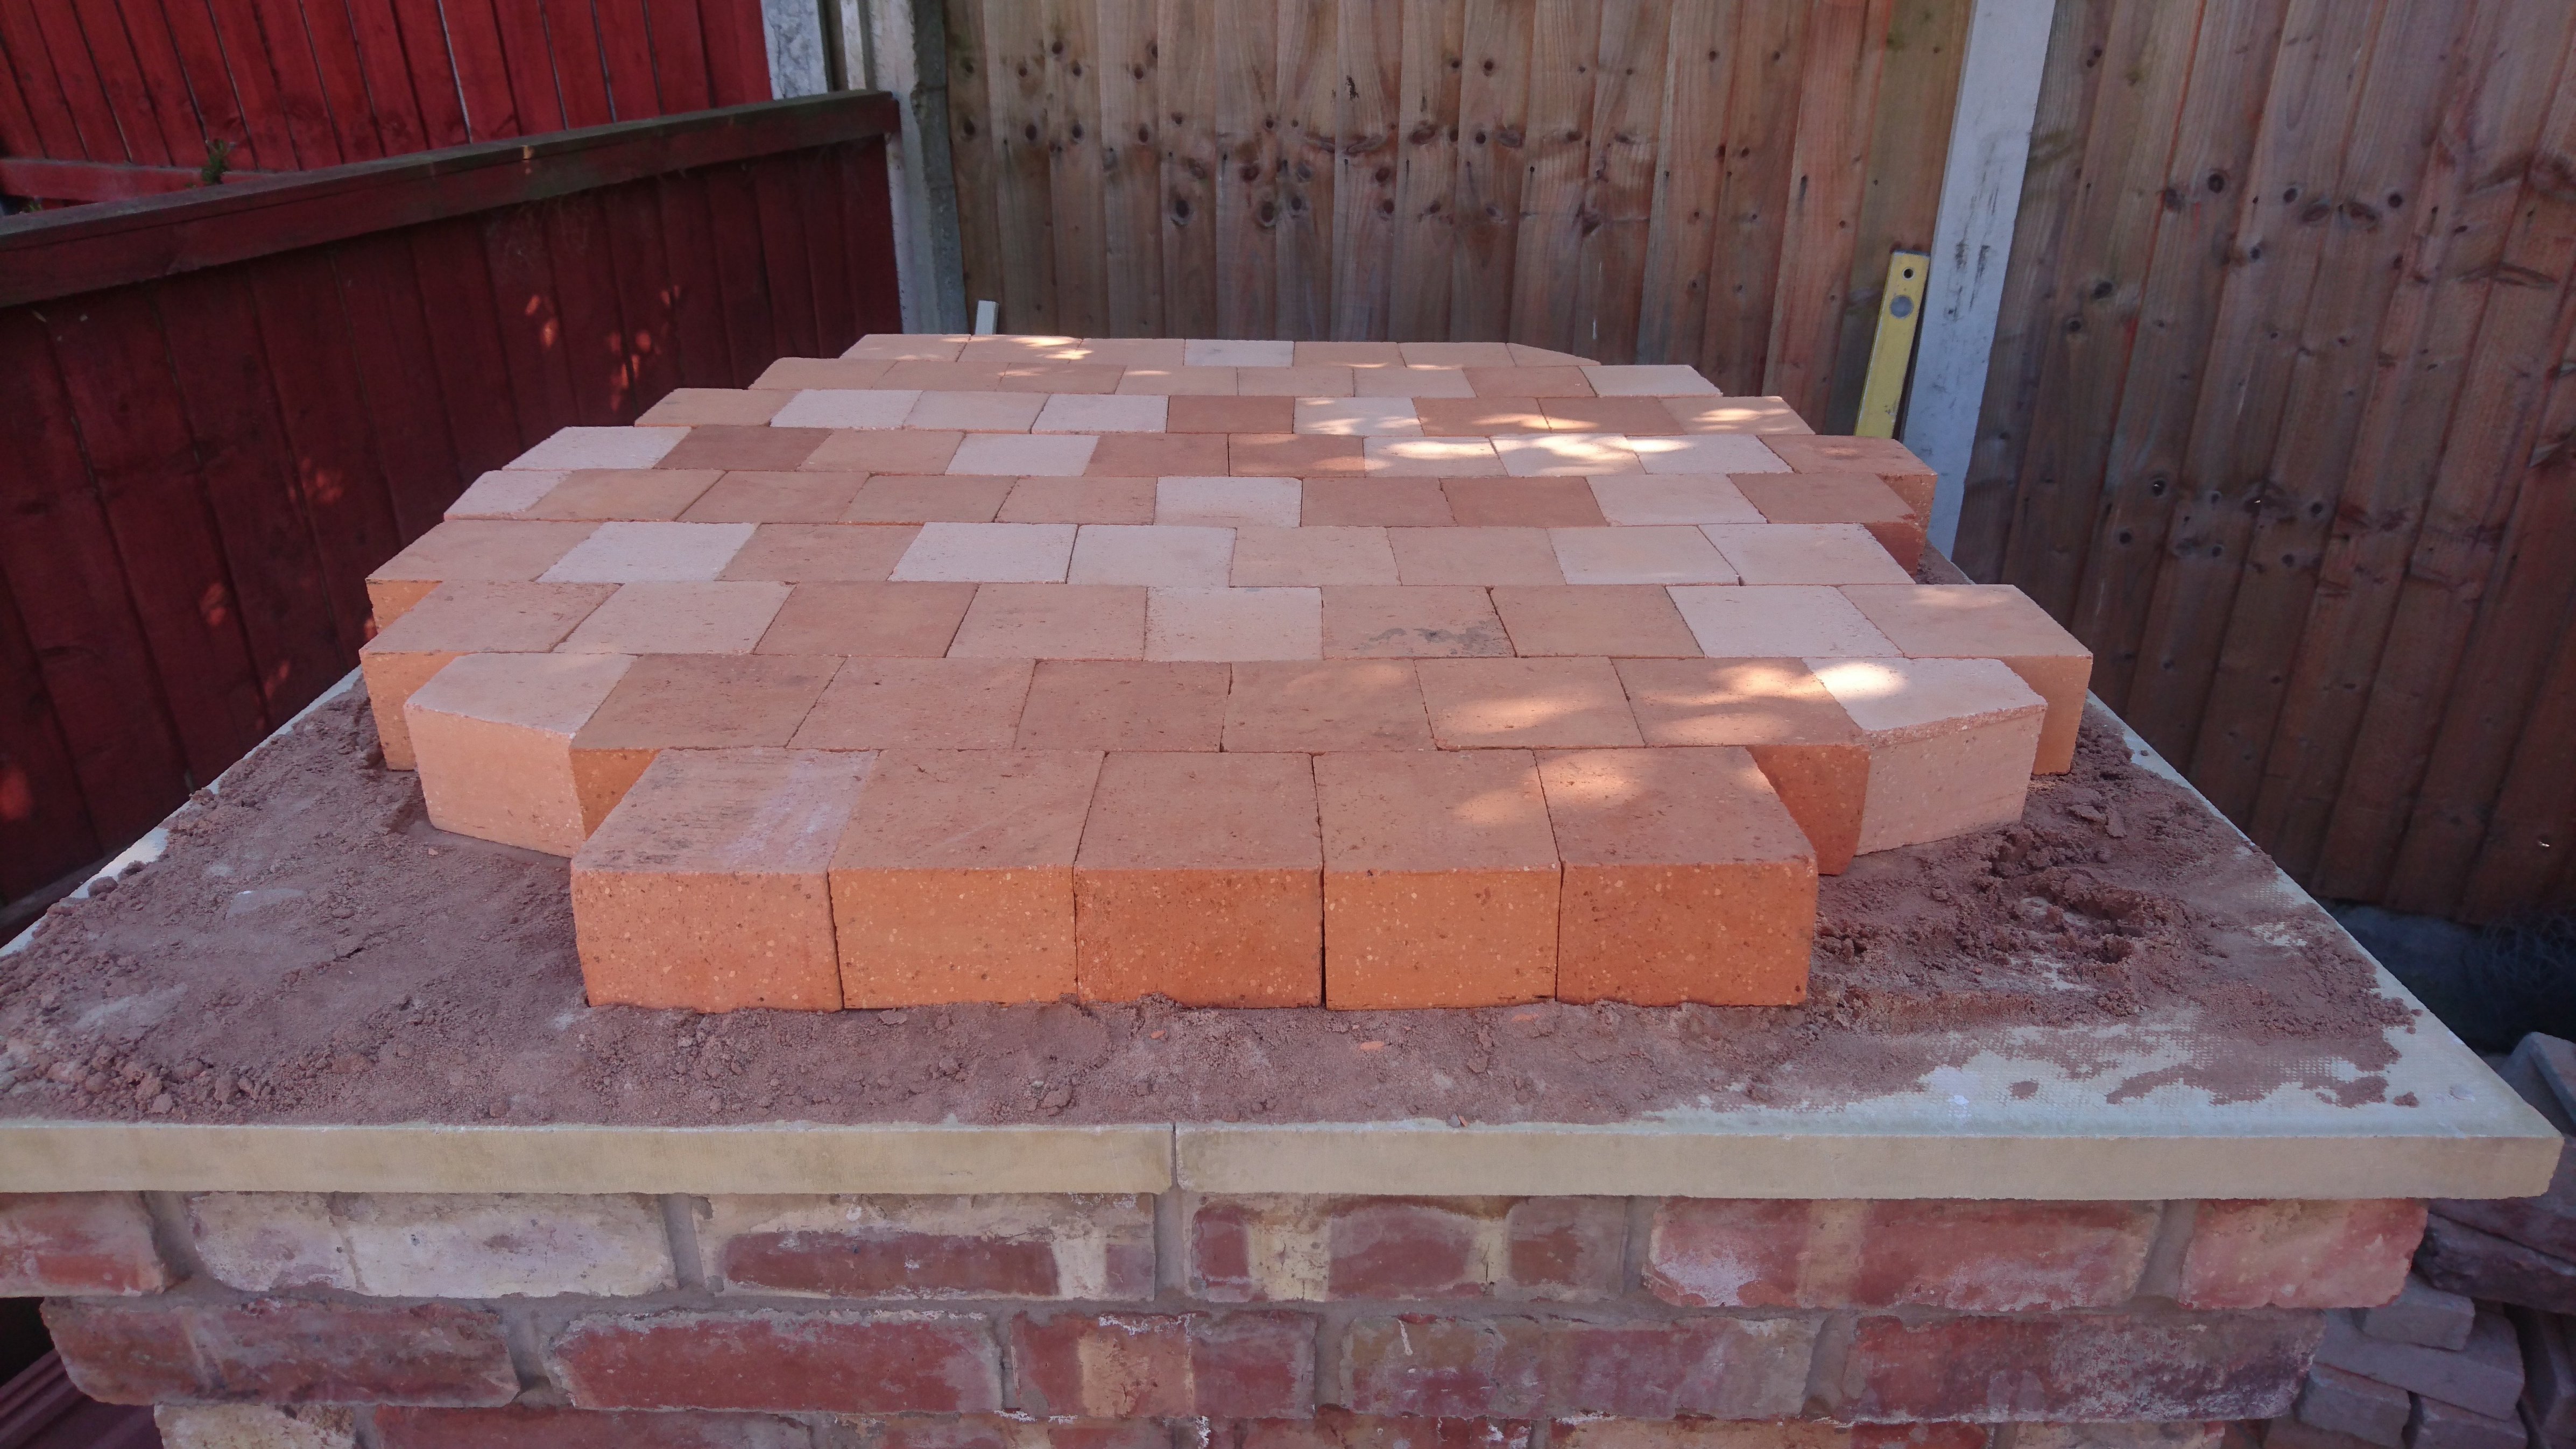
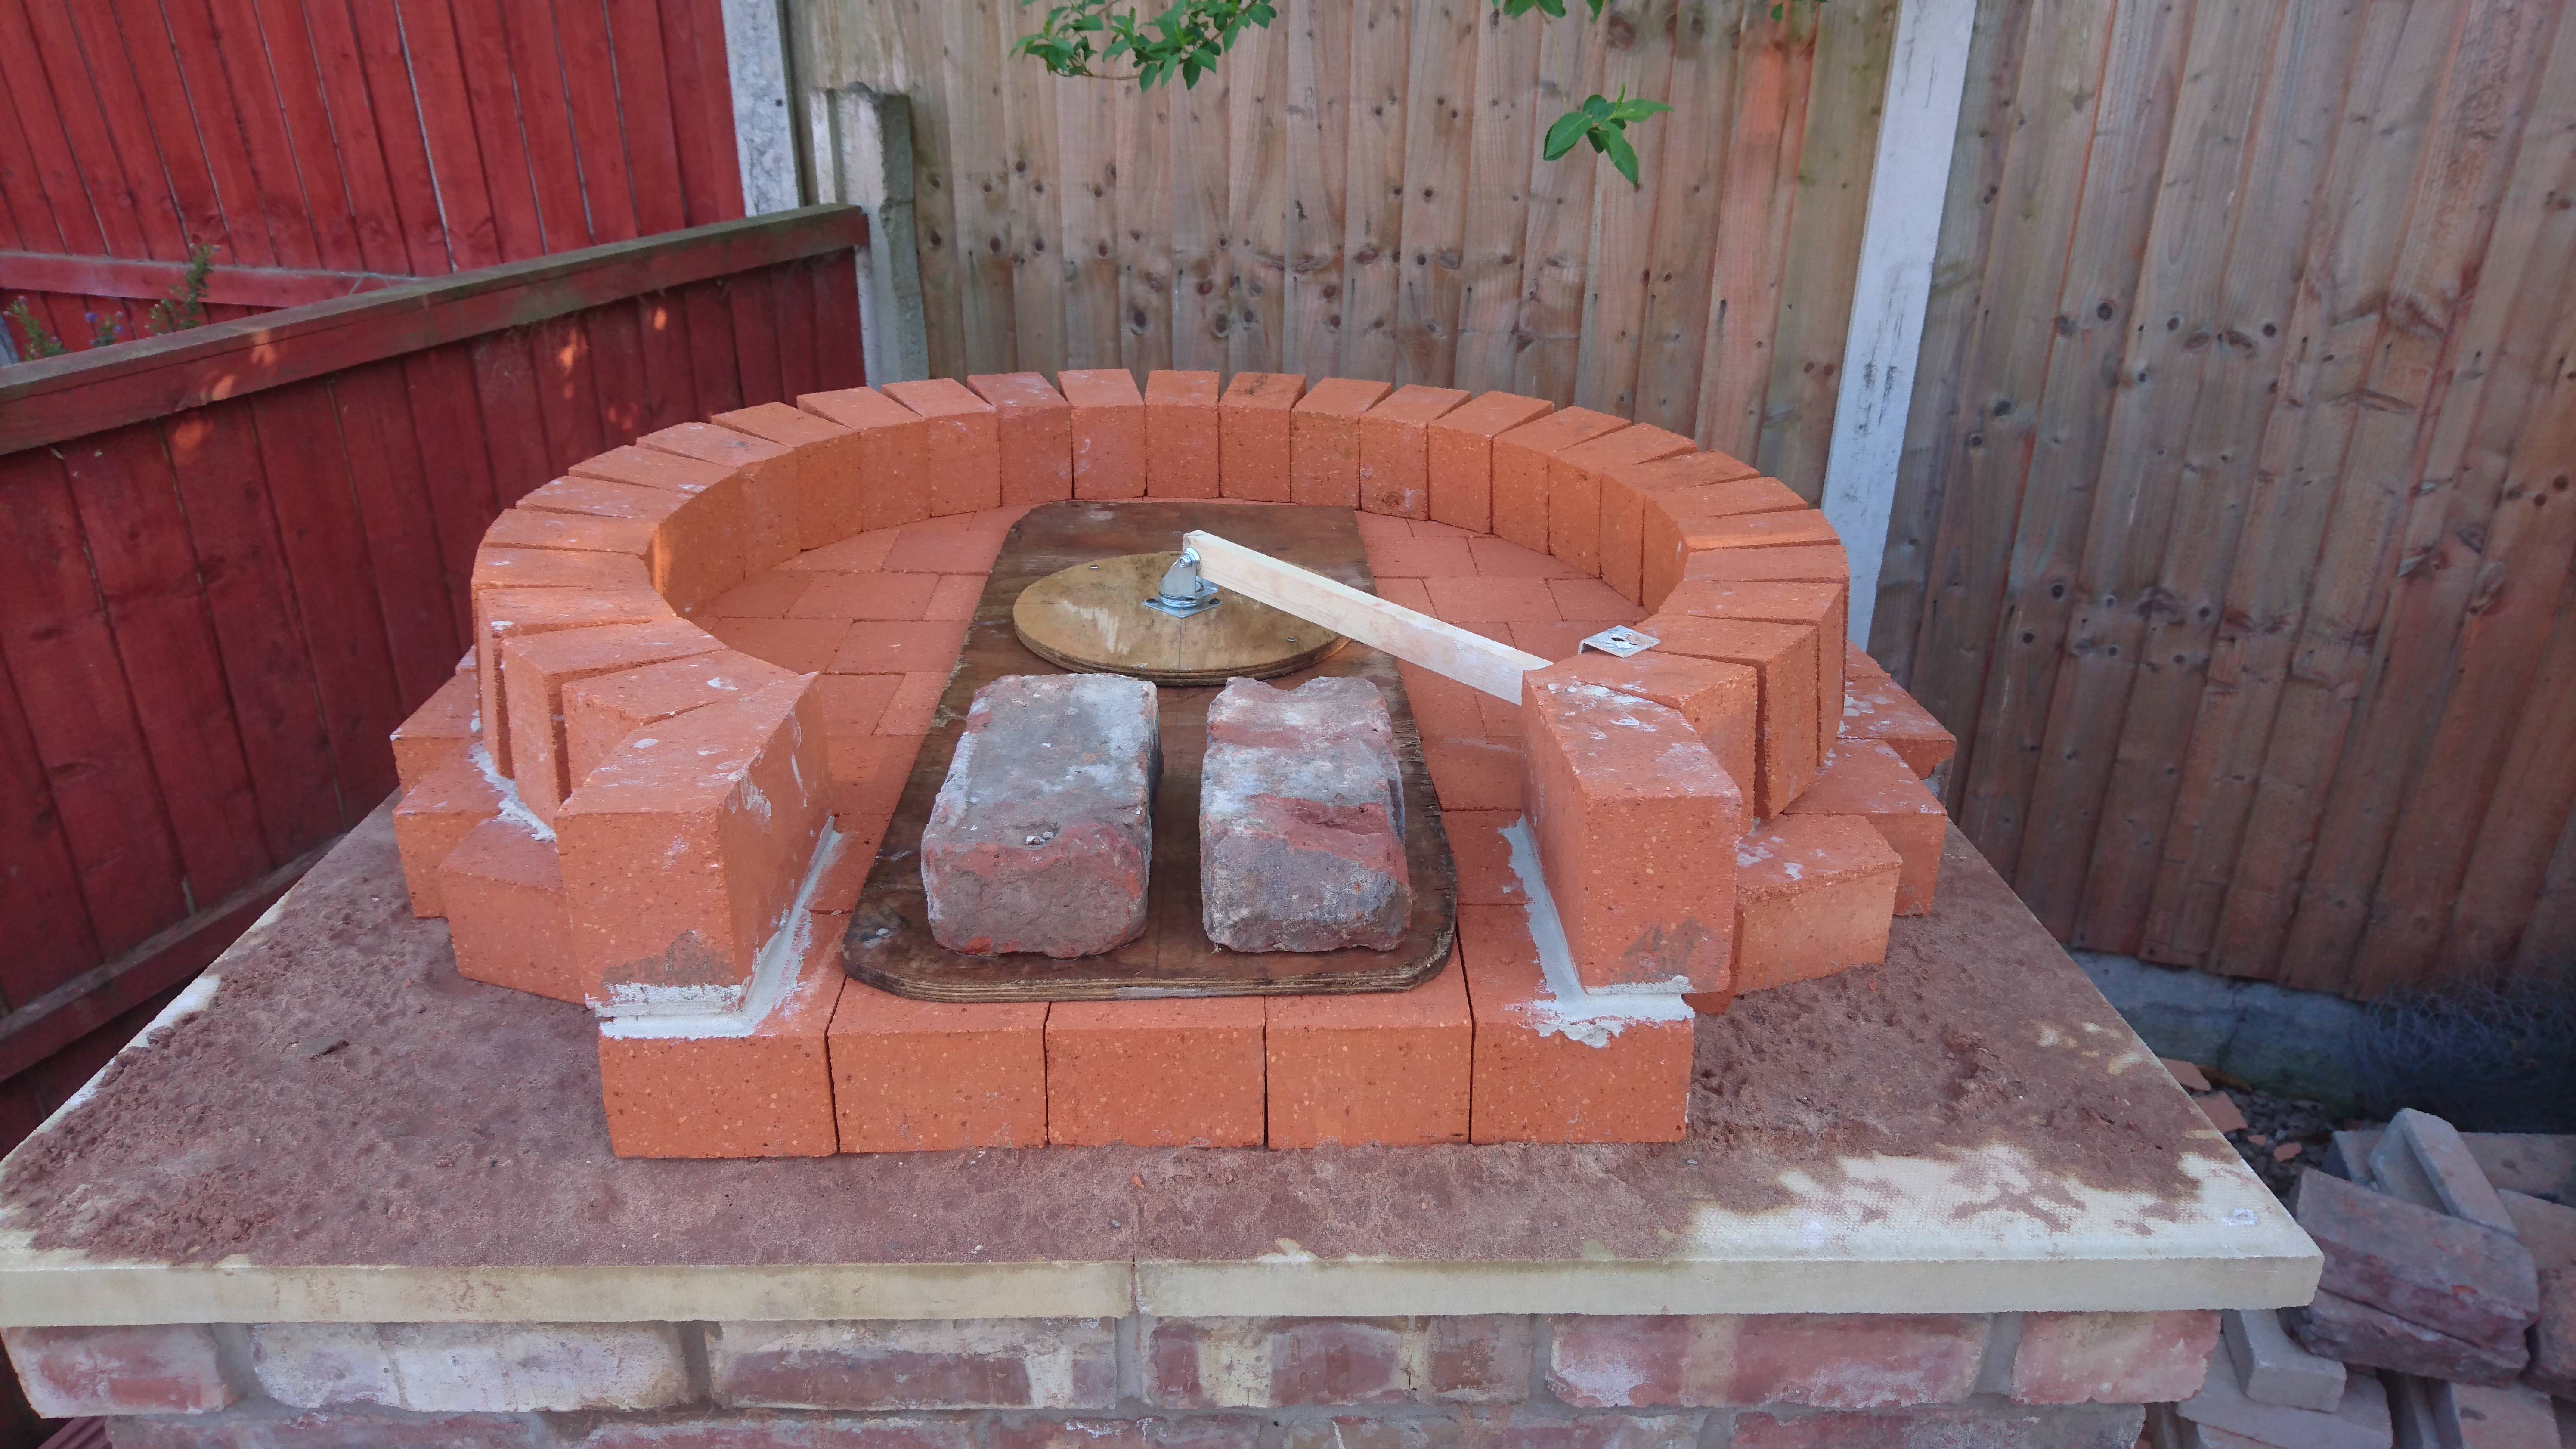
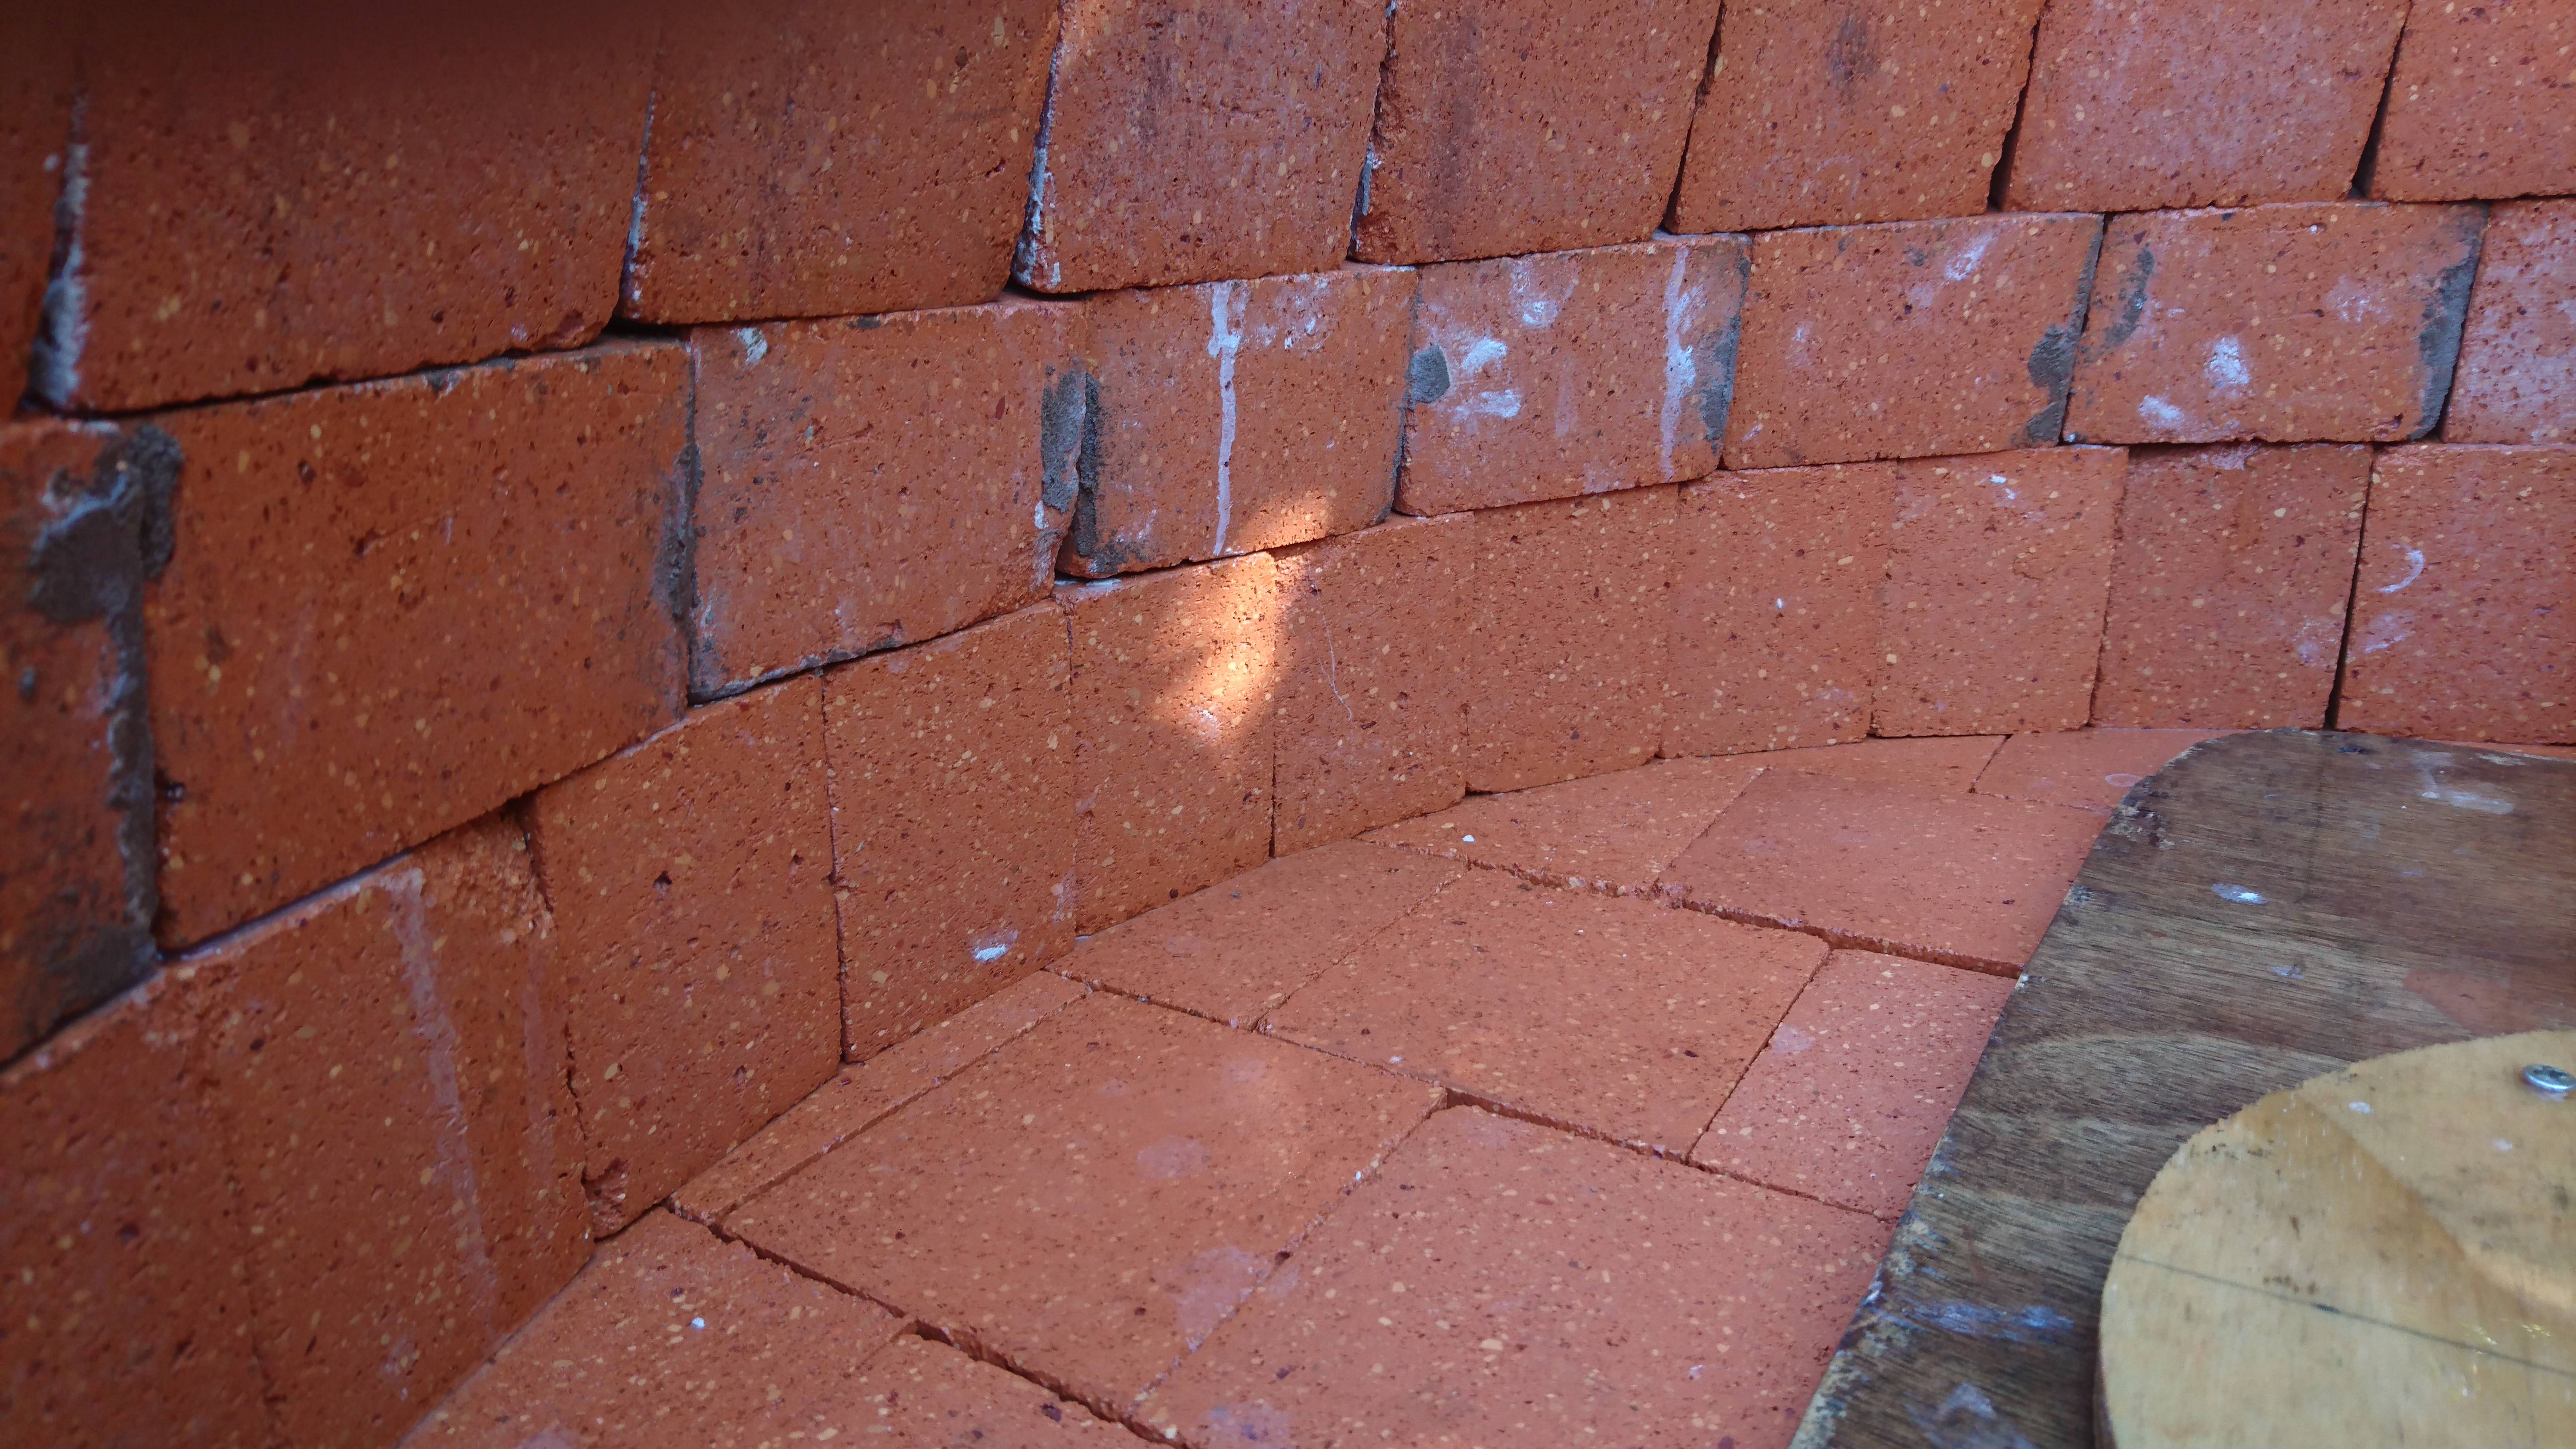
"Now to start the oven. Firstly, the oven floor. The entire oven must be constructed from fire proof bricks to ensure they dont break/crack from the very high temperatures. Lay sand over the top of the hearth and level out using the larger spirit level. The sand allows you to then make the oven floor bricks level with a rubber mallet. Using the trammel tool I faintly marked the outline of the oven wall on the sand, then created the floor making sure all of the outline is covered."
45
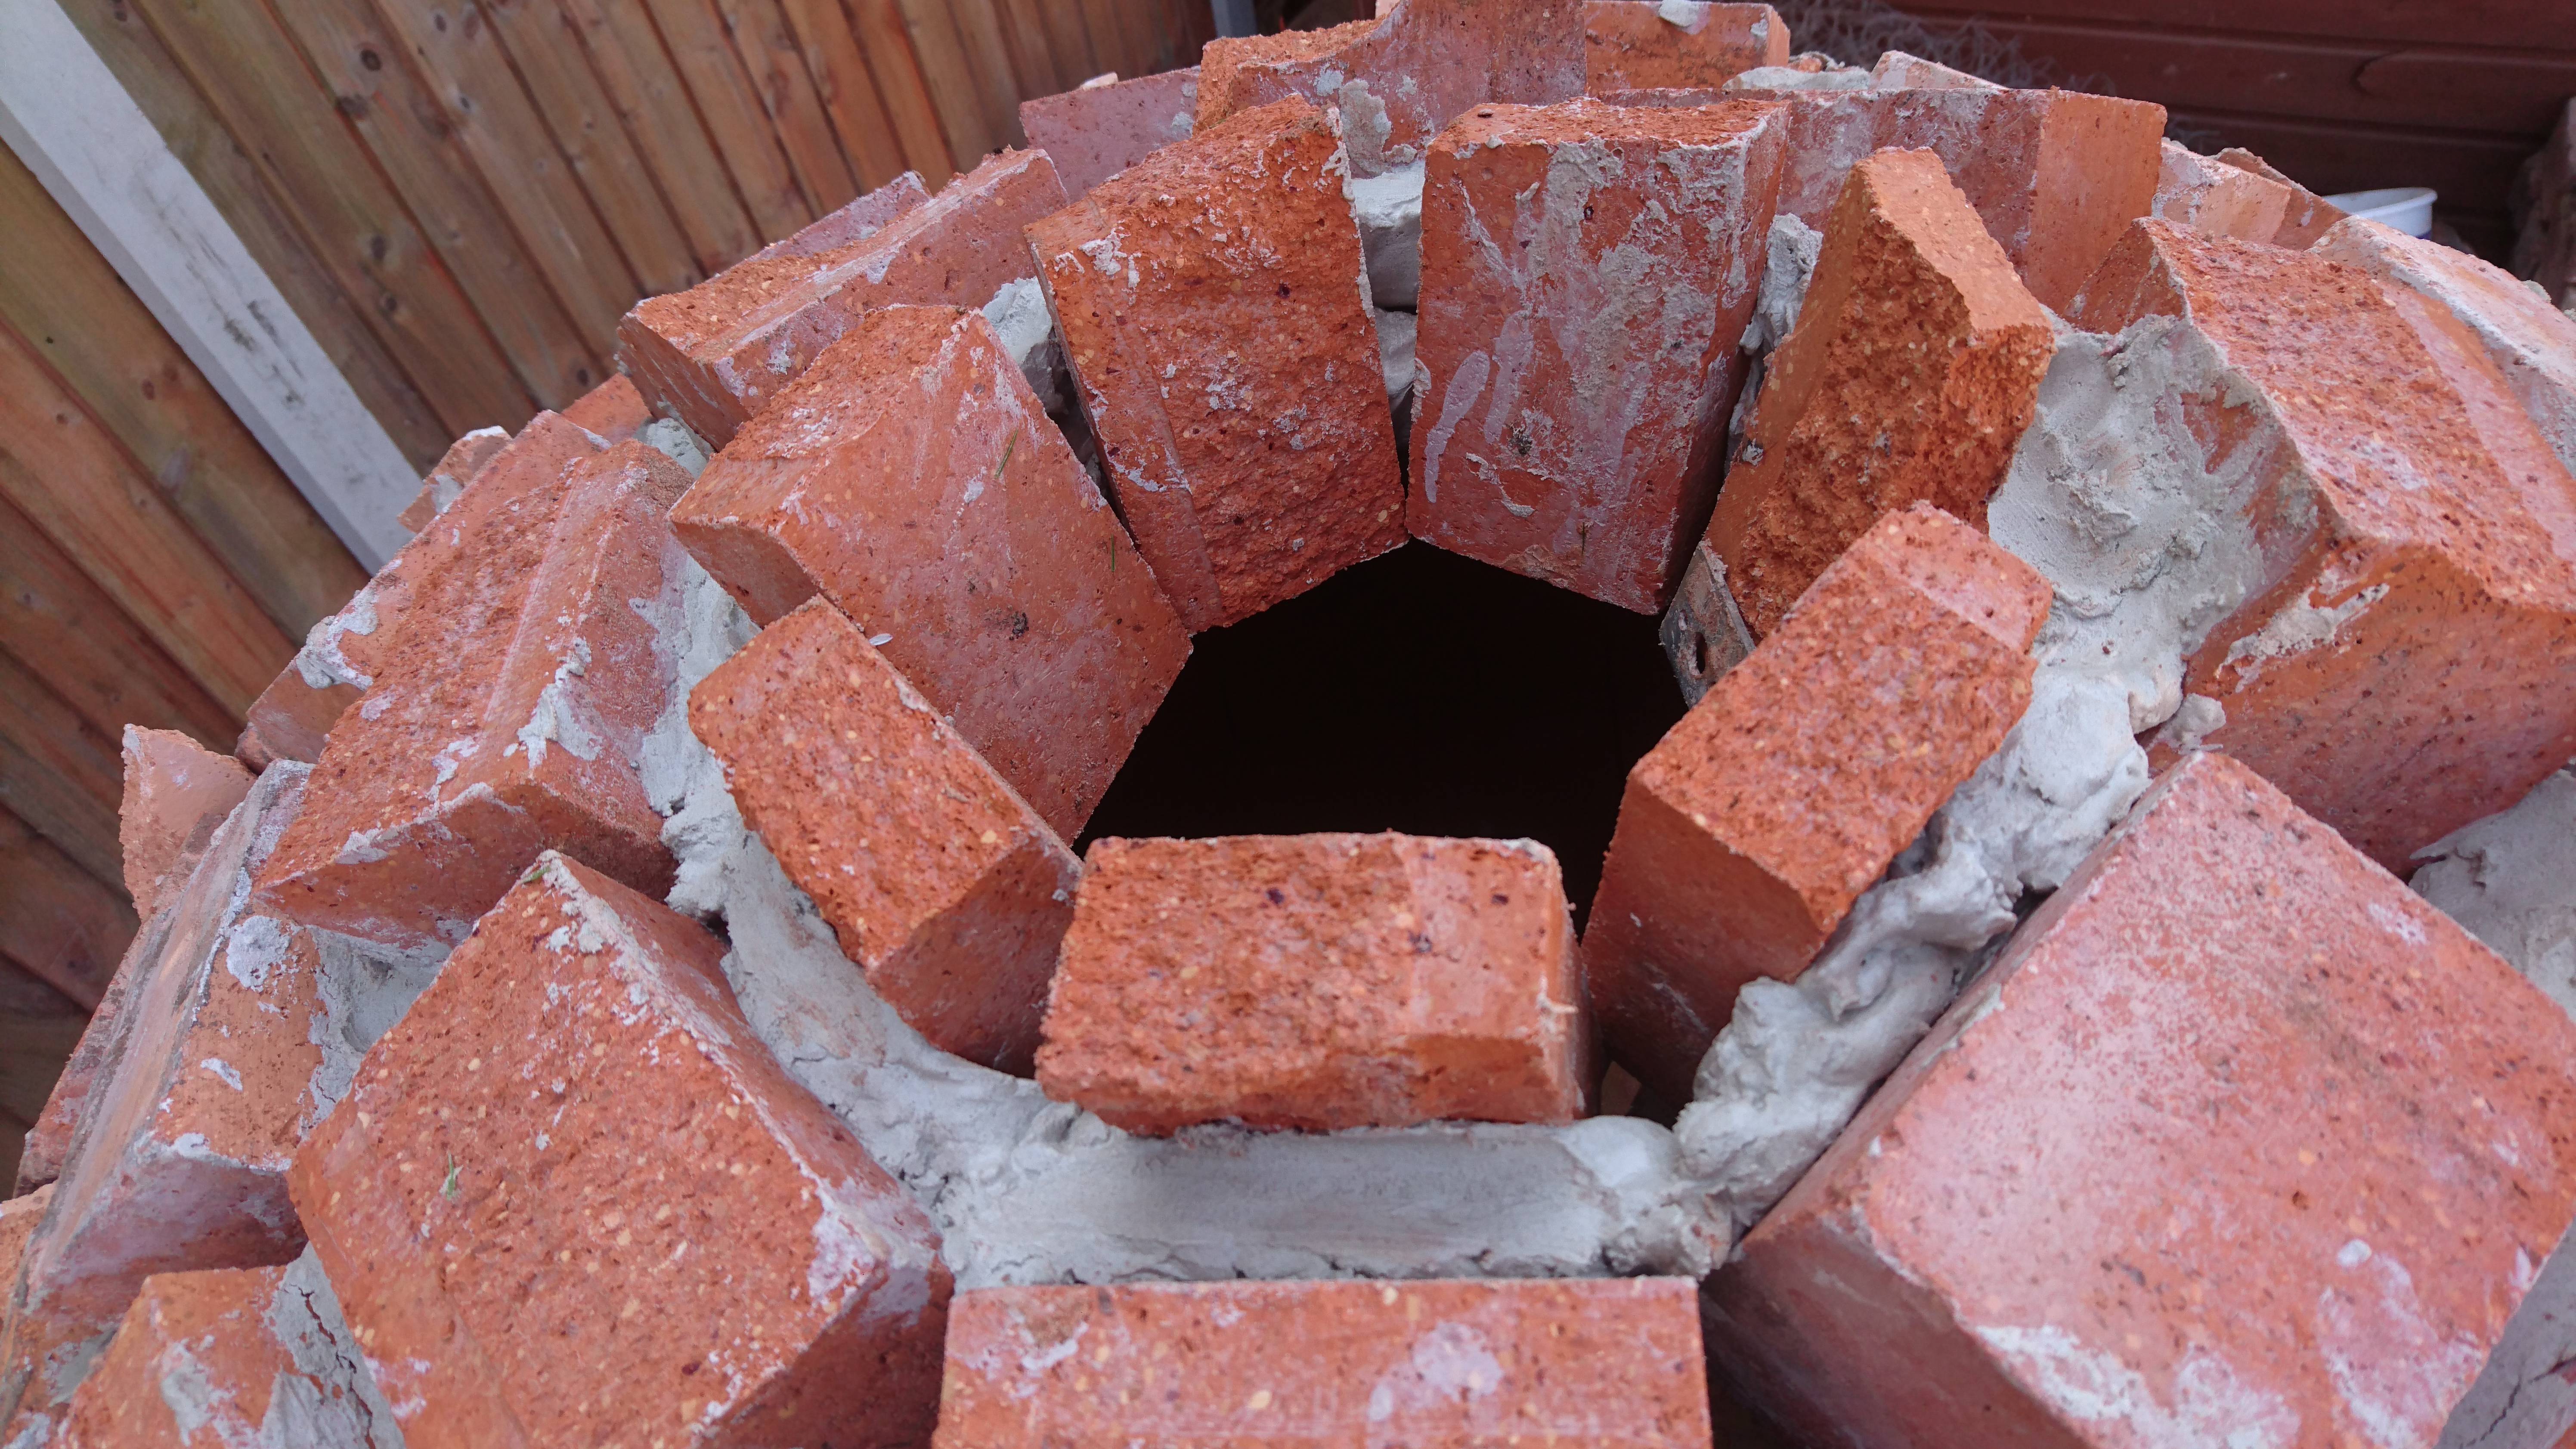
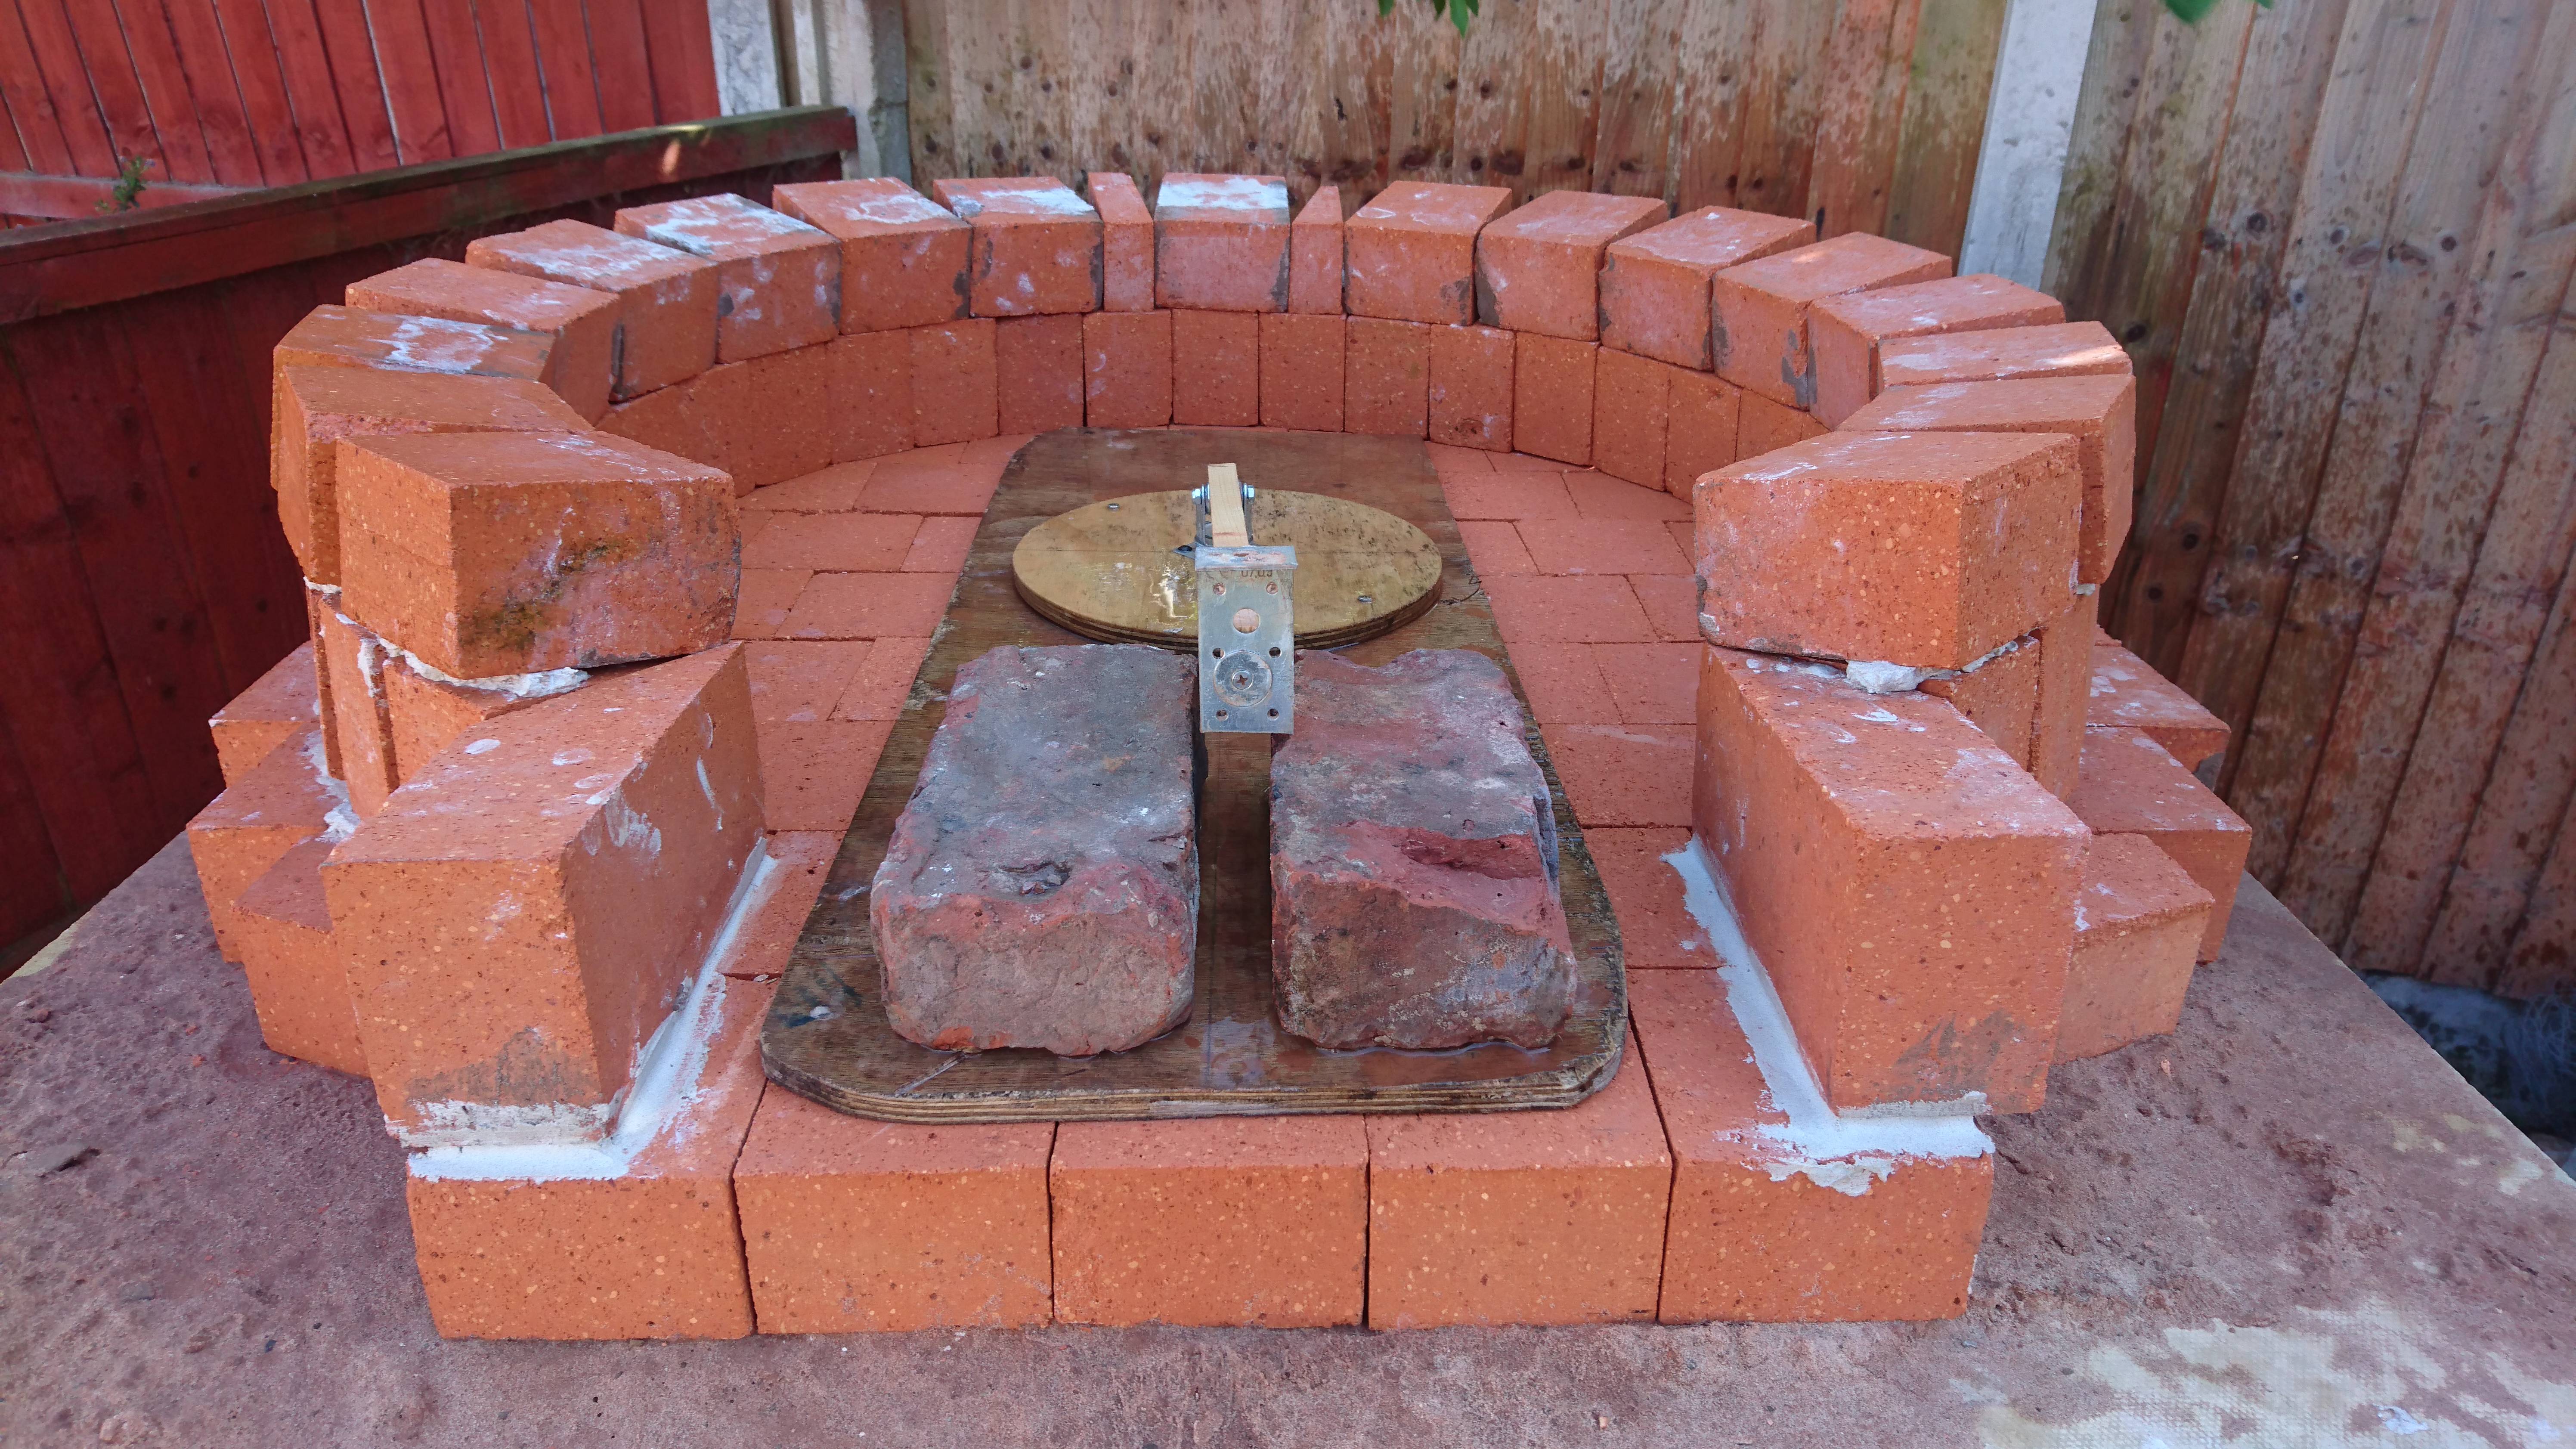
"Now using the trammel tool start laying the first course up to the door opening. You can see faint pencil line one the front bricks for the door opening. This oven has a 16" wide opening, and will be 10" tall in total. I know the trammel tool is not sitting flush on this photo, homemade contraptions sometimes require a little attention from time to time."
48
"Laying the second course. Im using pre-mixed fire cement. It cost £70 for 2 tubs readily mixed which is suitable for up to 1250 degrees celcius which is far beyond what a pizza oven can reach. When applying the mortar, the fire bricks have to be soaked in water as they are so porous and to give good adhesion. It's important that the bricks follow the arch of the dome. When using the trammel tool, ensure the face of the brick touching the trammel tool is flush to it. This then results in the perfect angle forming the dome."
50
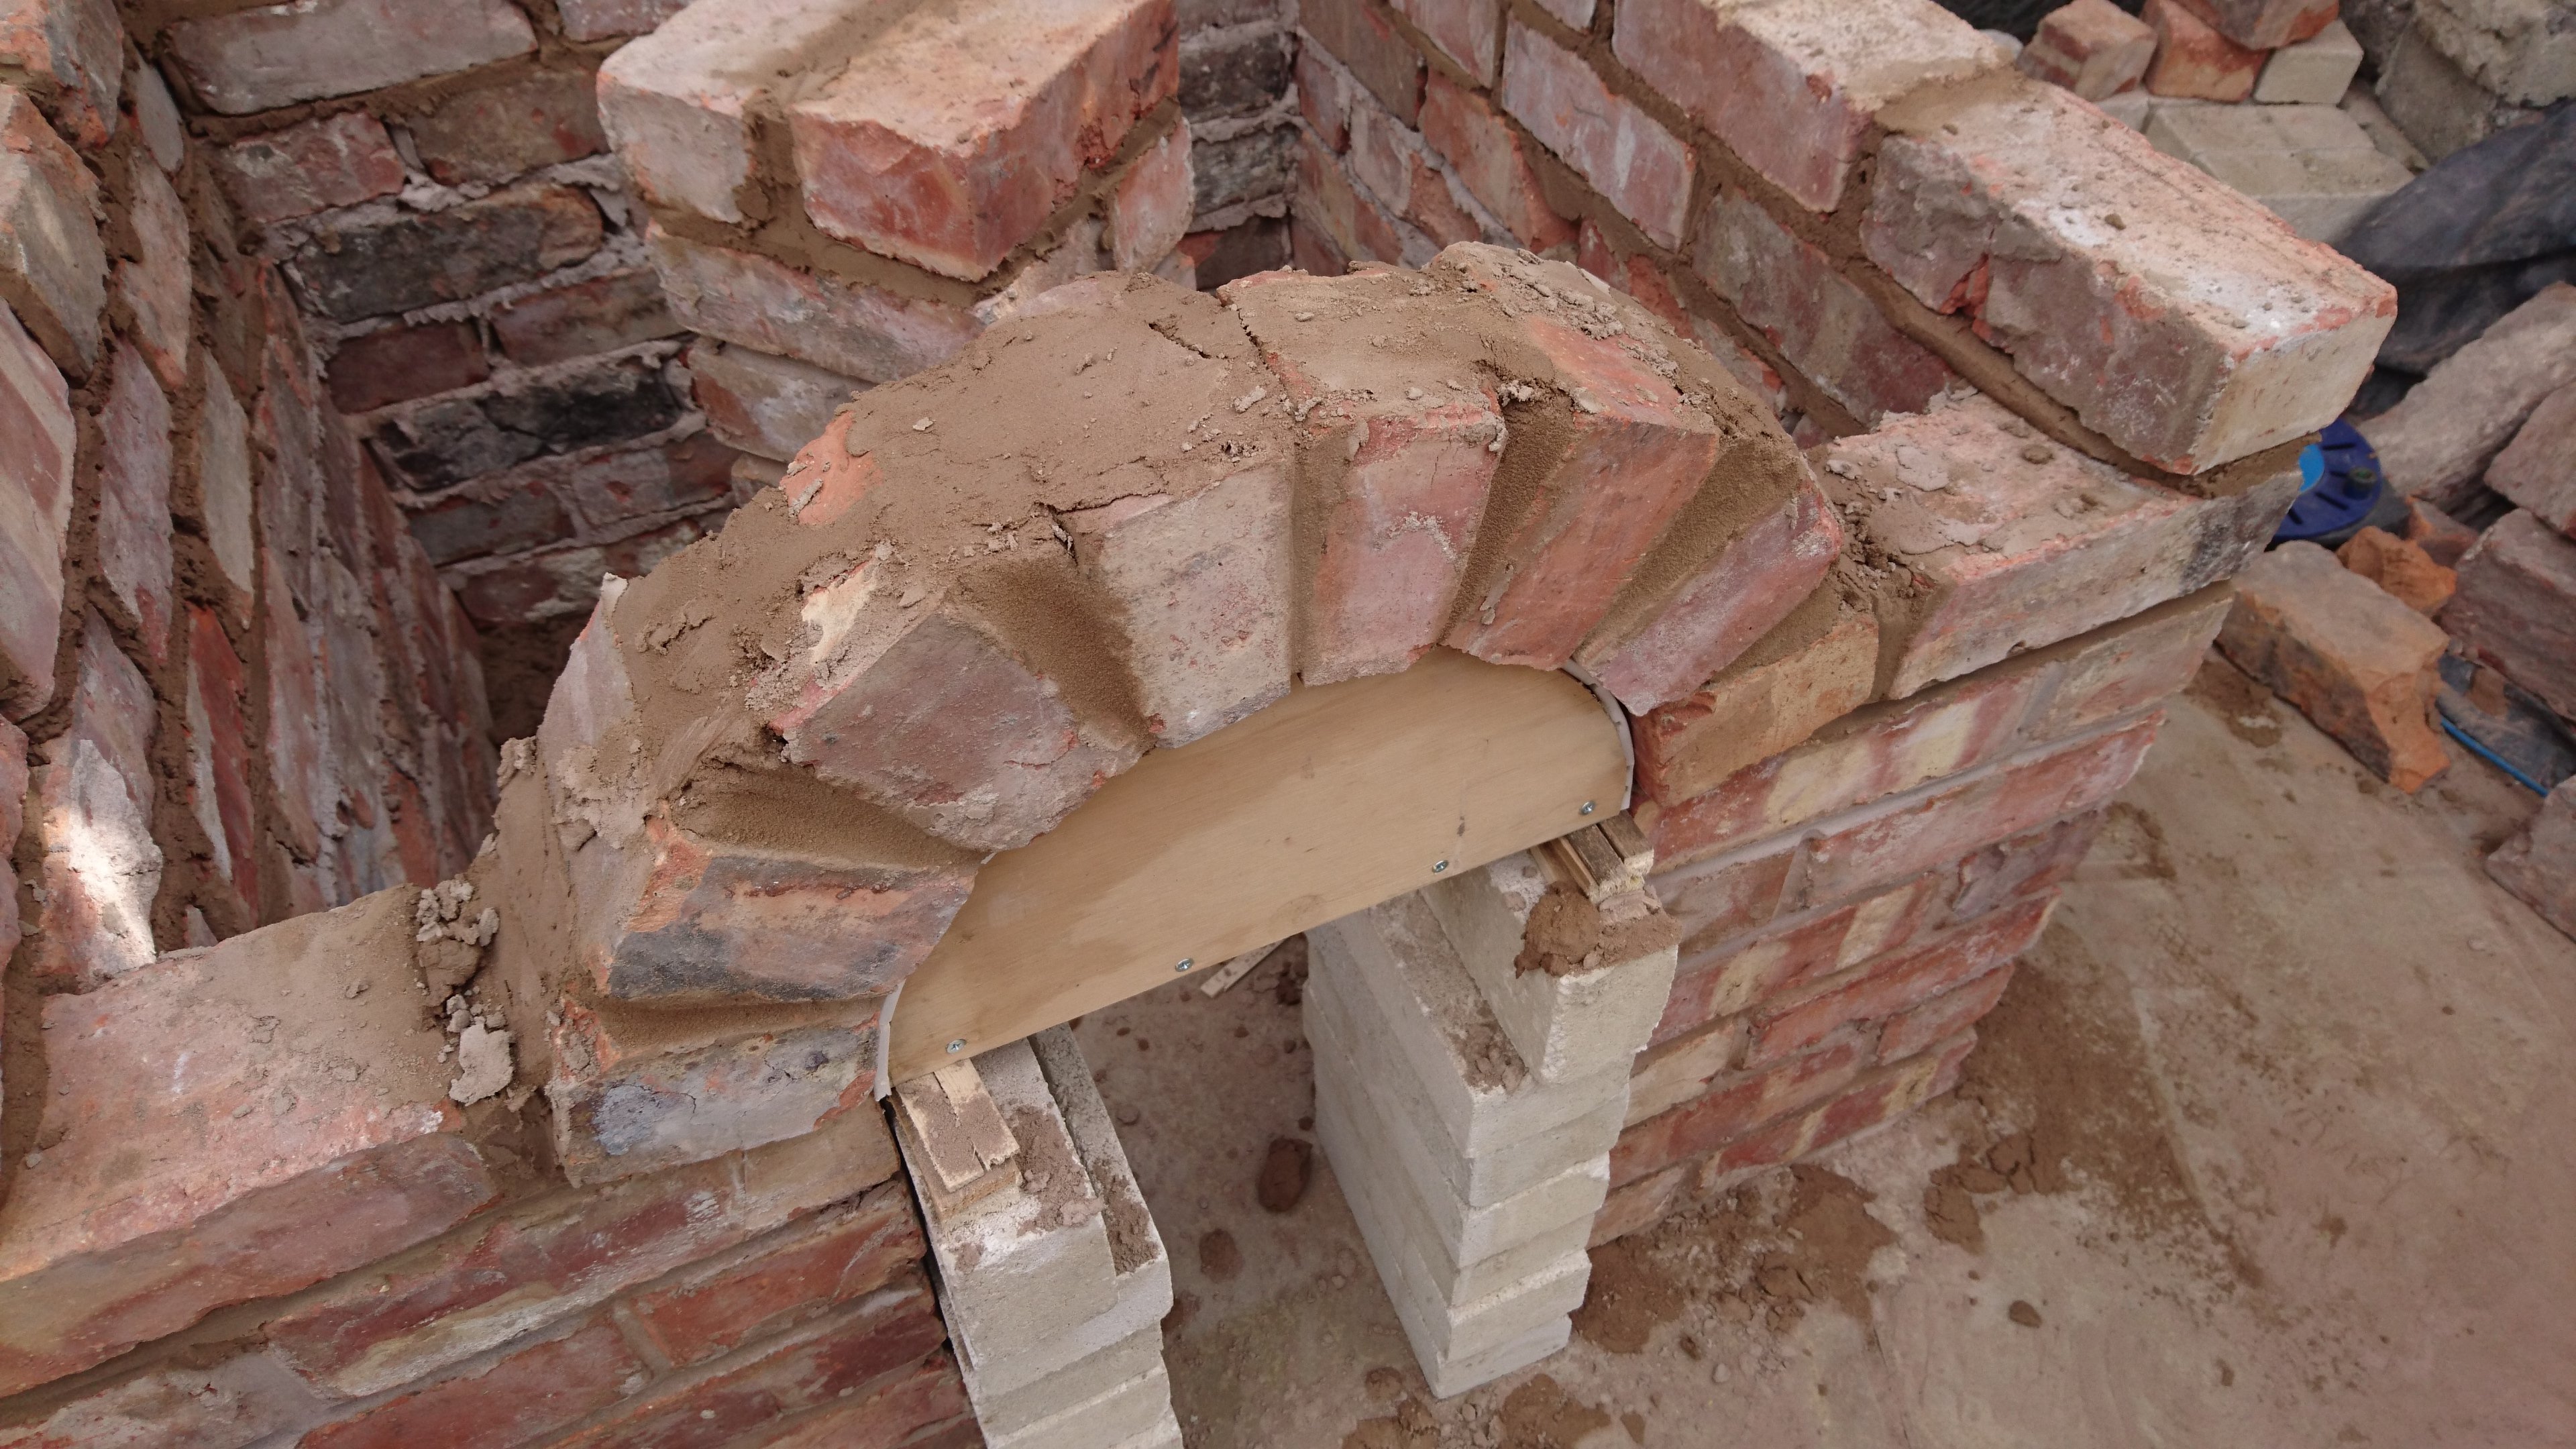
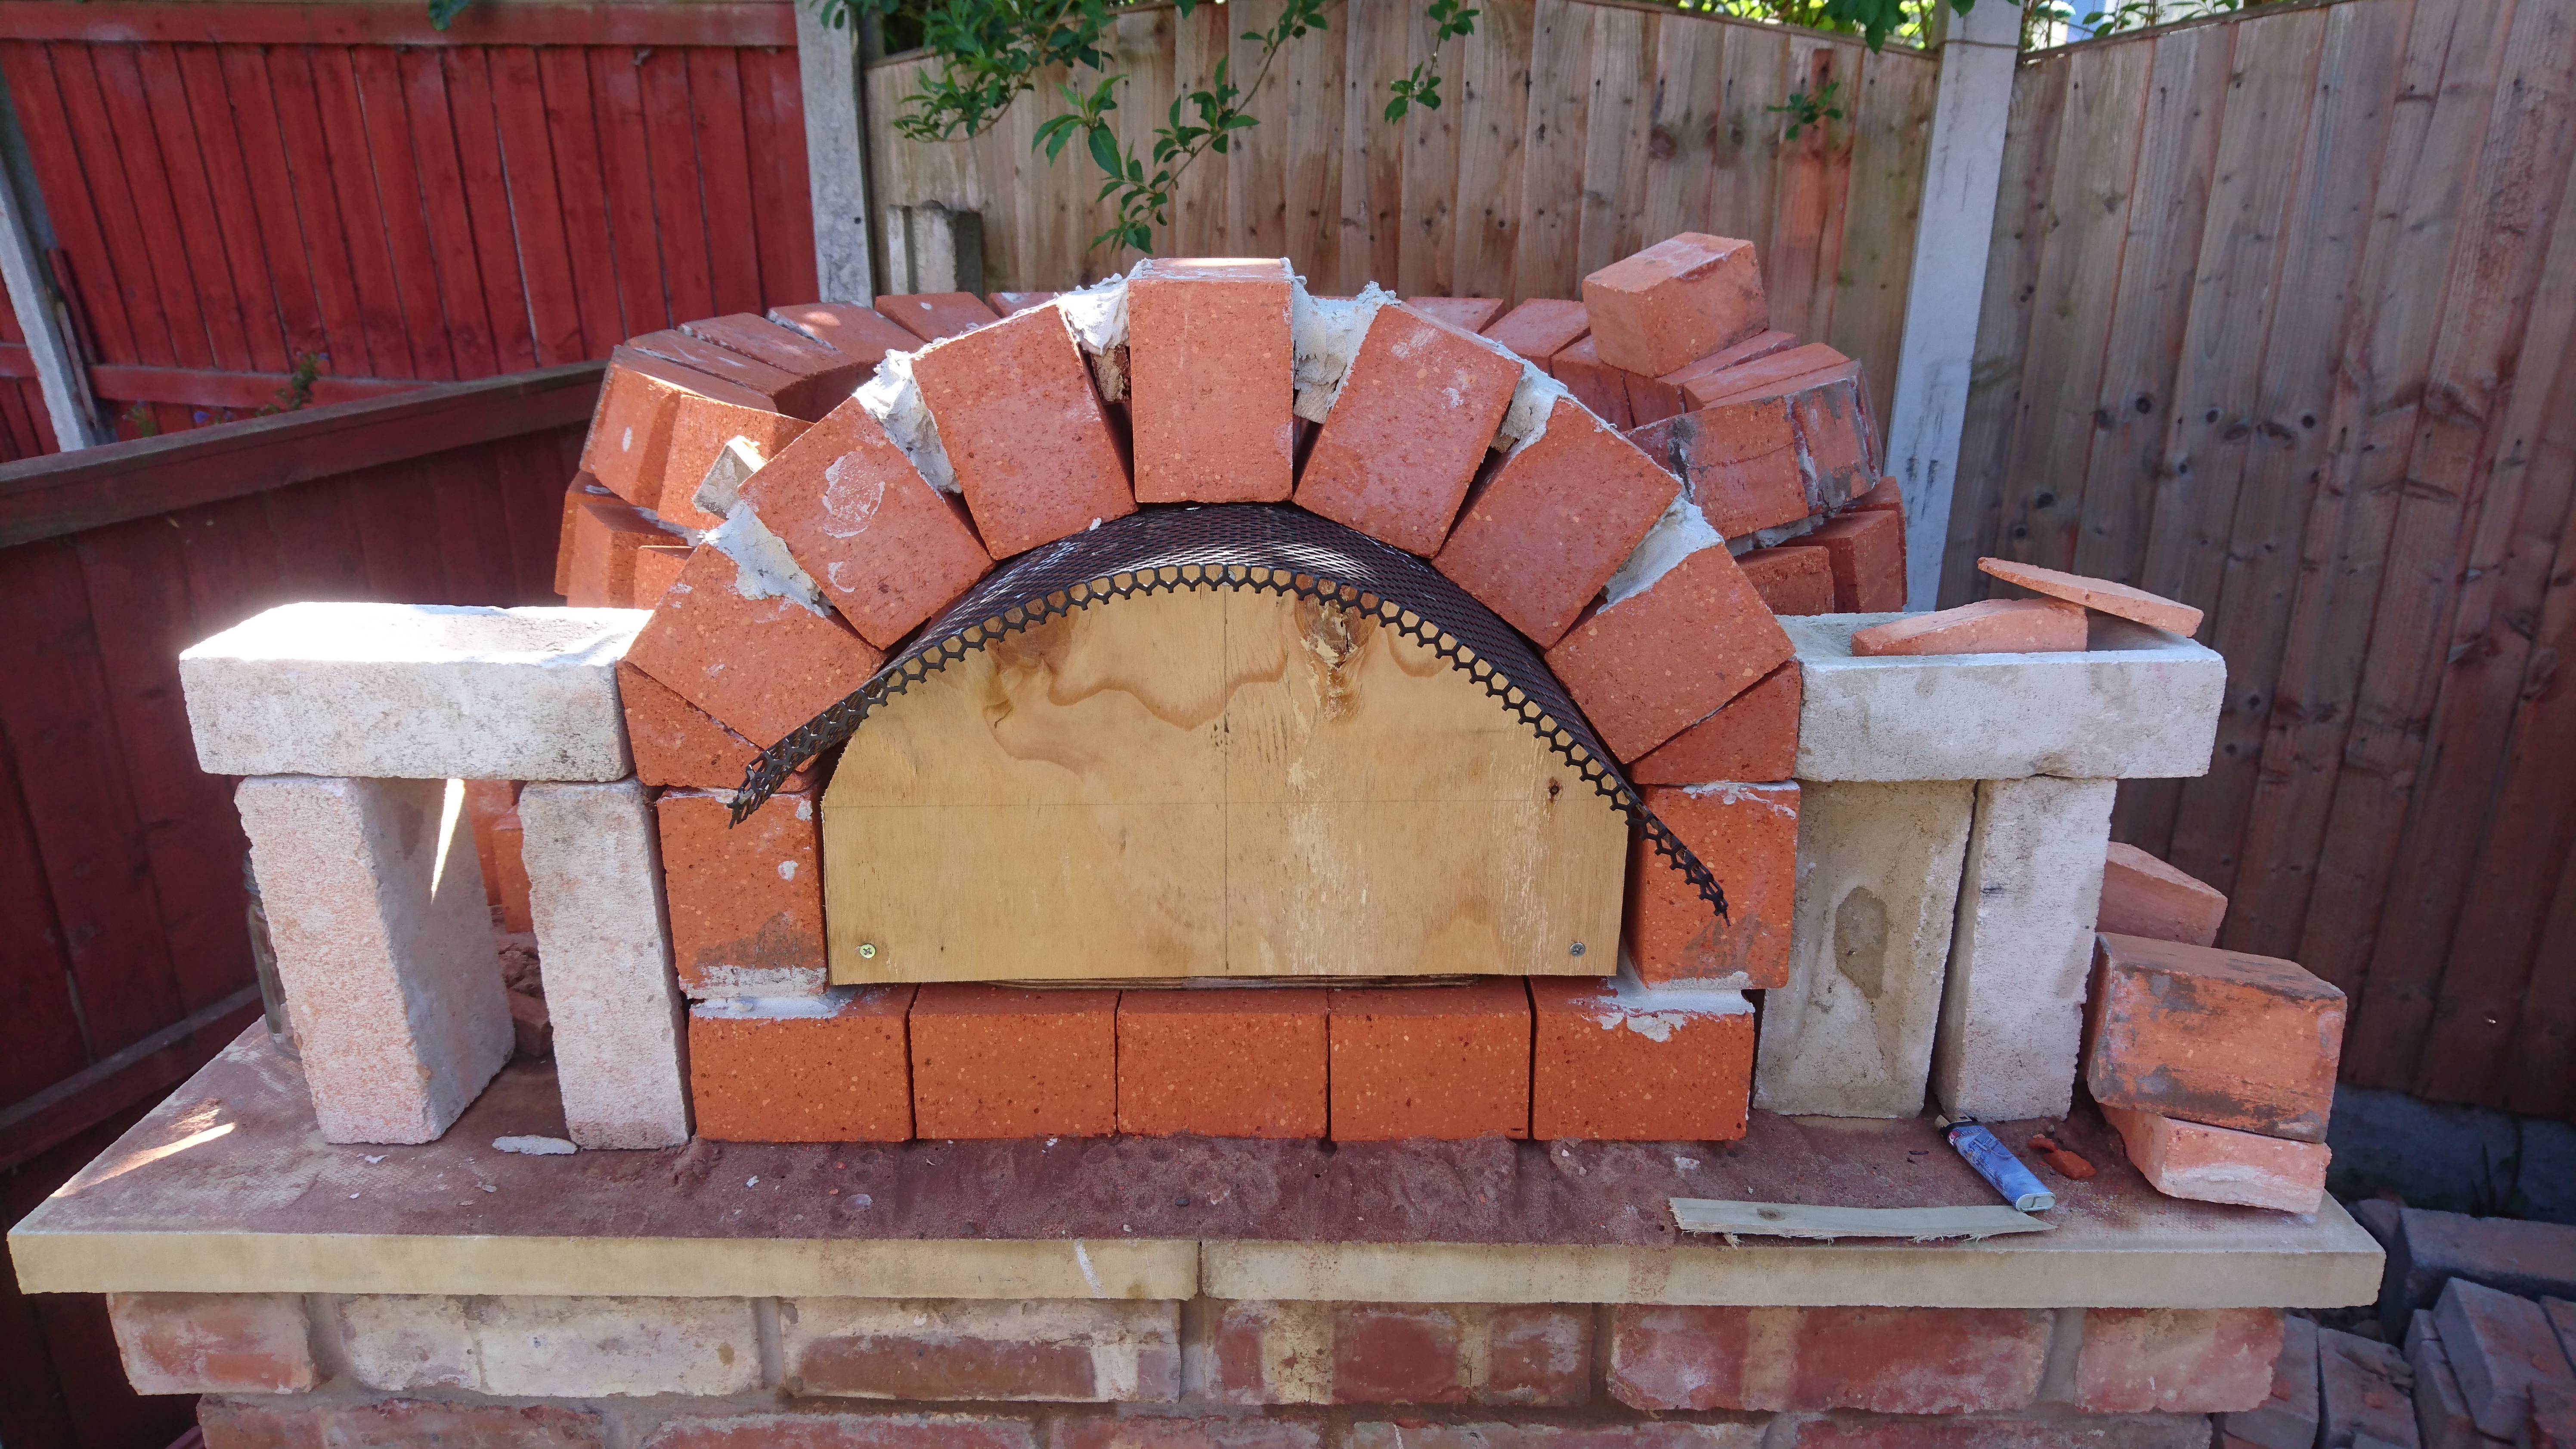
"The arch for the door was created slightly differently. The arch is less of a perfect semi circle, but creating it was similar. Firstly, mark the width of the door 16" on some 1" plywood and cut out square. Then mark the centre and draw a line, then marking 10 inches from the bottom along this line. Now taking into account the height of each brick at the sides and draw a horizontal line. Instead of using a protractor, I used an old piece of plastic guttering to create the arch outline held in place at the two edges and meeting at the centre point. Then created the former the same as before but i used the metal grille from an old guitar amp to screw into place."


Most Popular