
How To Make A Really Unique Gift
Kenneth Coo
Published
06/25/2015
It's easier than you imagine.
- List View
- Player View
- Grid View
Advertisement

-
1.
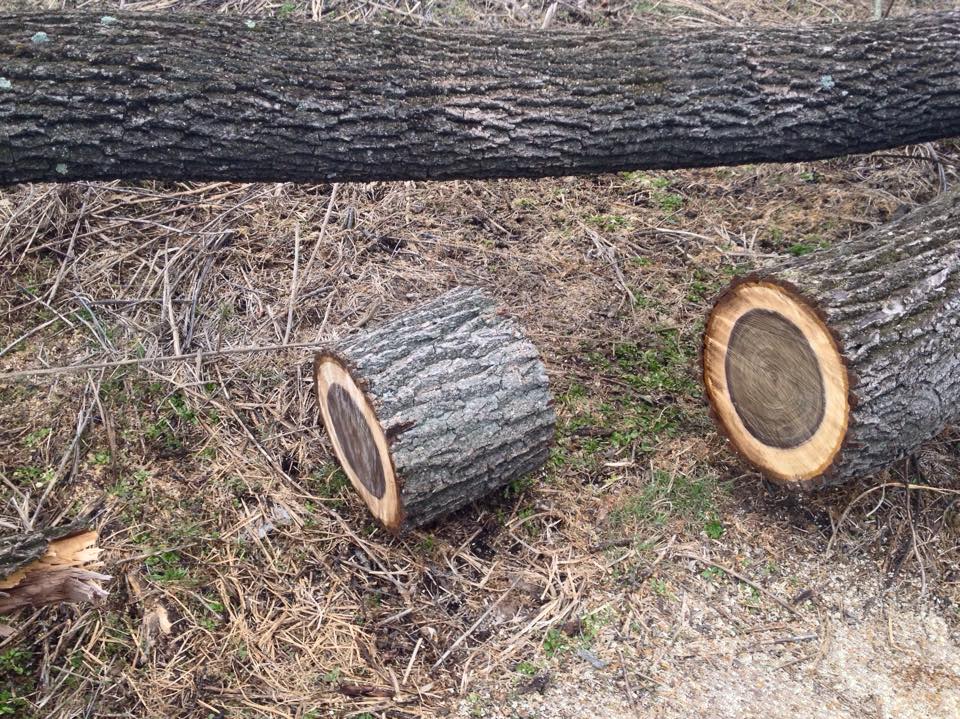 Find yourself a log. Green wood is easiest and cheapest. In this case we're using Black Walnut.
 -
2.
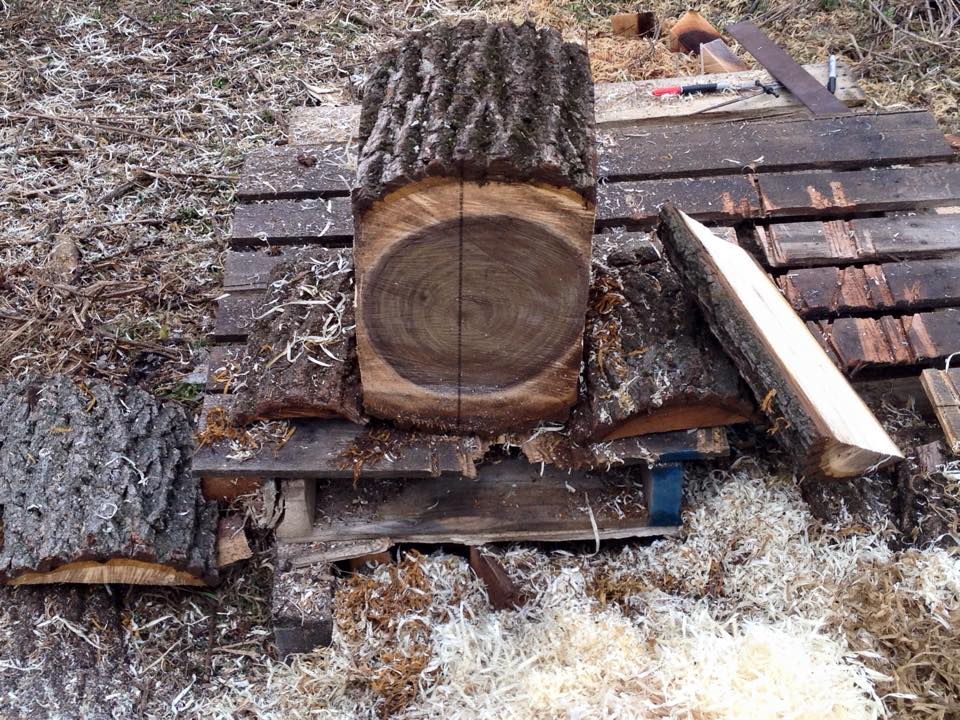
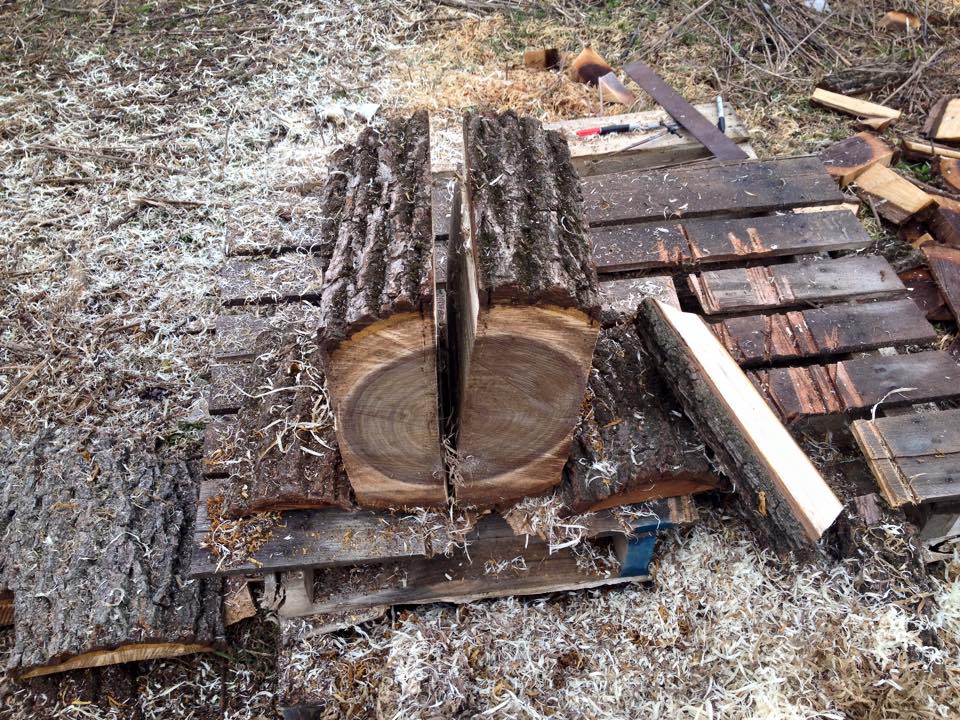
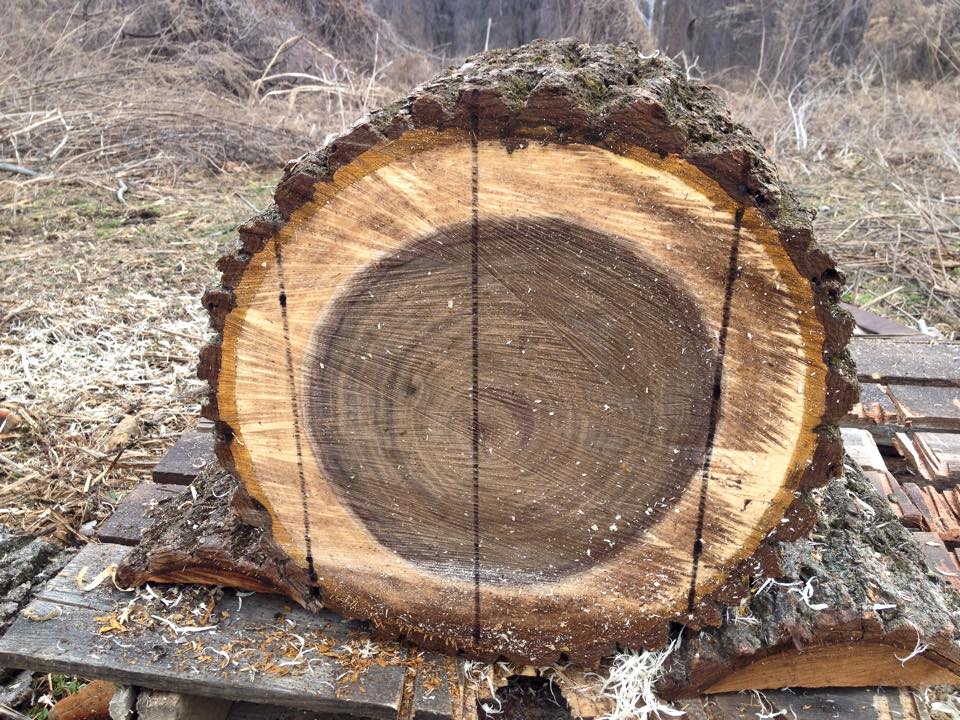 The most important thing to do is cut away the pith. If you leave the pith in, it's almost certain your bowl will crack when it dries. In this case I've laid it out to provide me with two bowl blanks.
 -
3.
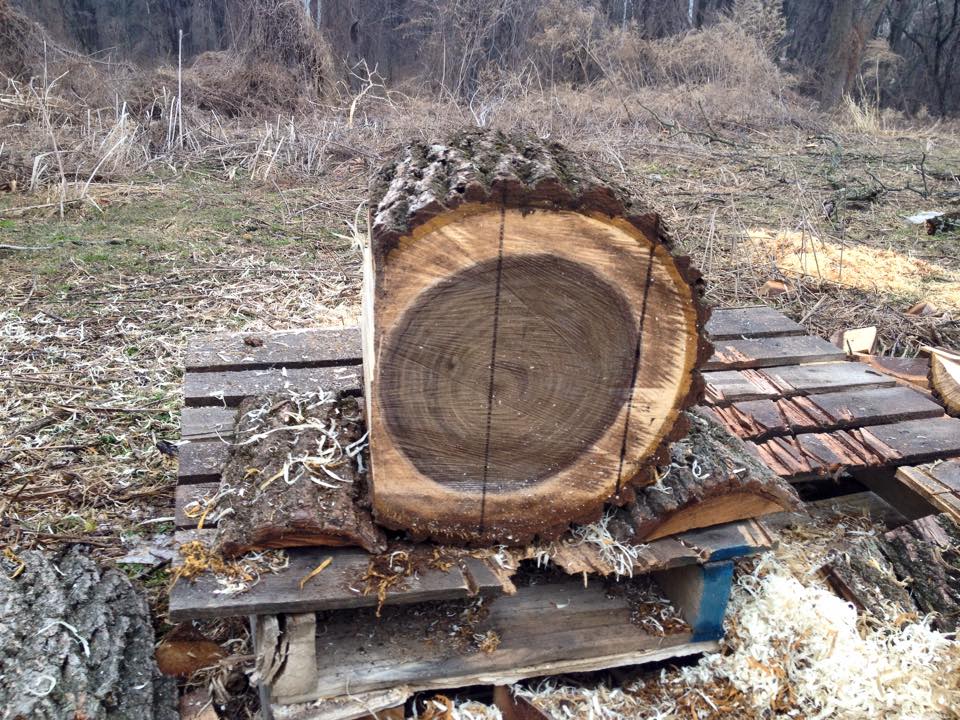 Prop that bad boy up on end and try to cut evenly down your lines.
 -
4.
 You're going to want to steady the piece with your boot. Don't! Chainsaws are much tougher than you are.
 -
5.
 Hopefully all your cuts are roughly parallel. If they're not, you should can take care of that later.
 -
6.
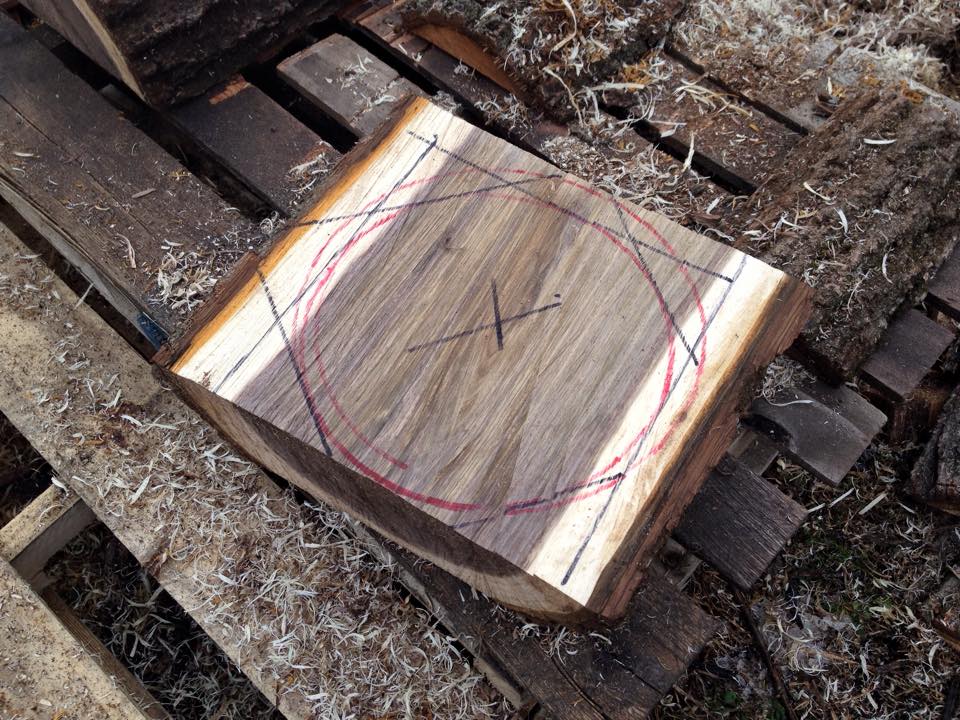 Mark your center and draw a circle. Then decide how and where you will make the cuts with your saw. If you have a band saw this is way easier.
 -
7.
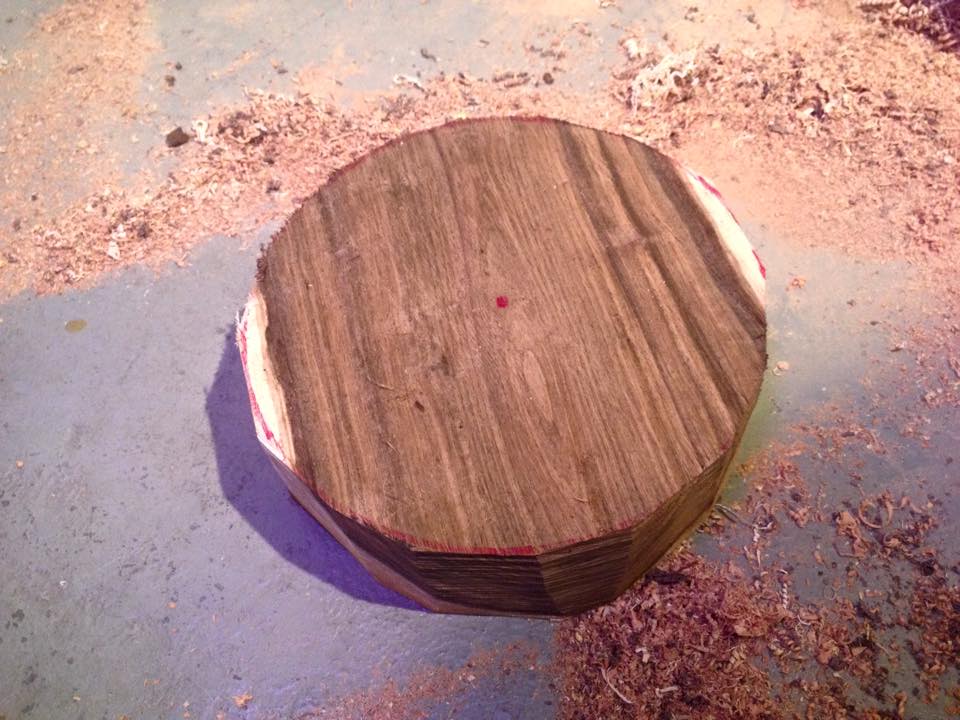 At this point it's roughly a circle. Hopefully all your toes are still intact at this point.
 -
8.
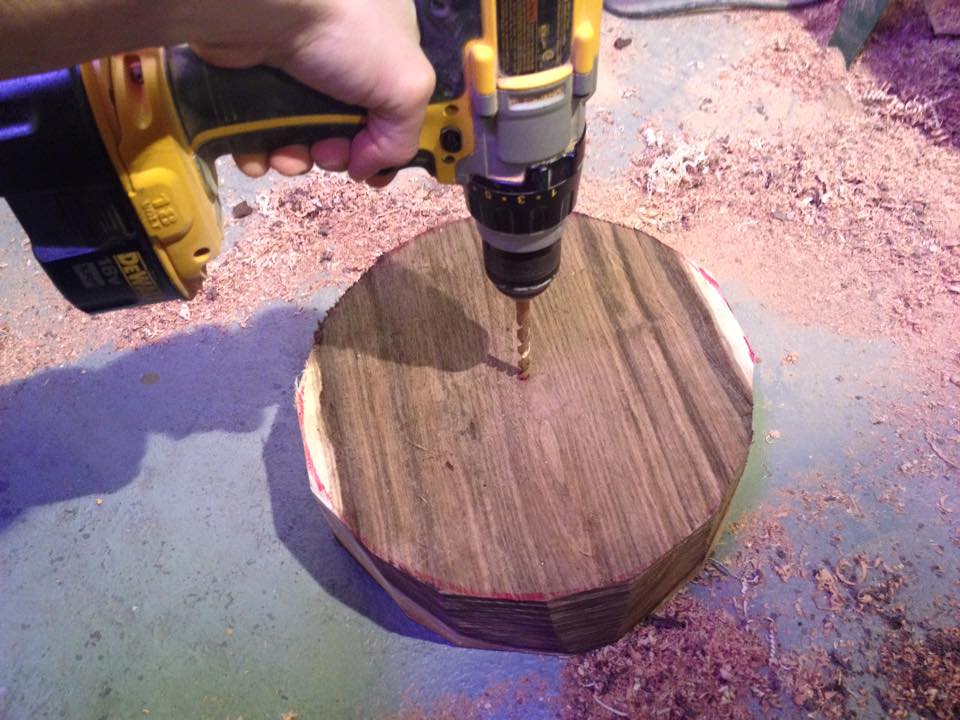 You're going to mount this on a screw chuck, so you need a hole that is roughly centered to screw into.
 -
9.
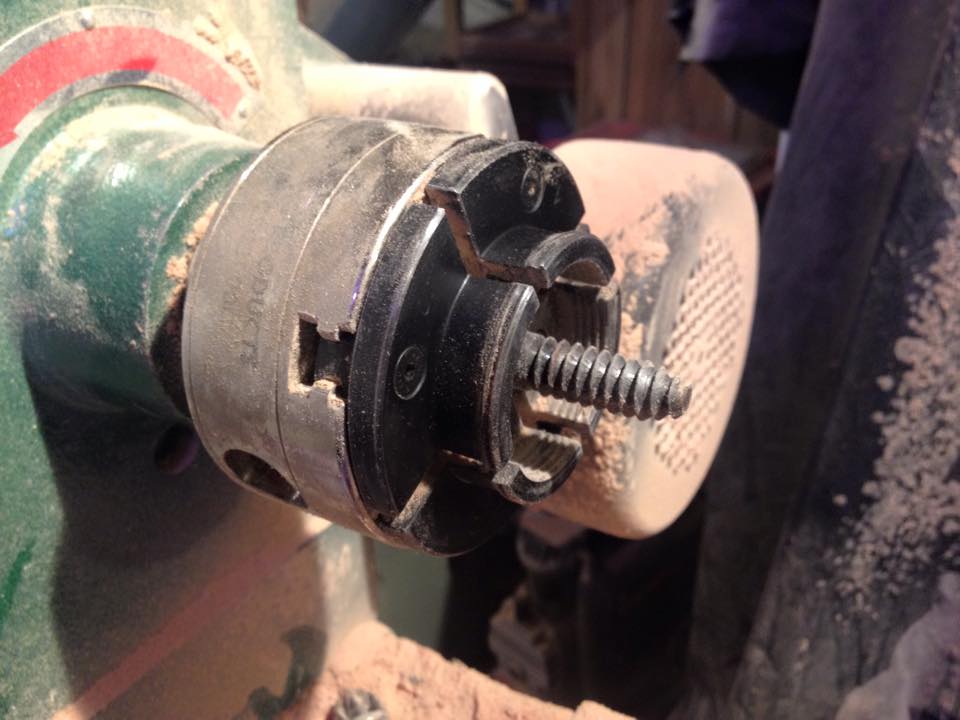 See that screw there? That's what's going to hold your log chunk in place.
 -
10.
 Grab a wrench to keep your chuck from rotating and crank that bad boy on there until it is snug up against the base.
 -
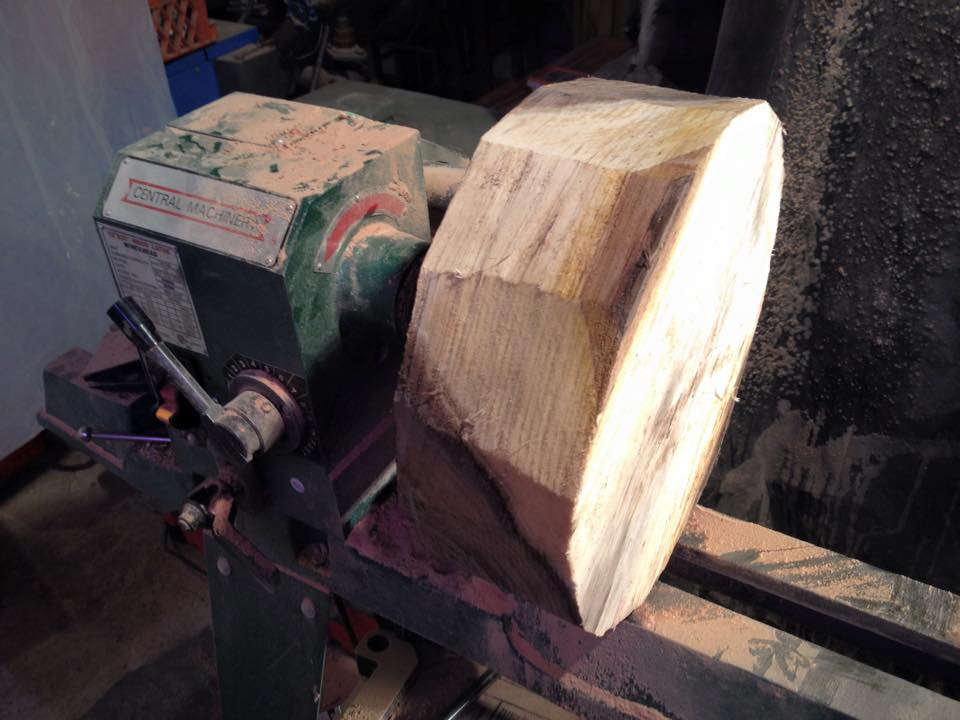
11.
 That big block of wet wood is heavy! Bring your tailstock up to steady the piece until you have it balanced. A 10lb chuck of wood, flying off at 750RPMs will hurt. Make sure it's on there good.
 -
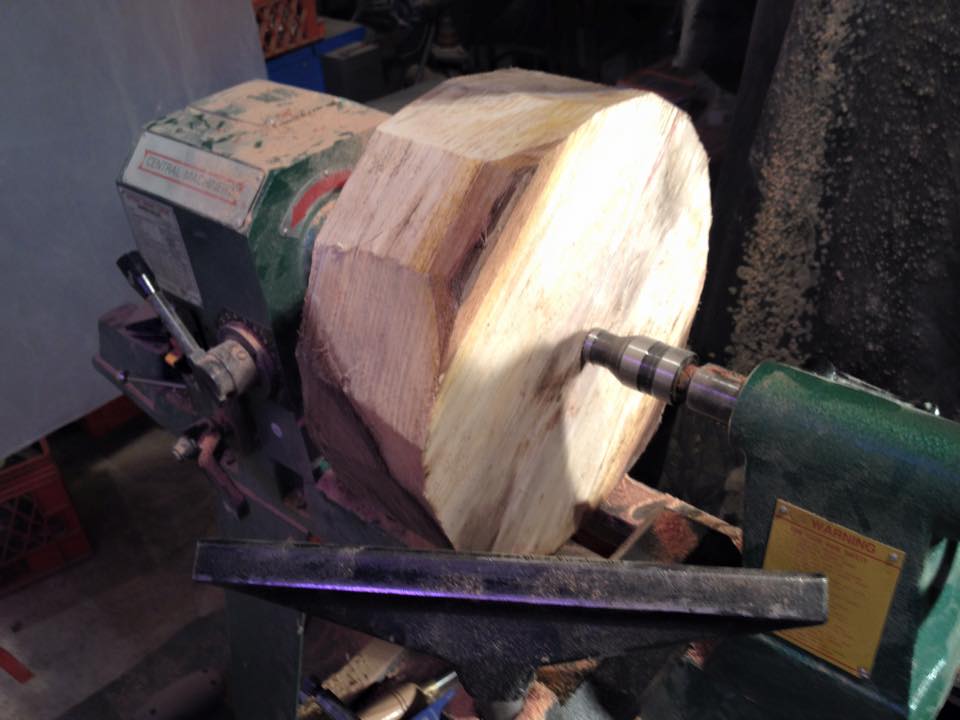
12.
 Keep your tool rest as close to the piece as possible to avoid a catch. When your chisel catches it will scare the crap out of you. Also, make sure you're using a bowl gouge for this. They are much heavier and sturdier than your standard spindle or roughing gouges that can break and injure you.
 -
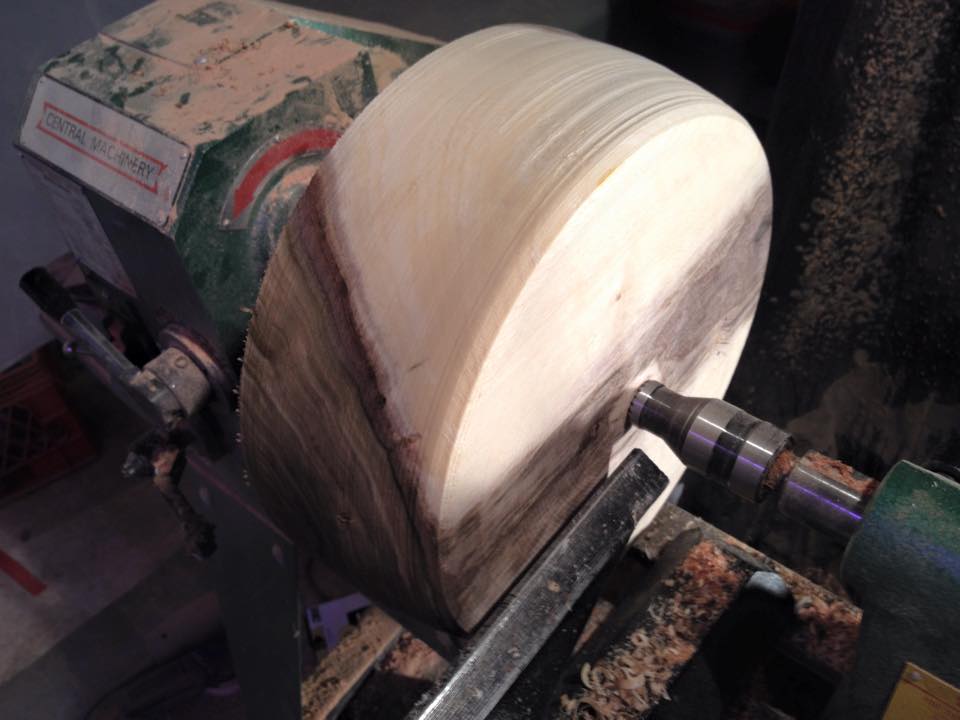
13.
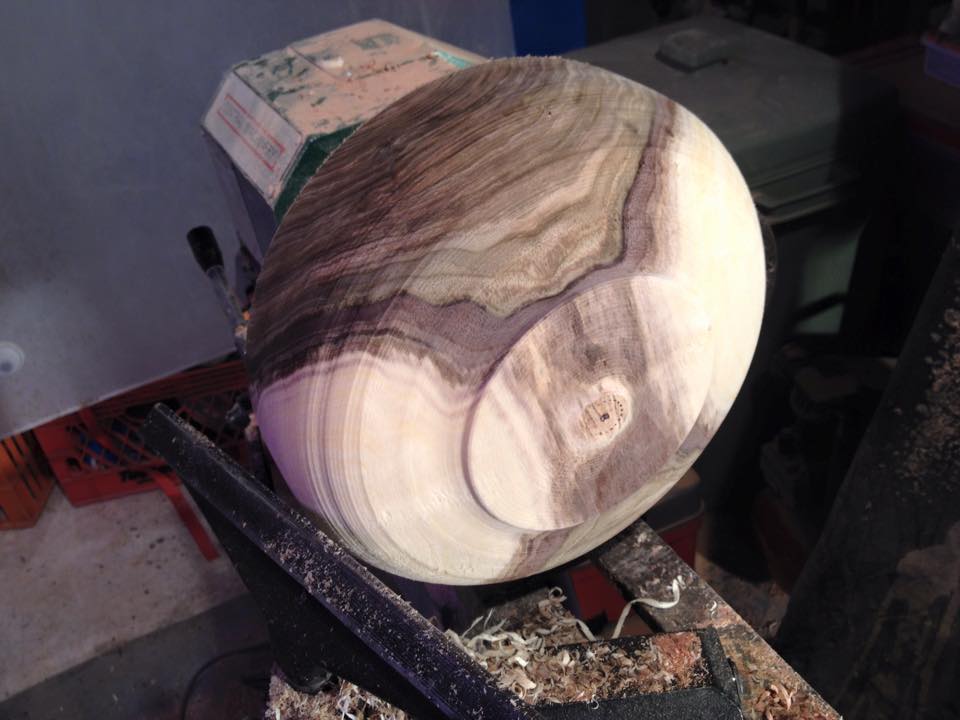 Settle on your rough final form and give your bowl a foot to help it stand out. Some bowls look better without them, so if you don't like it with, you can always turn it away later.
 -
14.
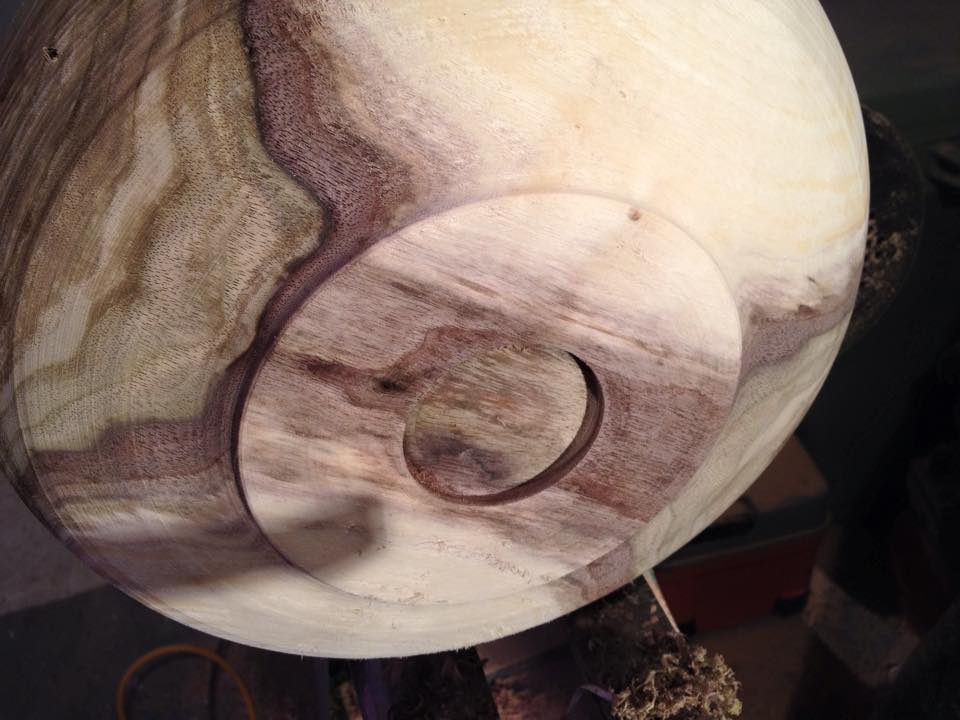 You're going to need a recess in the bottom of the bowl for your four way expanding chuck to grab onto. You get your best contact when the recess is only slightly larger in diameter than the closed chuck.
 -
15.
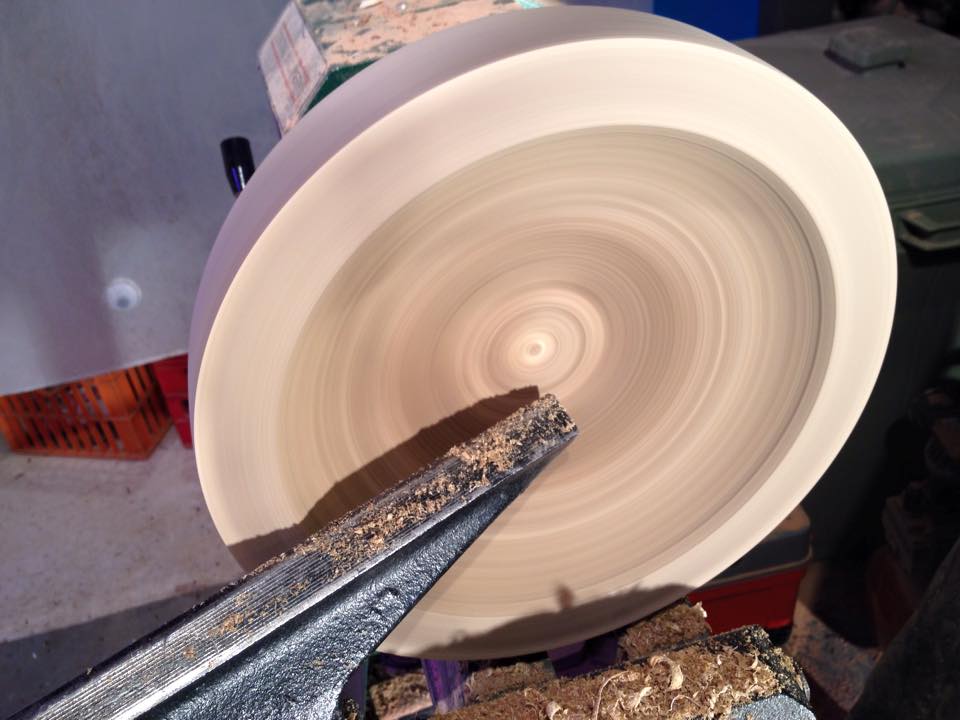 We can start hollowing it out. Starting near the center, we will take ever larger cuts, working from the outside in to give it a good curve.
 -
16.
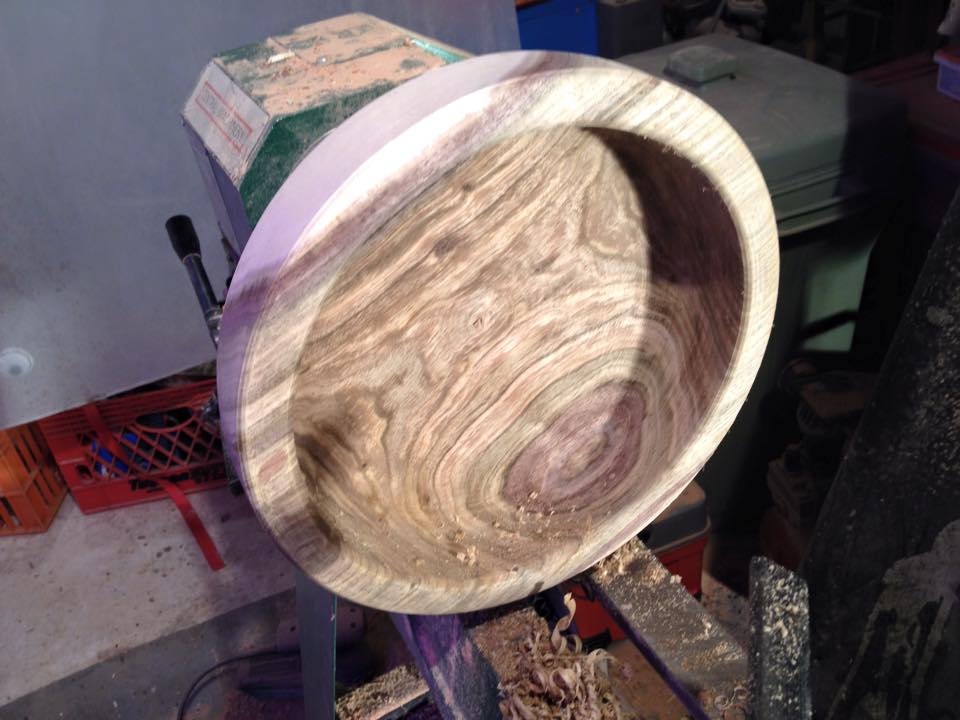 Leave the walls 1/10th of the total diameter in thickness. This is just a rough bowl so it doesn't need to be exact, but the walls need to be even or it may crack. If you go below the 1/10th rule, it may warp to the point as it dries that you can't true it up later. You're now going to wrap the outside of the bowl in a brown paper bag, leaving the inside open. You do this because you have more surface area on the outside than the inside, and you want it to dry evenly or it will crack. Now put your bowl up on a shelf and forget about it for the next year. Then come back and finish turn it.
 -
17.
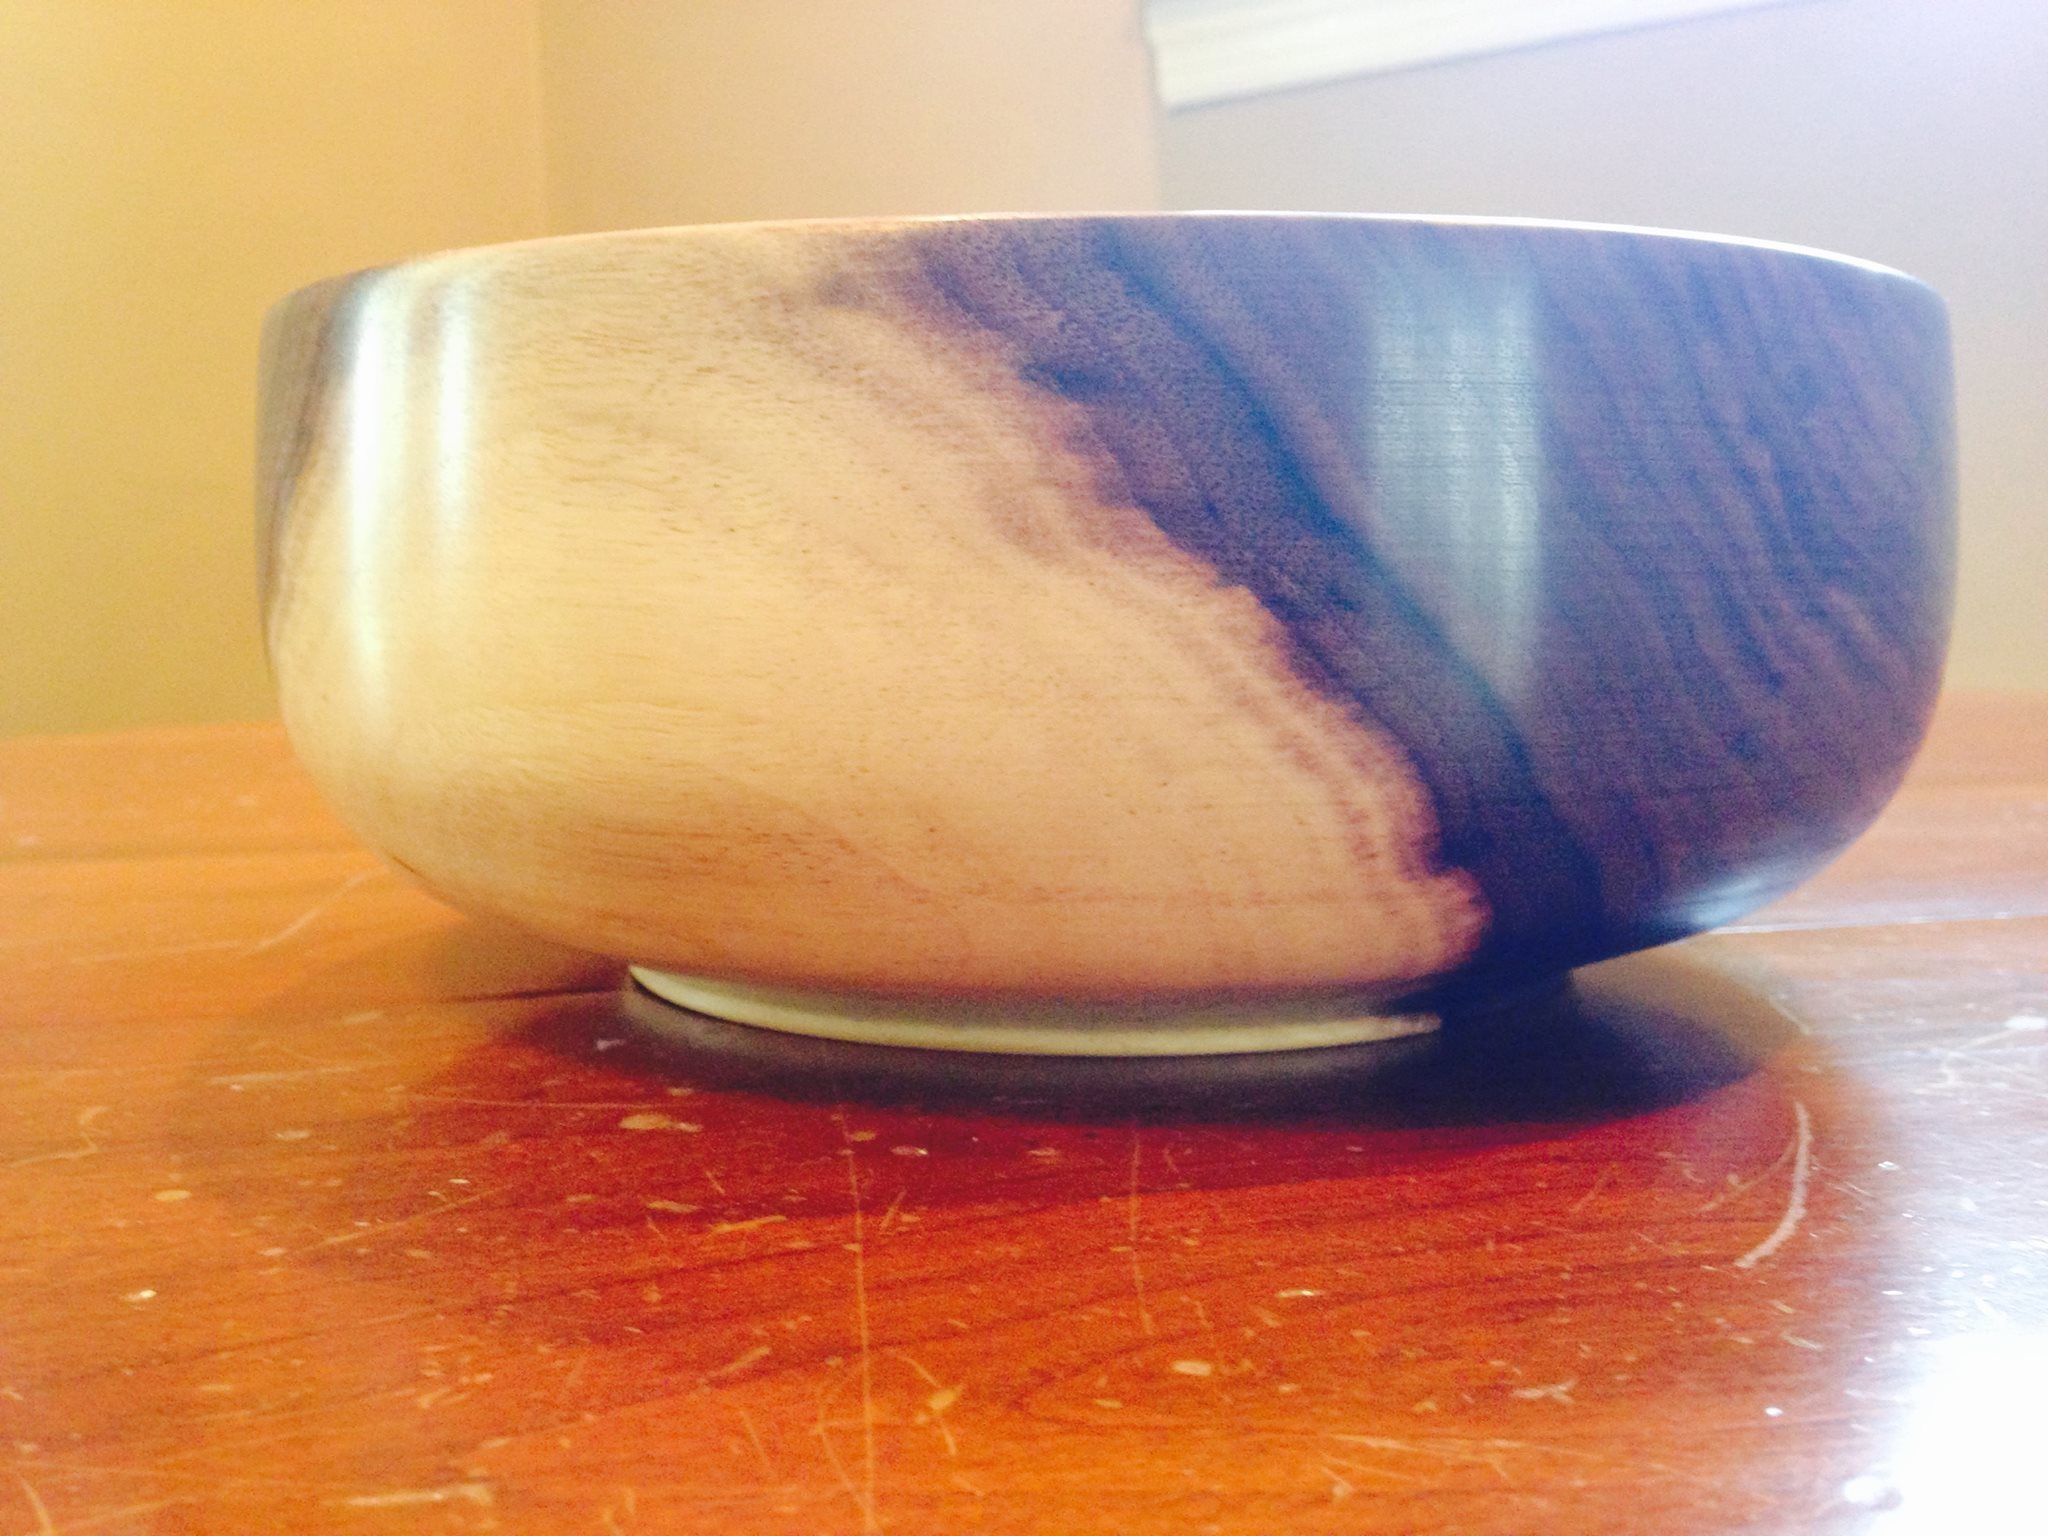 After your bowl has dried, you can remount, and finish turn. You're not taking much wood off at this stage, just getting rid of the bend and warping. Then you sand it from 100-1500 grit and finish. Here I used walnut oil and beeswax.
 -
18.
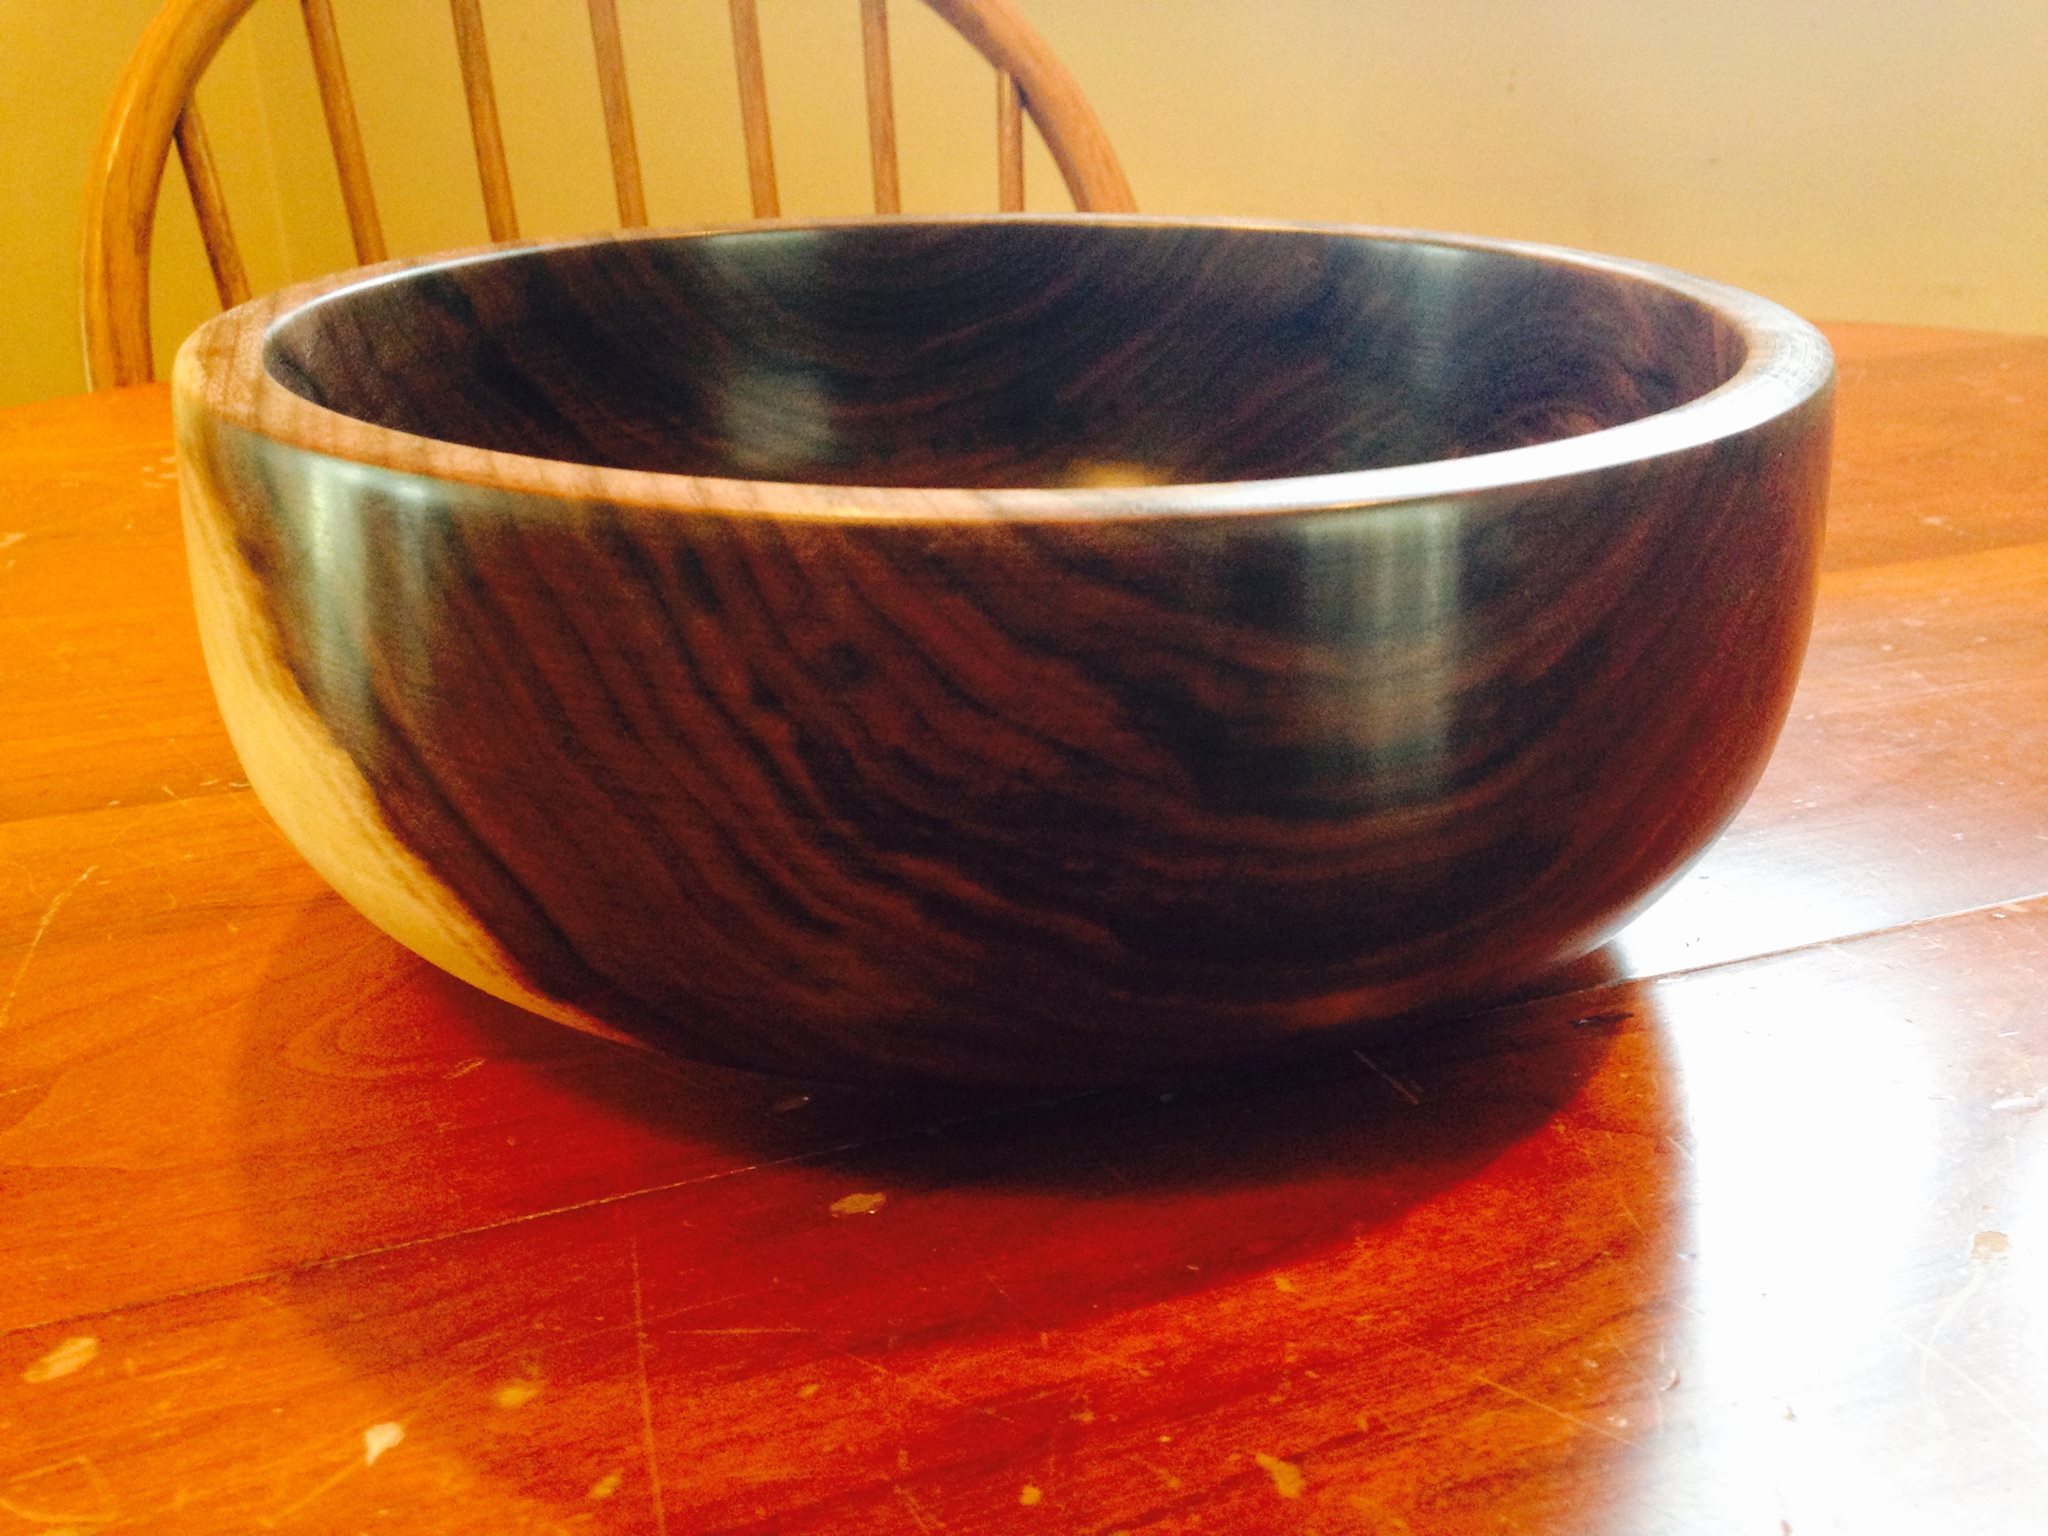 Voila!

- REPLAY GALLERY
-
 Replay
 - How To Make A Really Unique Gift
- NEXT GALLERY
-

- 20 Useful Bits of Street Smarts
Find yourself a log. Green wood is easiest and cheapest. In this case we're using Black Walnut.
18/18
1/18


4 Comments